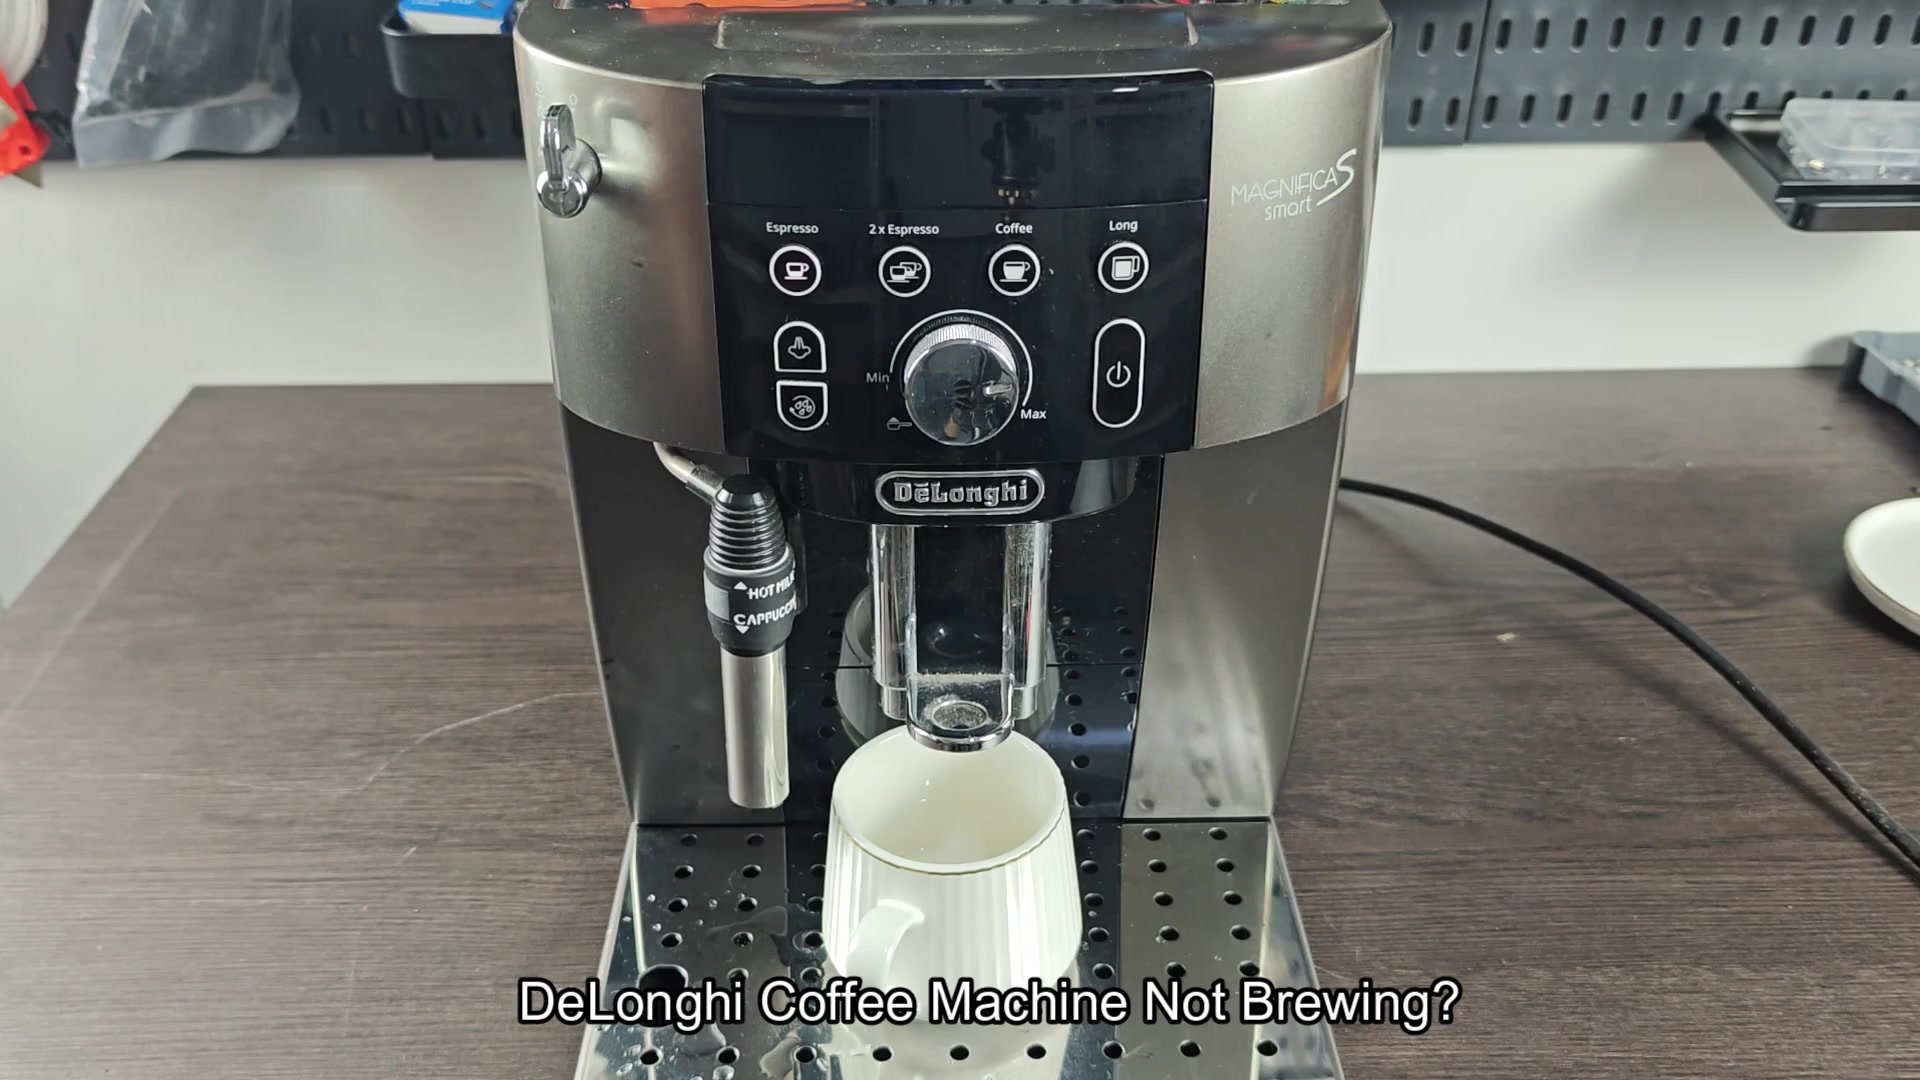
When your De’Longhi coffee maker quits working and won’t brew anymore, don’t immediately call for service. Check these six spots first to save yourself some money (and time).
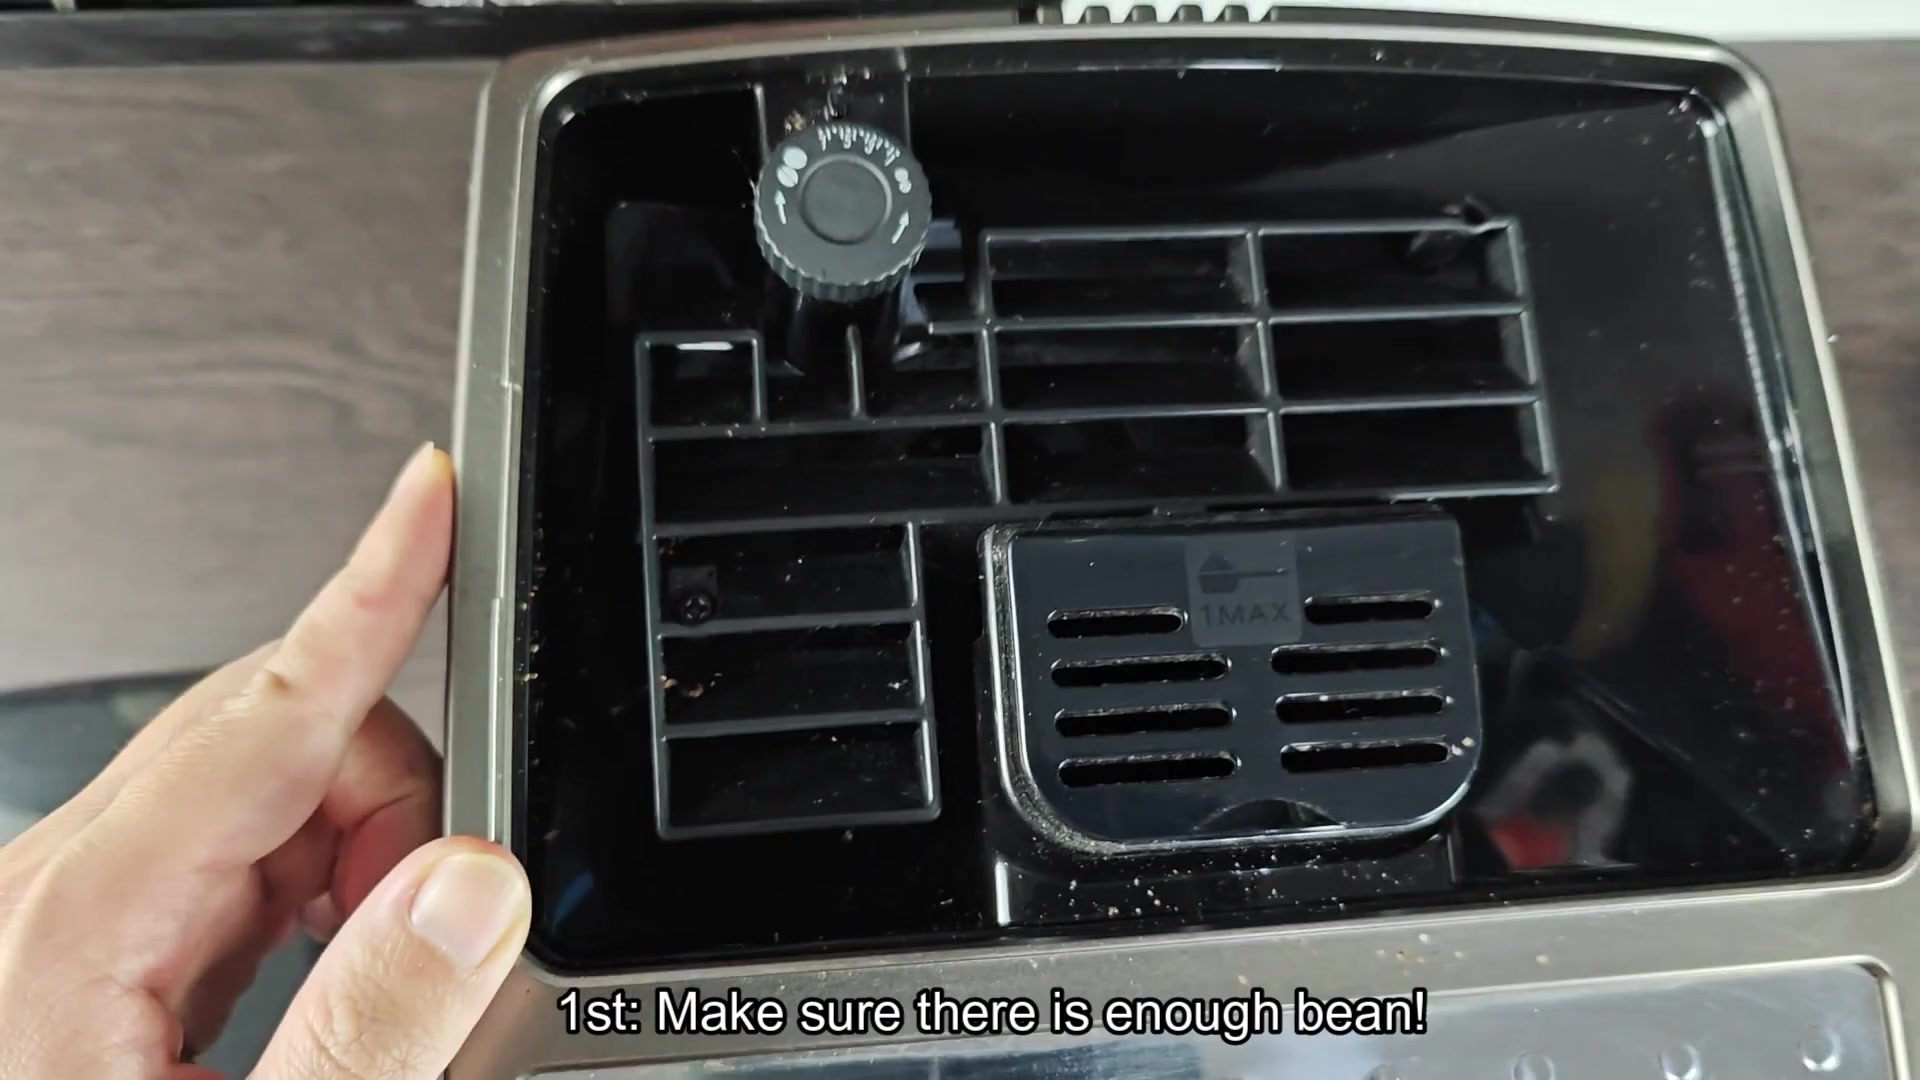
First, check the bean hopper. I know; it’s obvious. But you know how it happens? You run out of beans, forget to fill the hopper, and then wonder why machine isn’t starting up. Because it doesn’t have anything to grind! Just make sure that the hopper contain enough beans to feed the grinder.
Diagnosing Internal Mechanical Failures
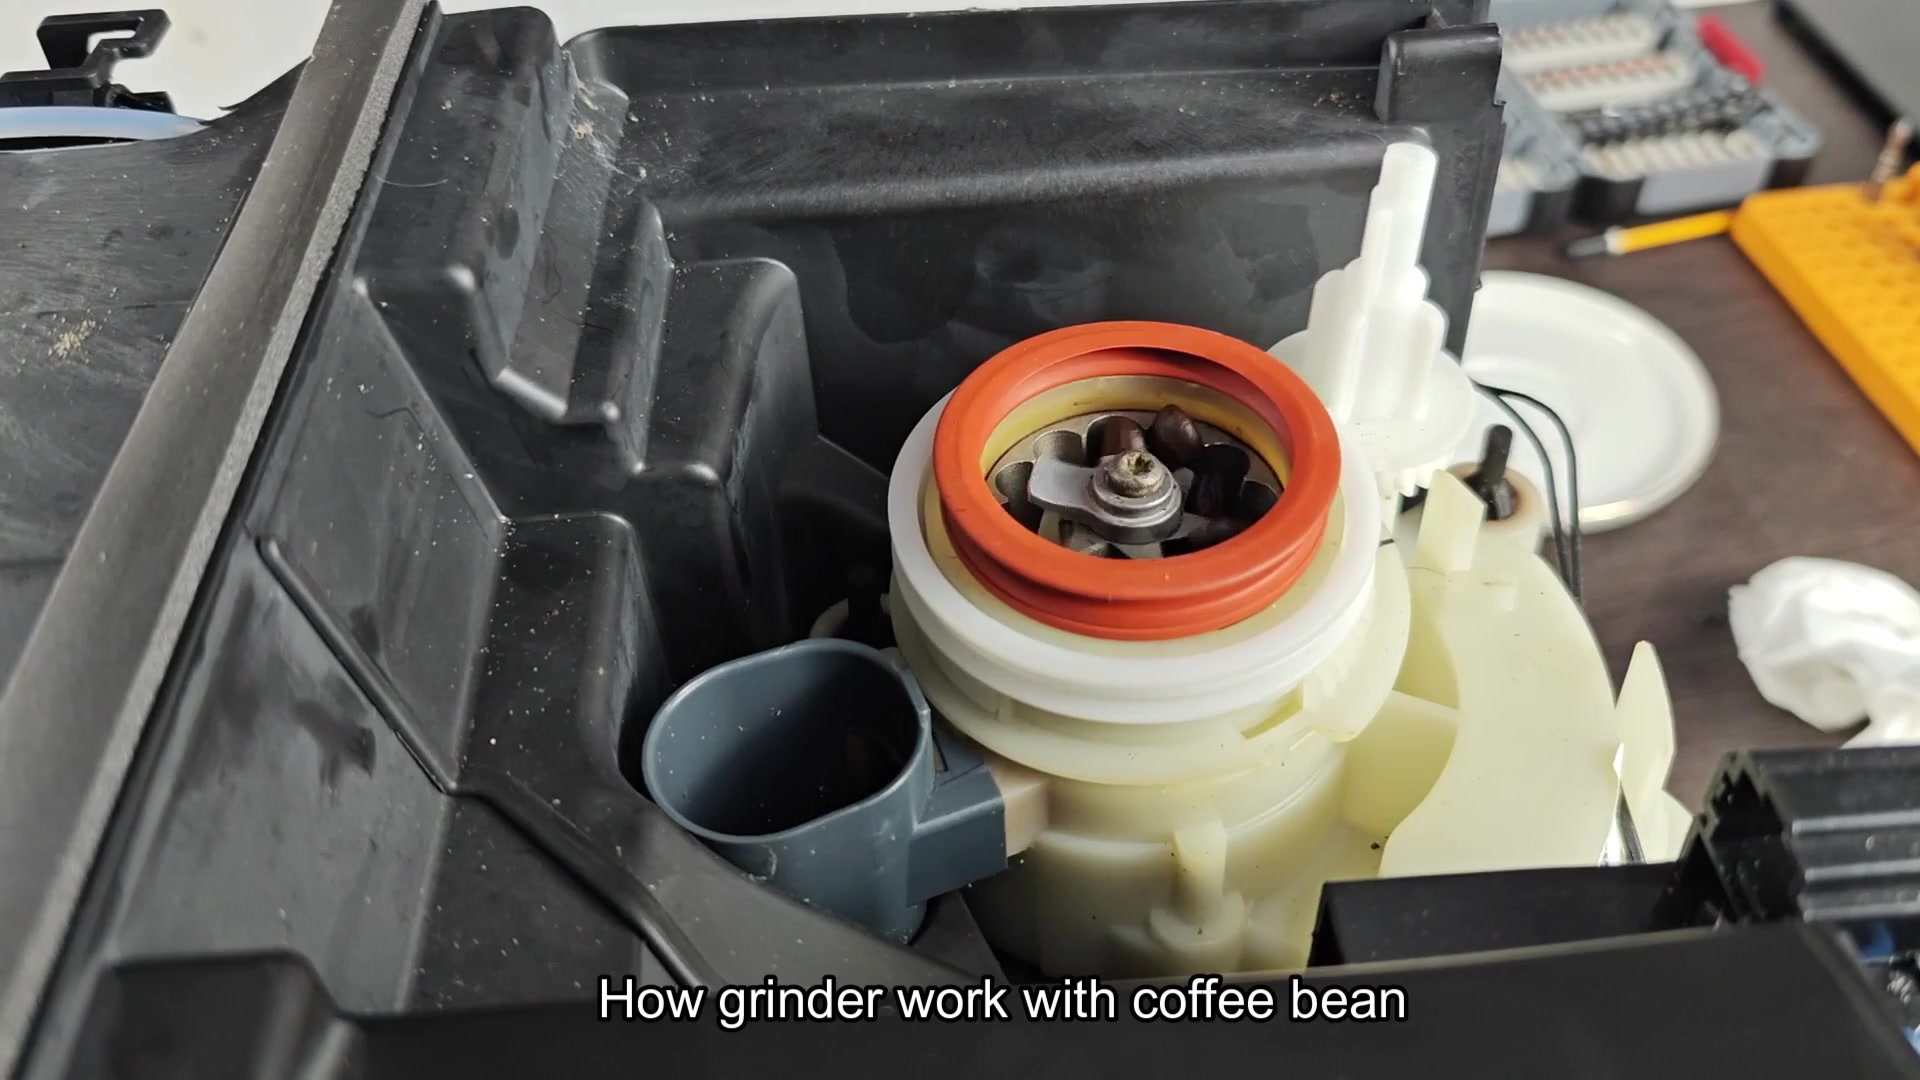
Second, determine whether your grinder has malfunctioned. To adequately extract flavor from coffee, it must grind the beans down into a very fine powder. When you start brewing a drink, listen to the sound of the grinding. If it’s silent, that indicates the grinder isn’t spinning, an issue of mechanics (not software). The grinding noise will stop if the grinder jams or malfunctions. This creates zero grounds which stops the brew cycle.
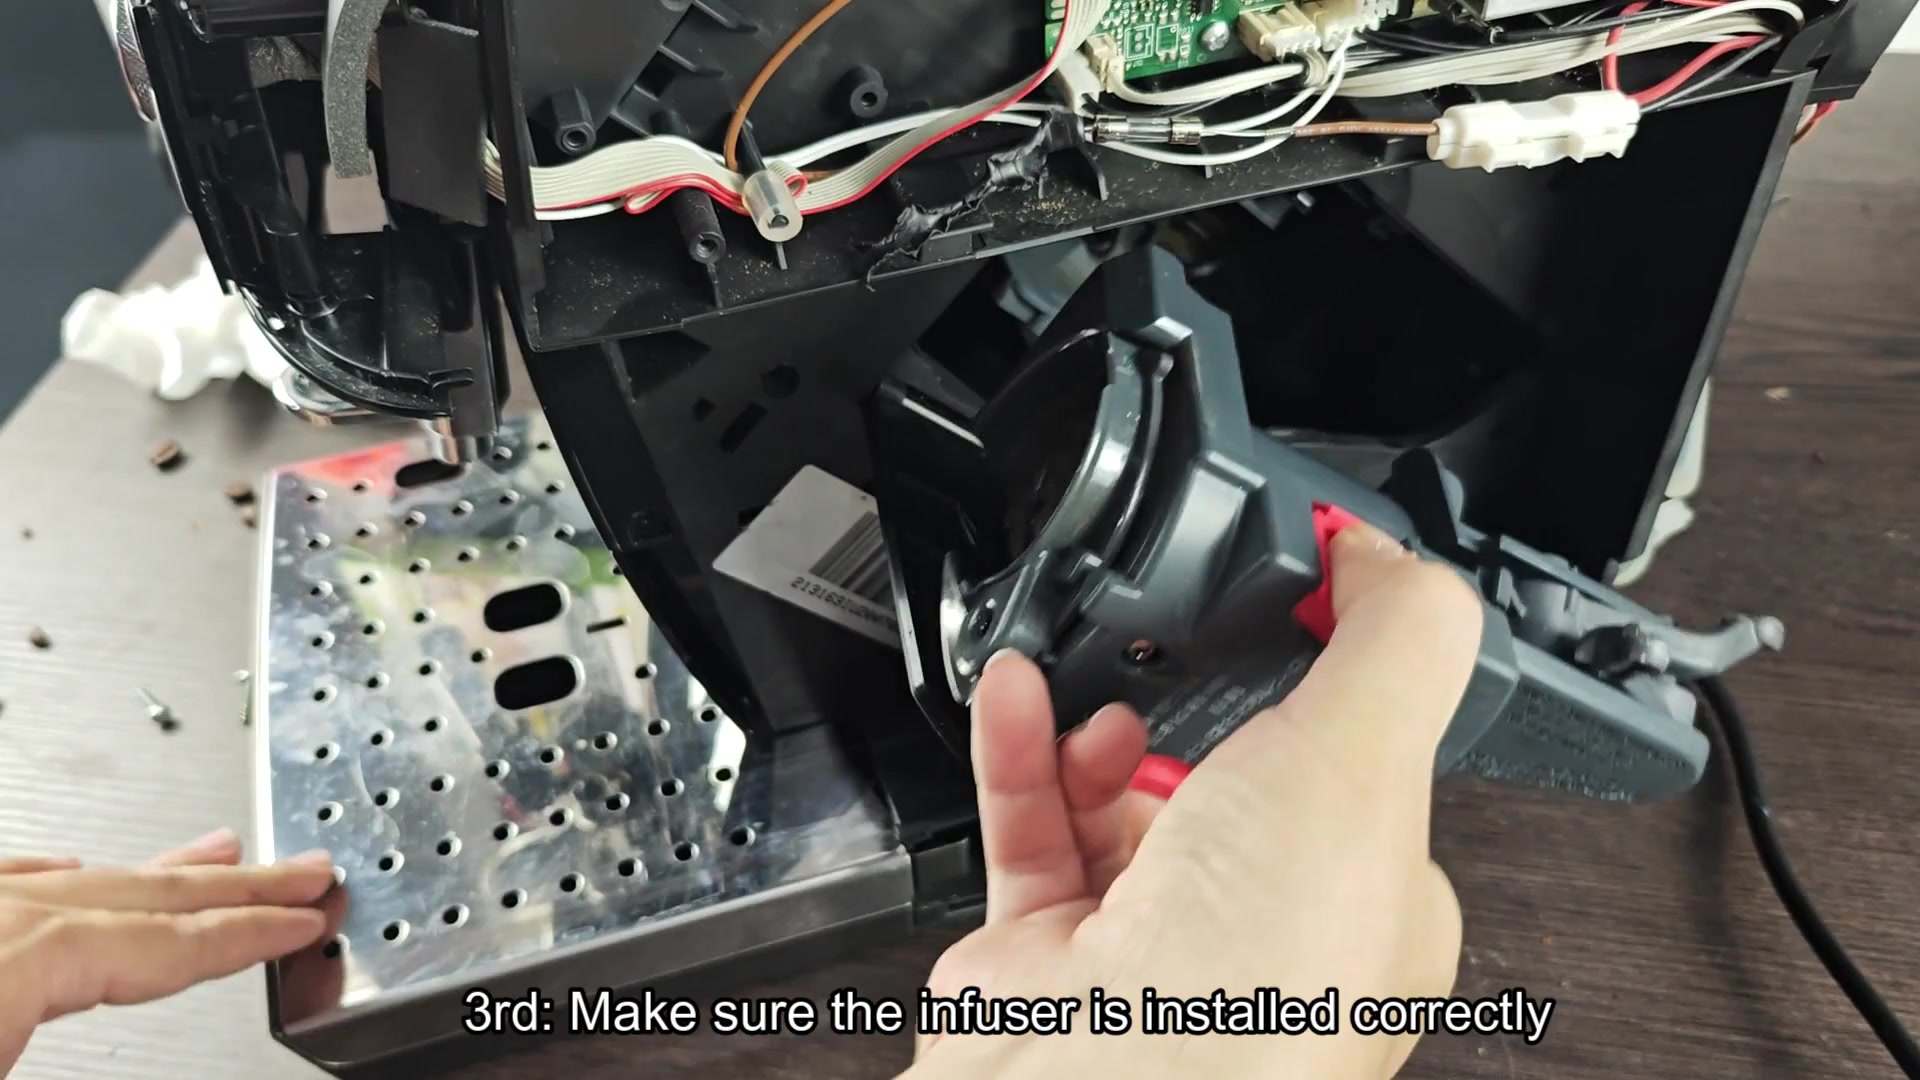
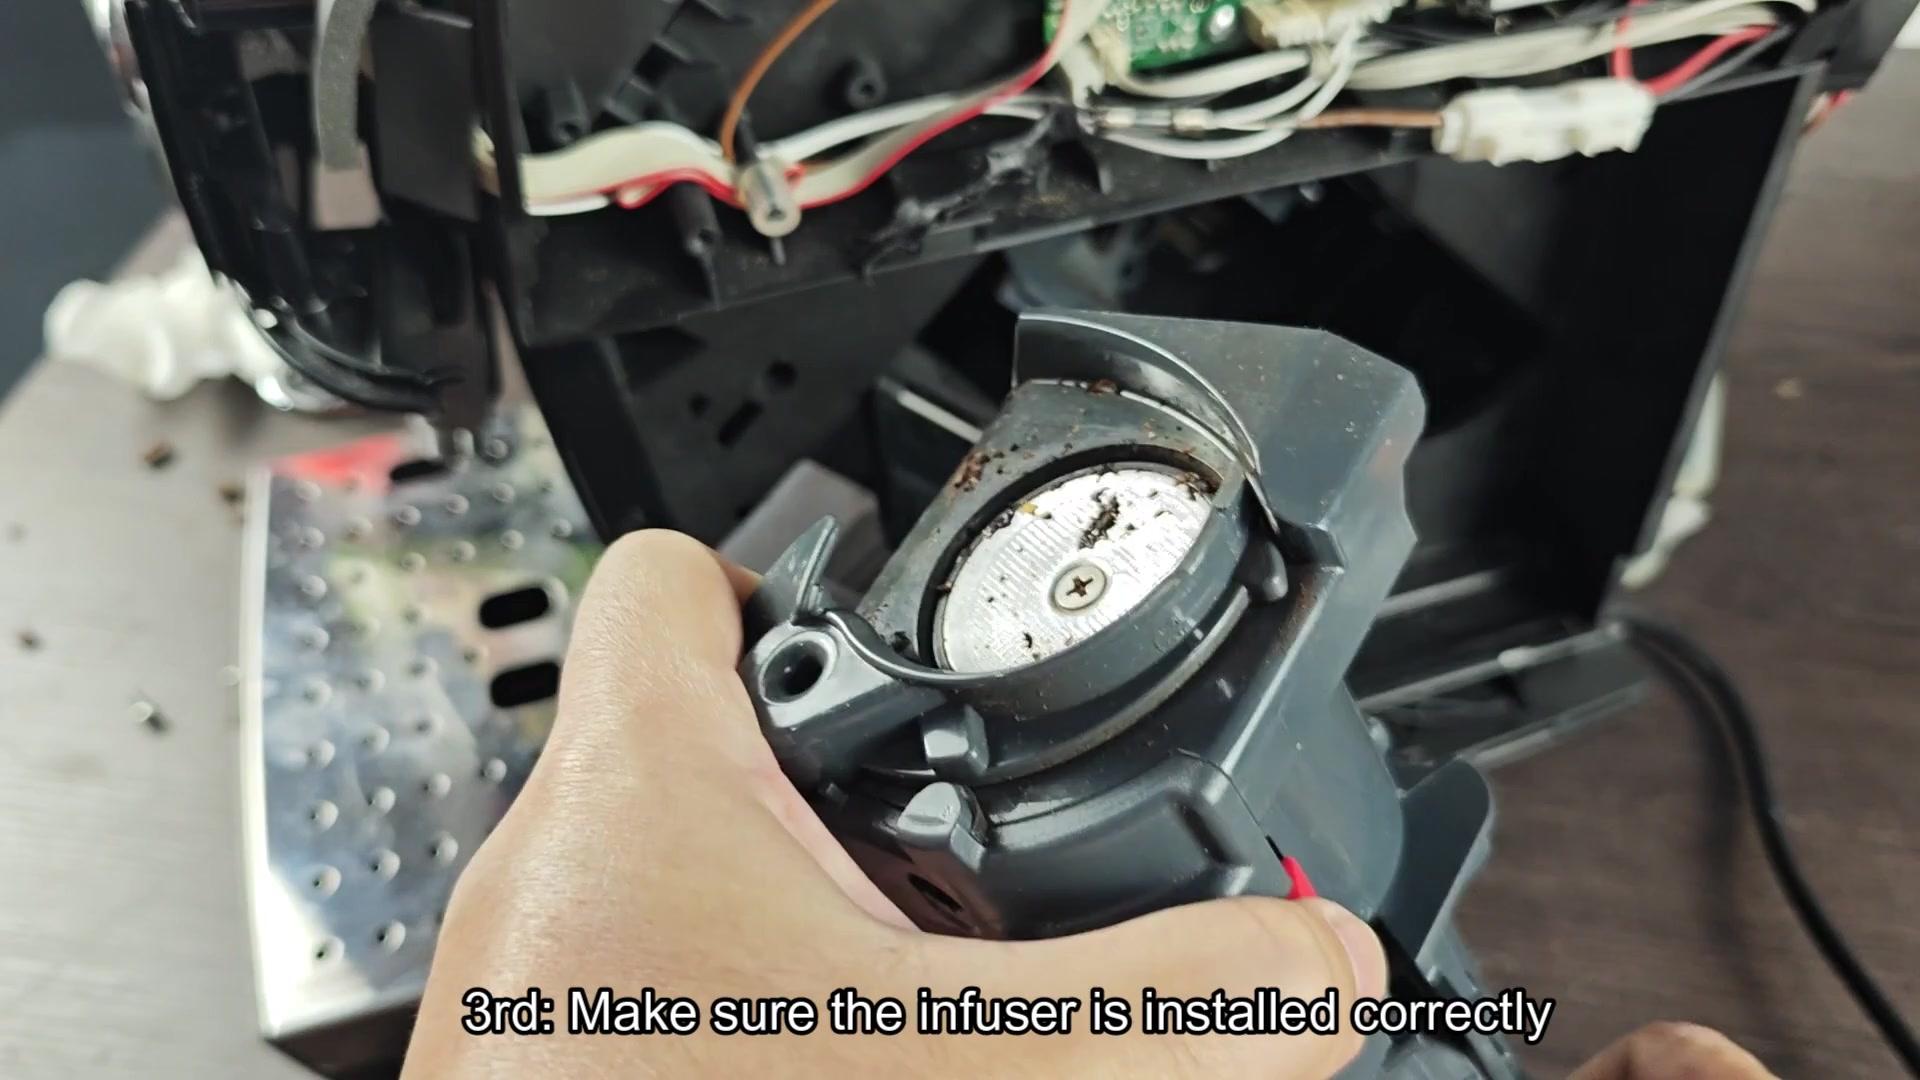
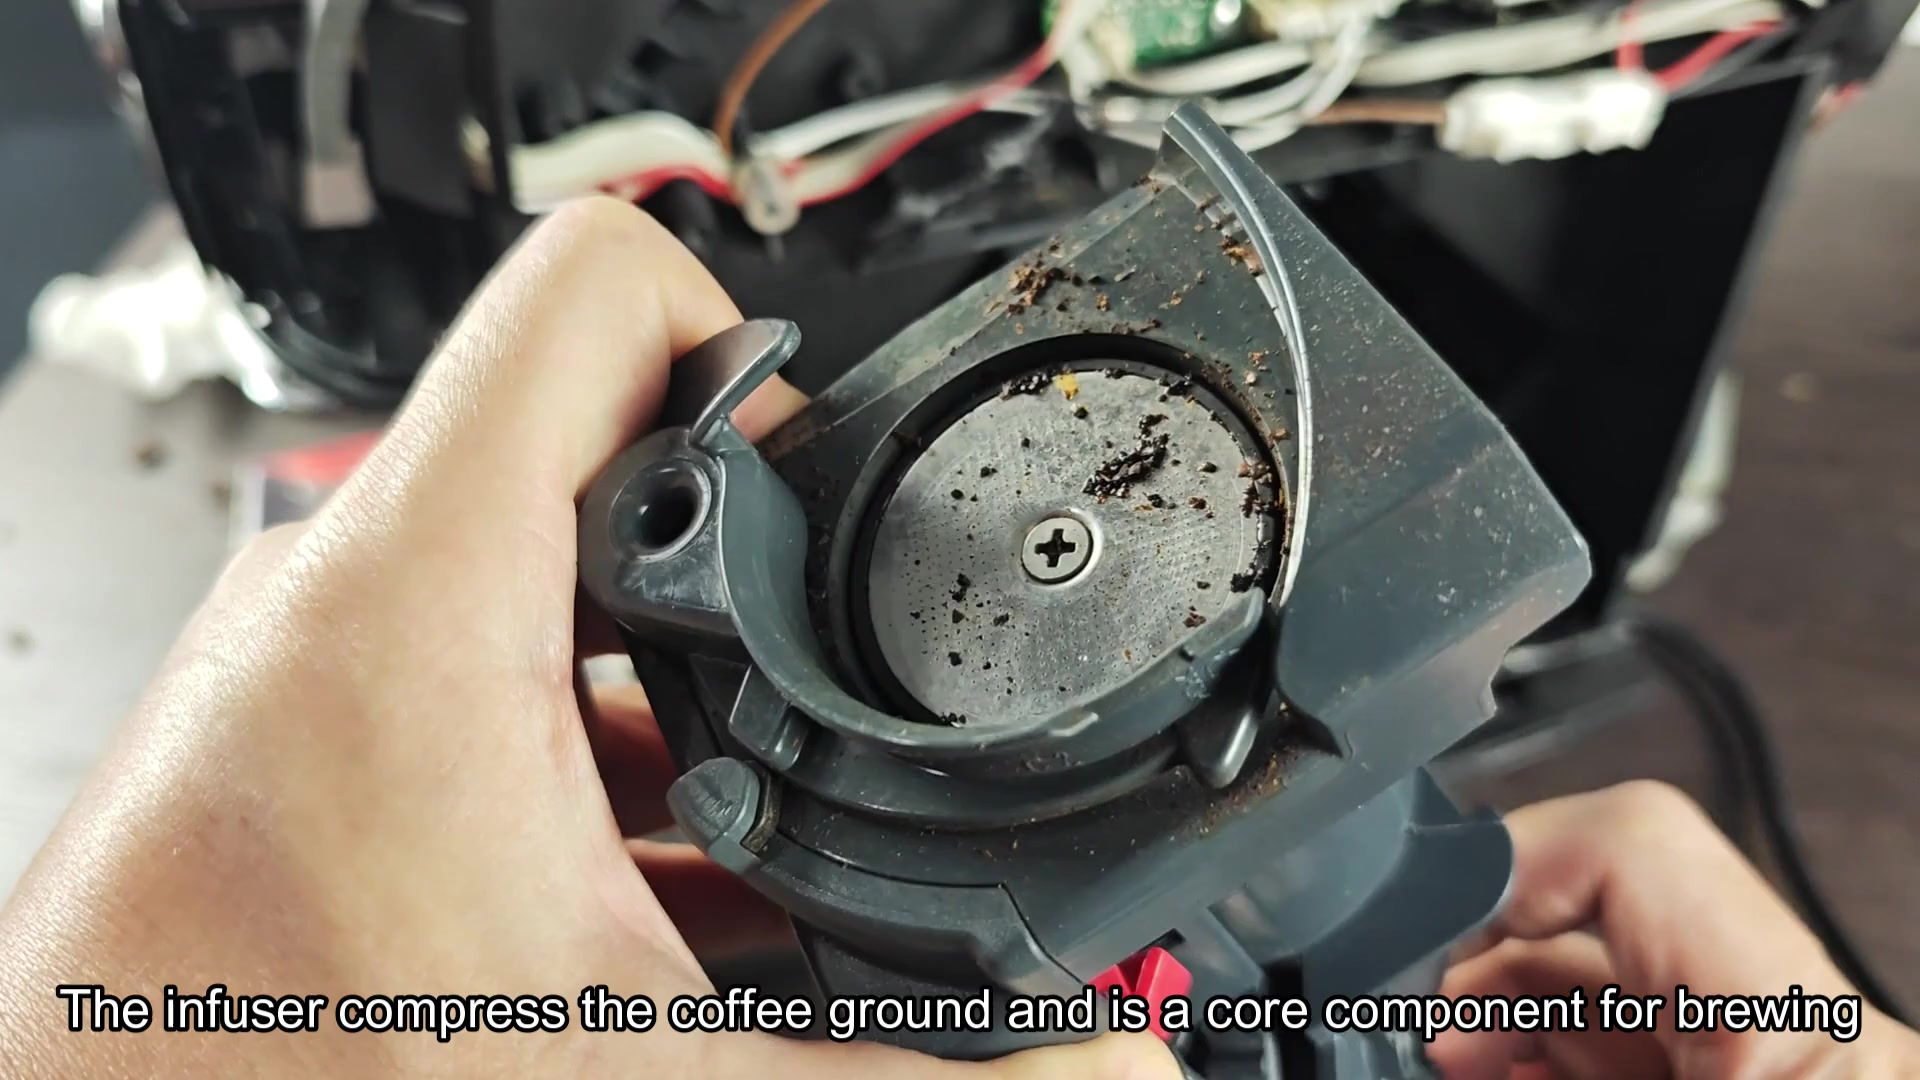
If you eliminate the grinder as a problem, then check your brew group, or infuser unit. That’s the part where the coffee grounds are compressed and the hot water flows over it. It can become stuck or installed incorrect during cleanup. Take the infuser out, clear away old coffee buildup and gently seat it back in place. If the infuser is loose, the machine won’t be able to tell when it’s time to start brewing.
When you clean out the infuser, do you see any packed-in grinds within the gears? Over time, that residue can clog the water passageway and gum up the gears. So give it a good scrape to remove all those oily coffee particles from surface. Because the infuser squeezes your coffee into a dense mass, it plays an important role in the brewing process. And if it’s askew or otherwise dirty, it won’t generate enough pressure.
Six areas to check if your machine stops brewing
During the extraction, the puck of coffee is held by the infuser. If you do not compress it correctly, there will not be enough pressure. Your coffee will run through too quickly, resulting in watery, weak coffee. Look at the central screw surrounded by the circular plate. This should be intact; anything damaged here will compromise the pressure seal required for an espresso-like brew. Because it absorbs the most pressure and heat, this plastic piece are important.
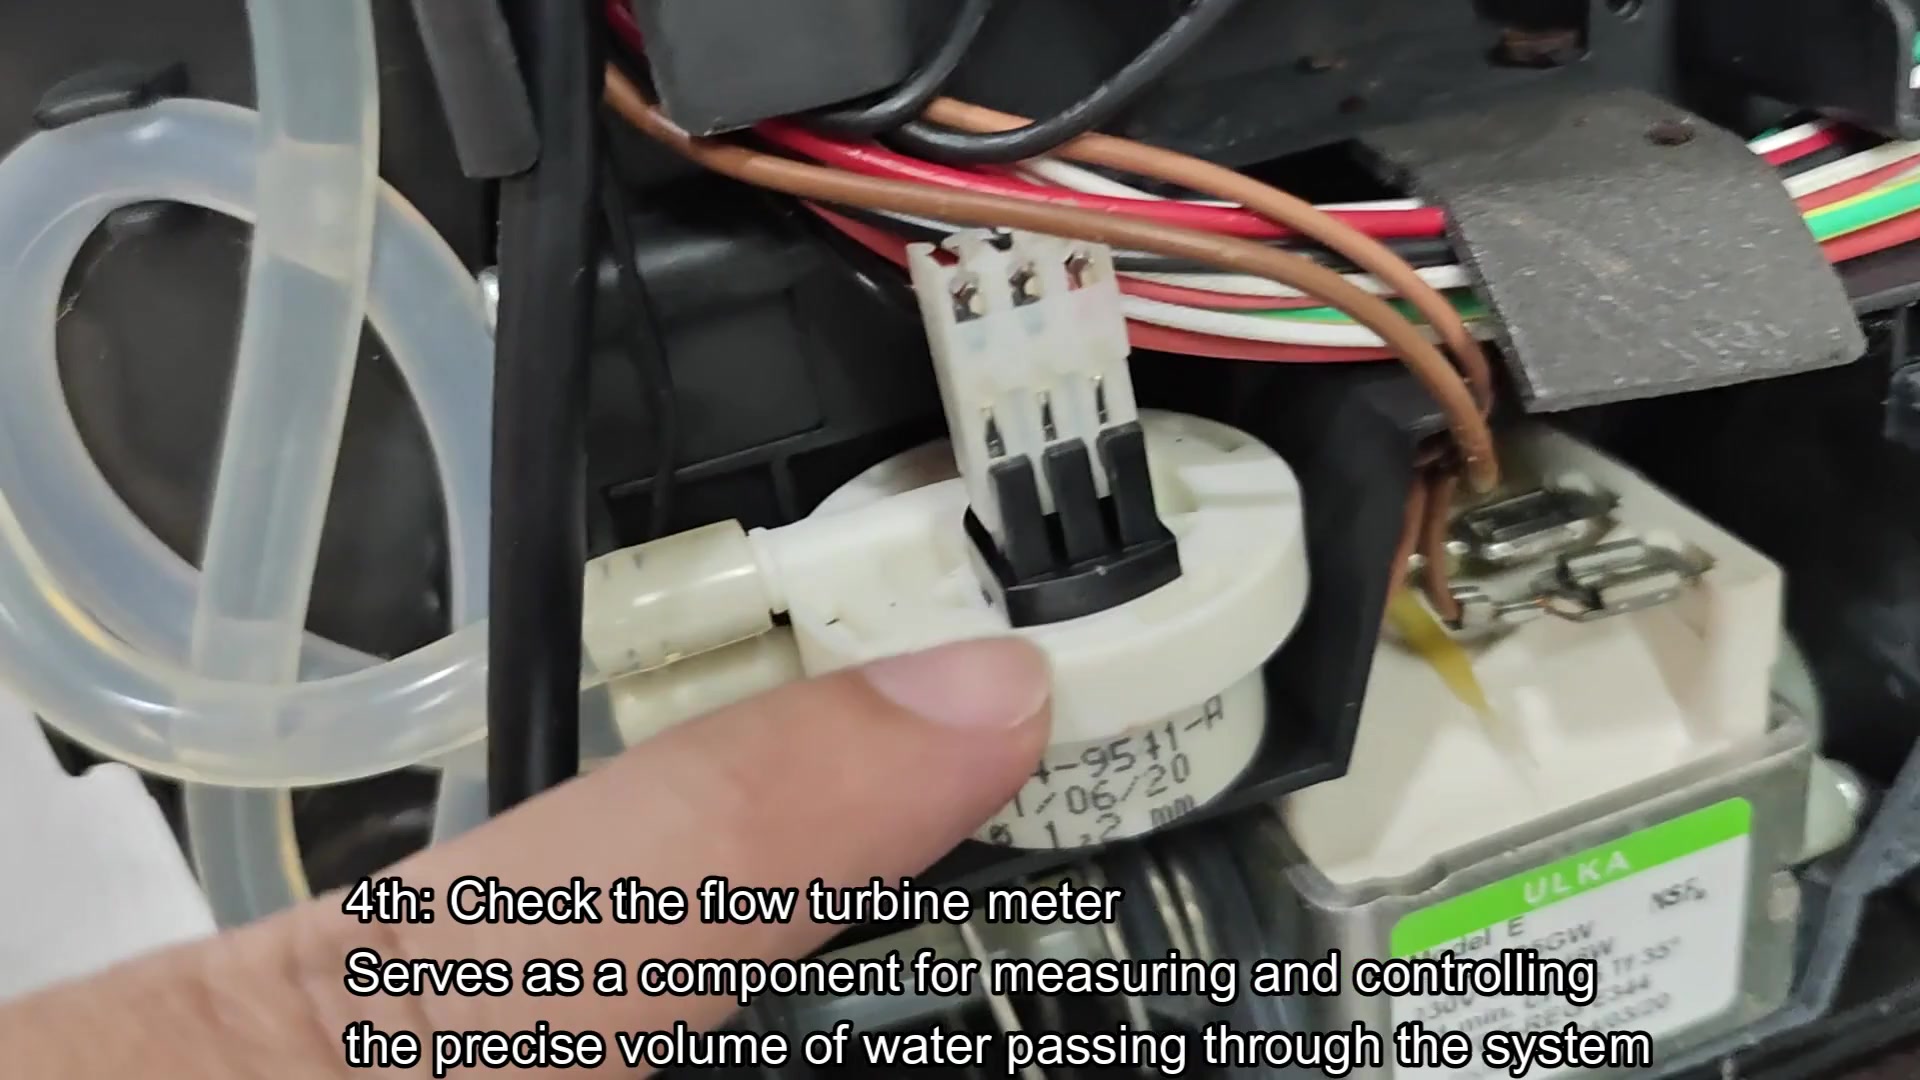
Next, move further into the machine and take a look at the flow meter. The flow meter is that little turbine that measures how much water goes through the machine when we’re brewing. It’s possible that the flow meter is stuck, or broken so it thinks there isn’t any water going through (when in fact there is). As a result, the machine won’t initiate the brew process or will shut off early in the brew cycle. Look around here for any disconnected wires or other damage to the white connector and wiring near flow meter.
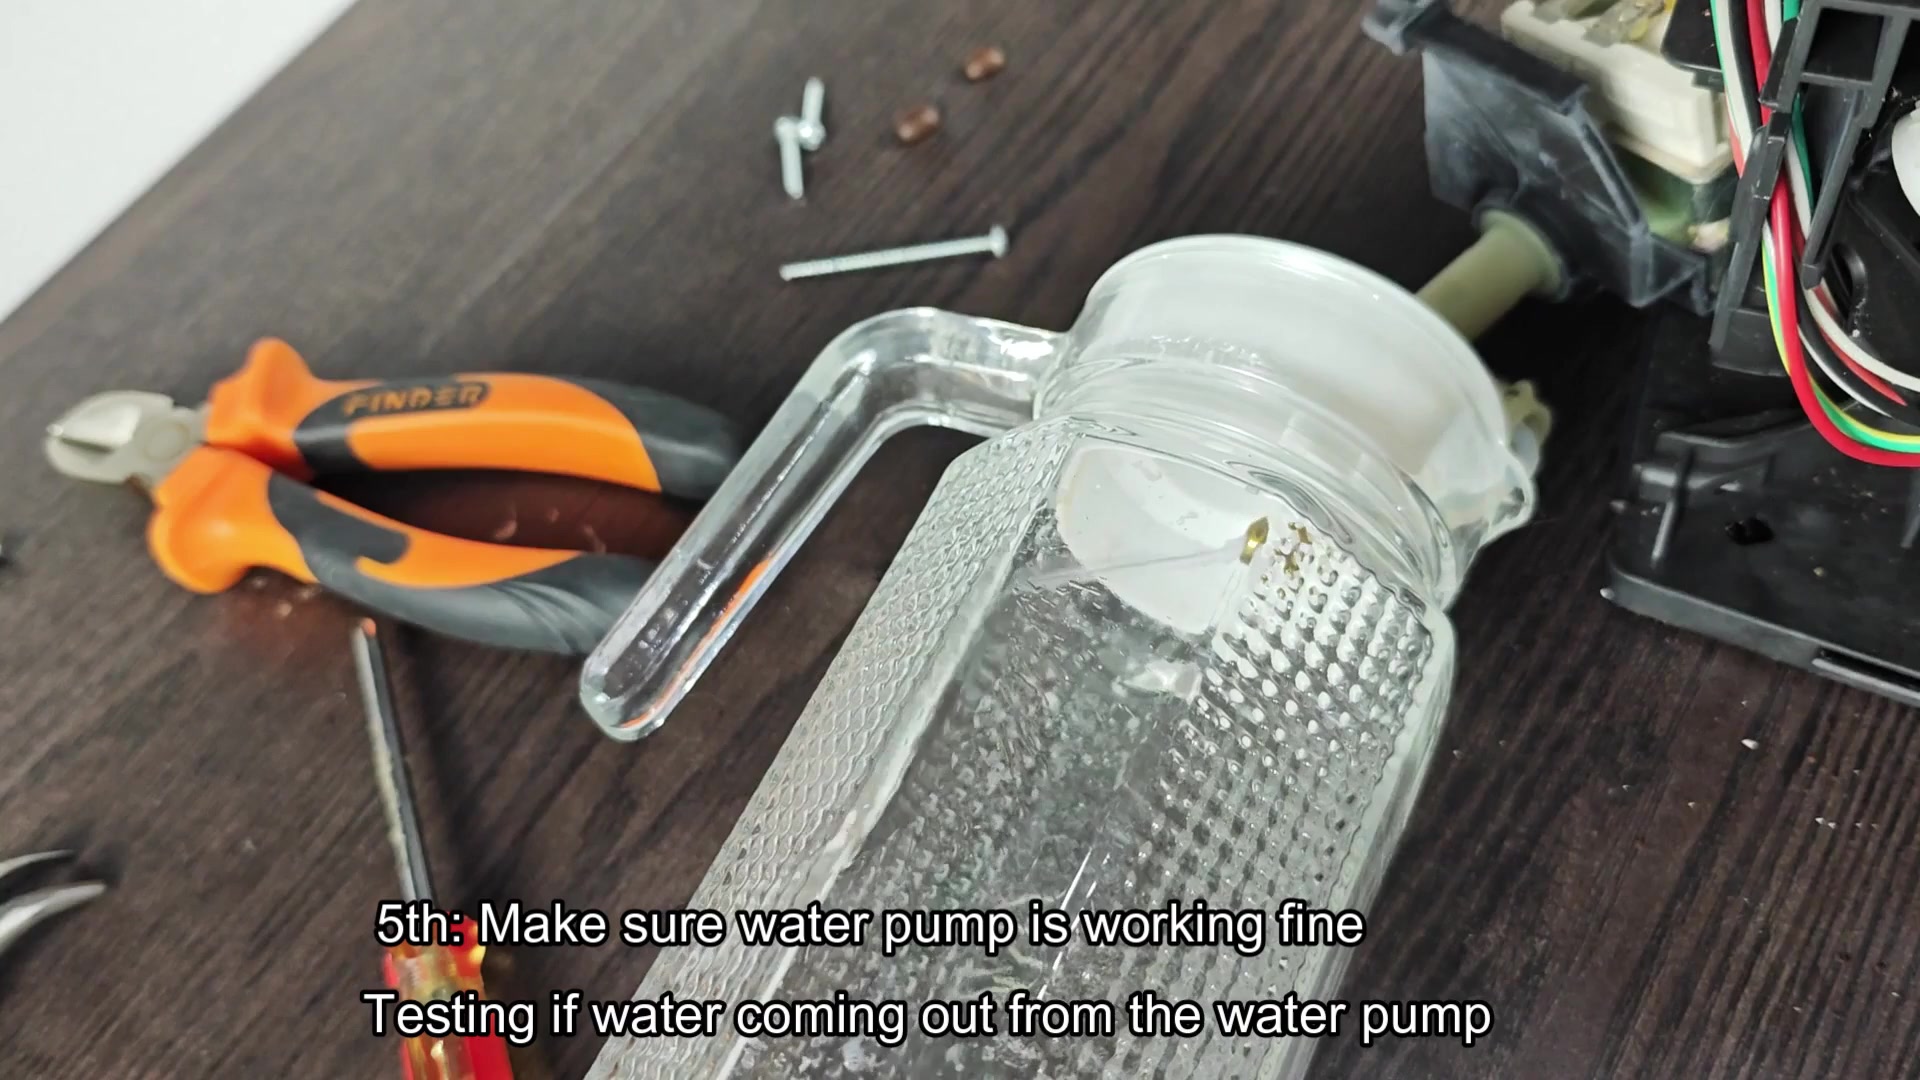
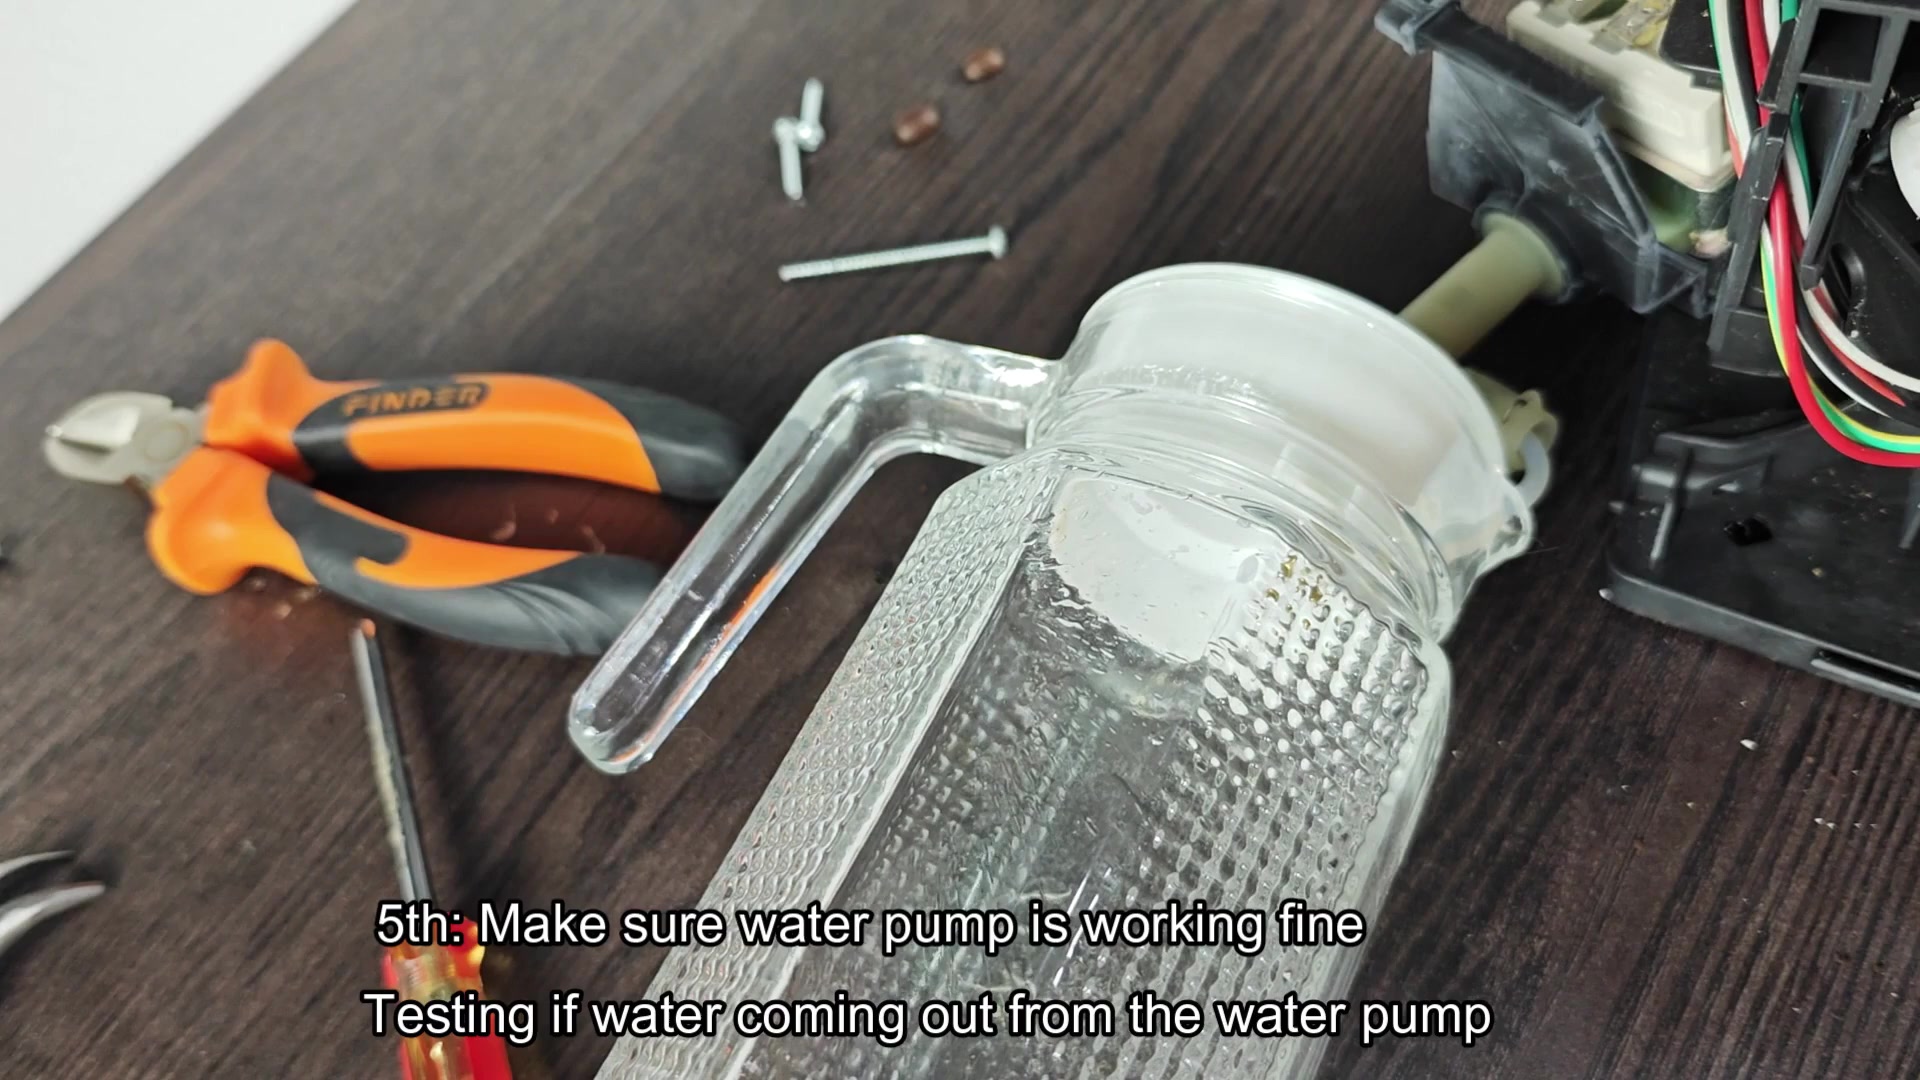
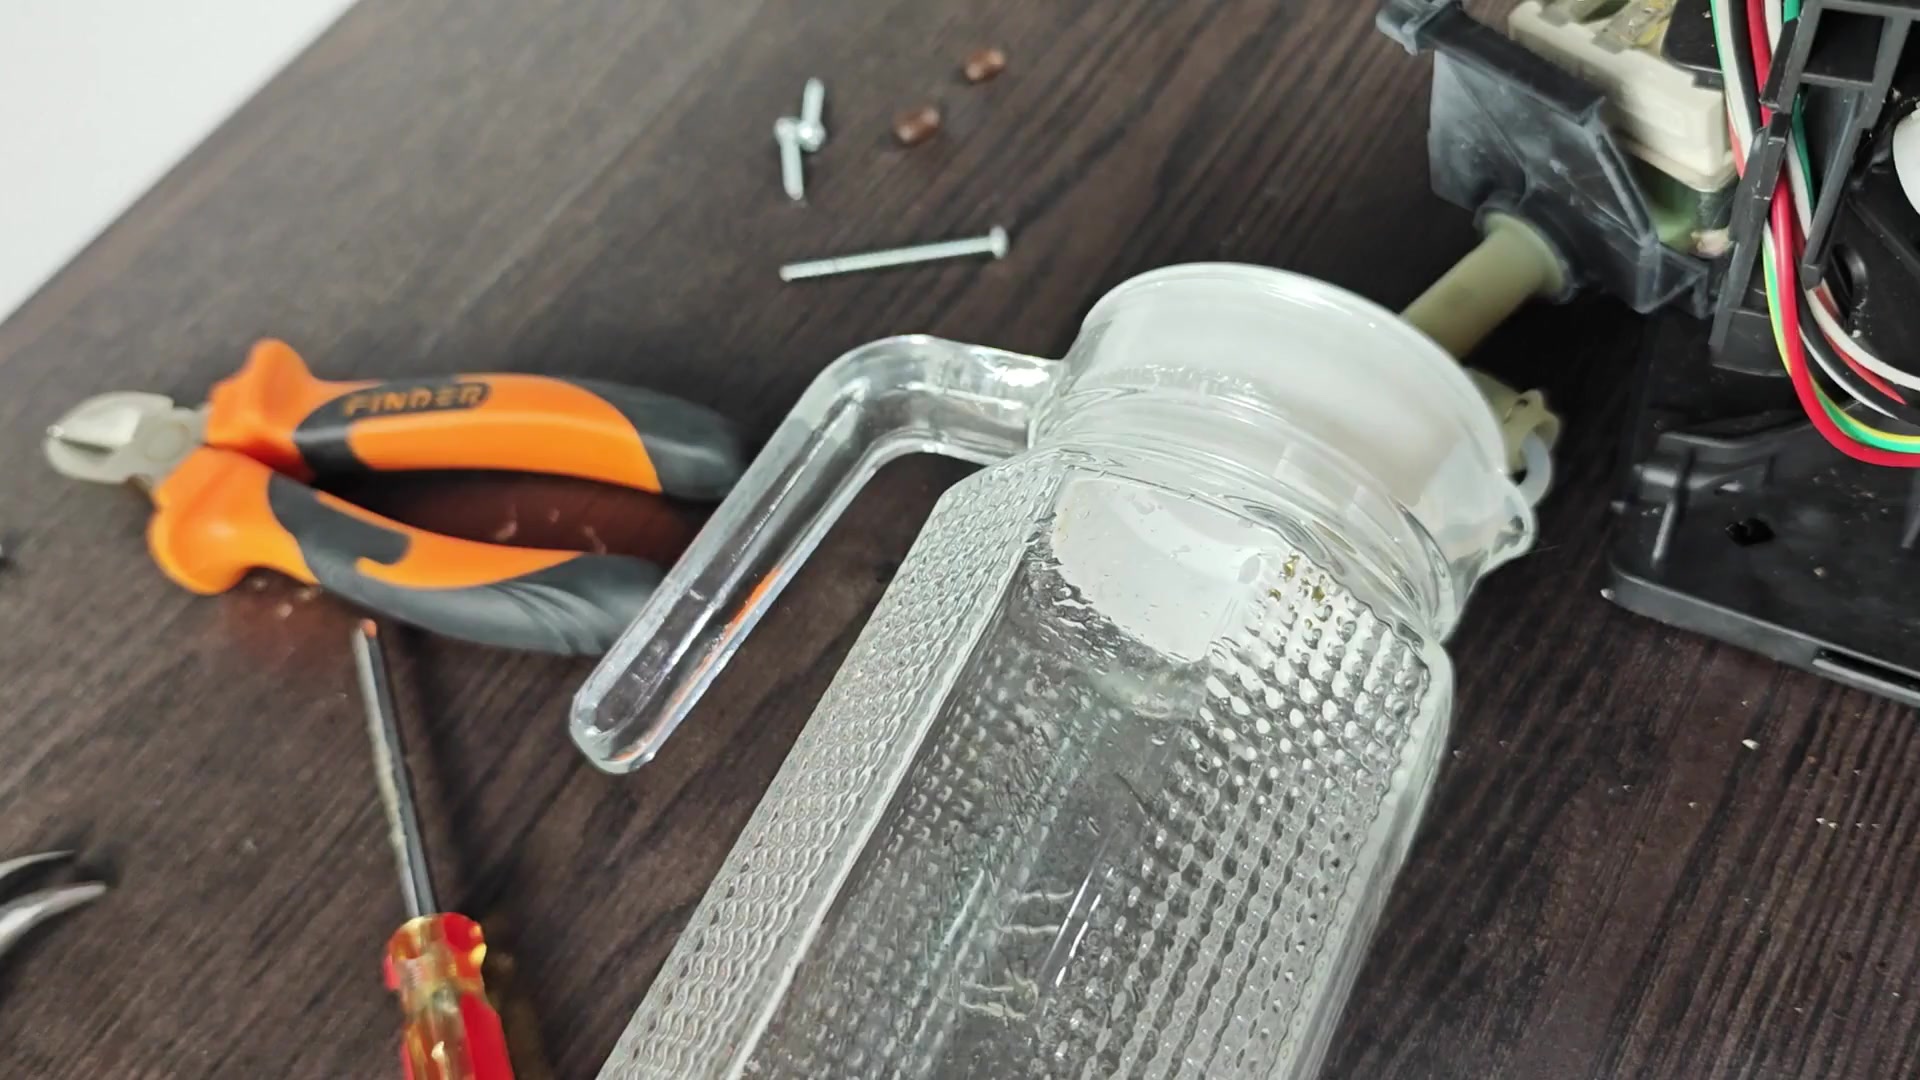
Lastly, test your water pump (to see if it was pumping water through the system). This pump provide the pressure needed to make both long coffee drinks and espressos. To test this you can remove the hose connected to the outlet into the pitcher, which will show if water is coming straight from the pump. If it isn’t there’s probably something wrong with the pump and it must be replaced. We knew the pump had failed because we could hear it running but not see any water being produced.
Accessing the inner workings is safe if you have tools such as screw drivers and pliers. Removing paneling will take you to the pump area, so watch out for stripped screws. Keeping little pieces of hardware orderly helps the diagnostic process. Measuring the pump output tell you if it was a mechanical or an electrical problem. The water supply line can now be ruled out as a suspect.
If the pump is on but there’s no water coming from the hose, then it’s clear that something in the actual pump isn’t working. It could be a blockage of some sort inside due to debris or it could just be that internal impeller is shot. Once you replace the bad pump, everything comes alive again and your brewer has good water flow and pressure into the brewing chamber. With this fix, not only will the machine dispense hot water over the grounds of coffee, but the whole thing are brought back to life.
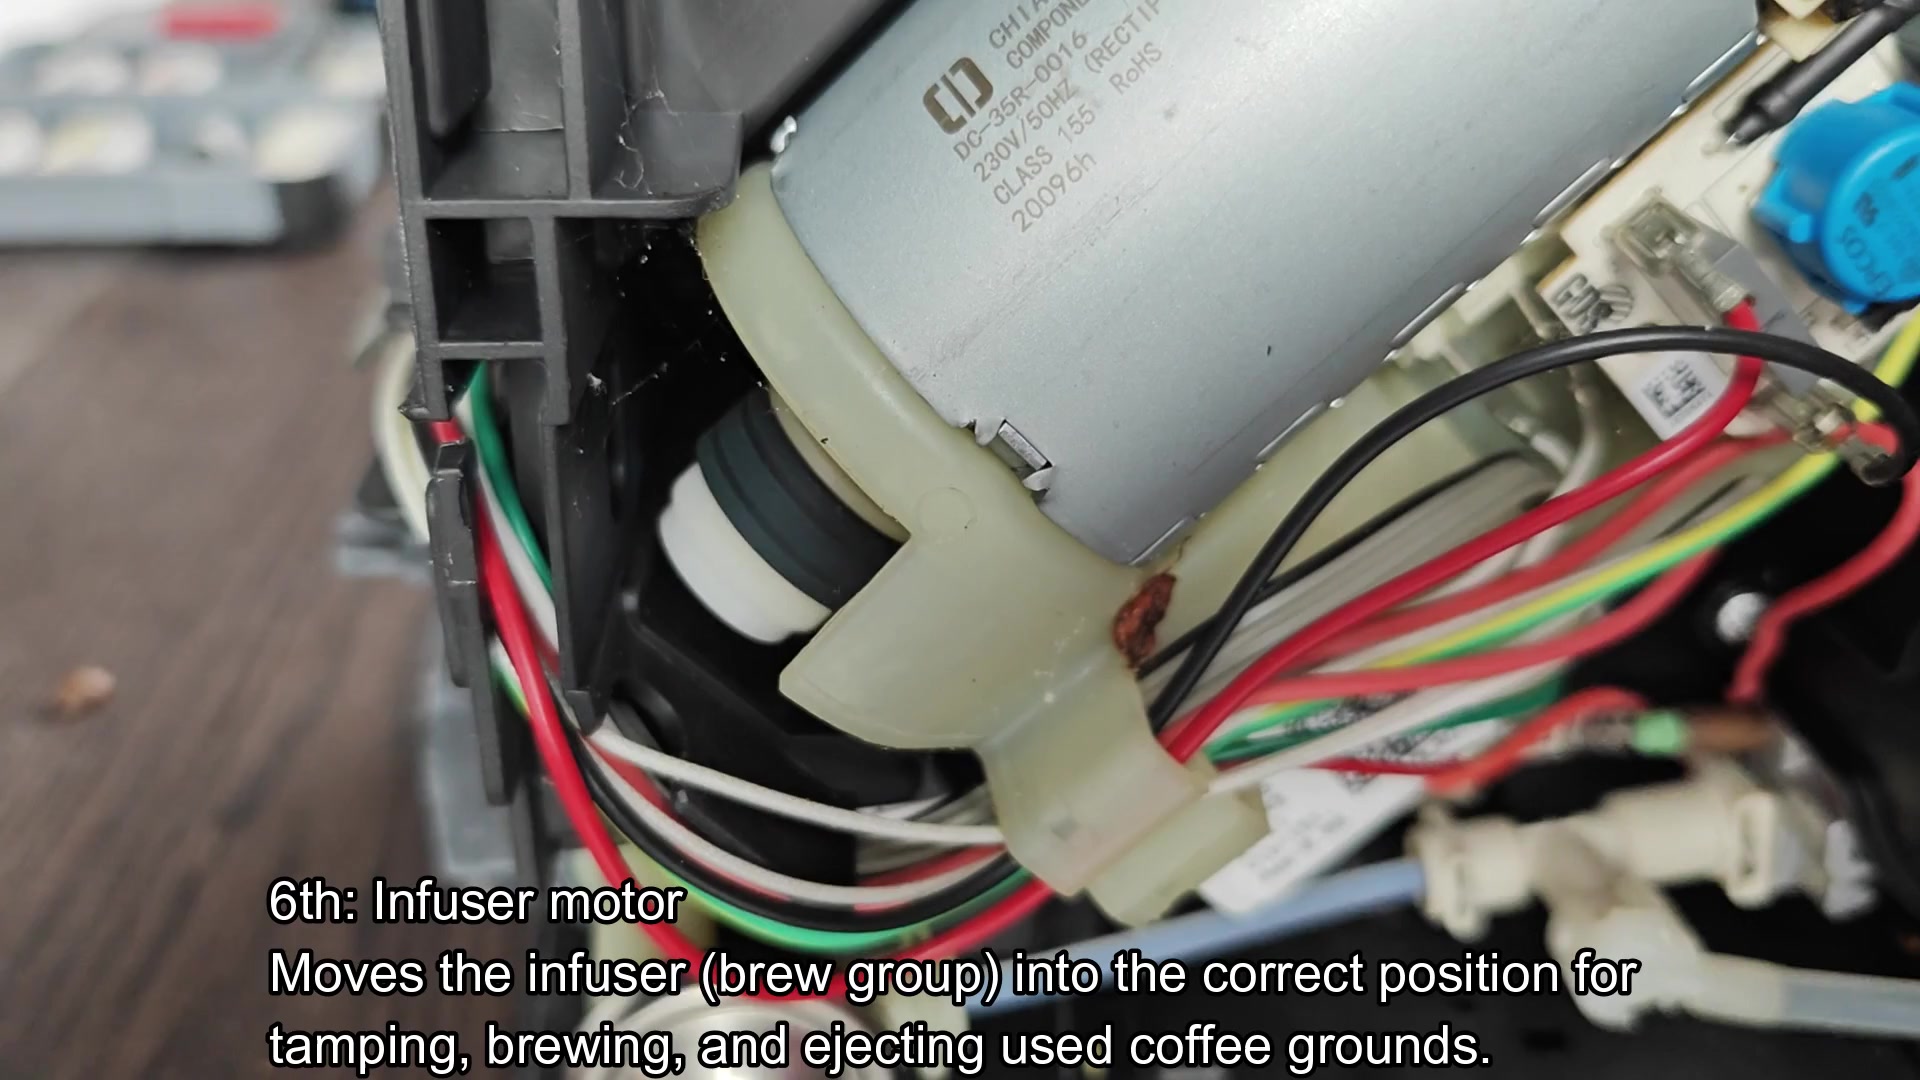
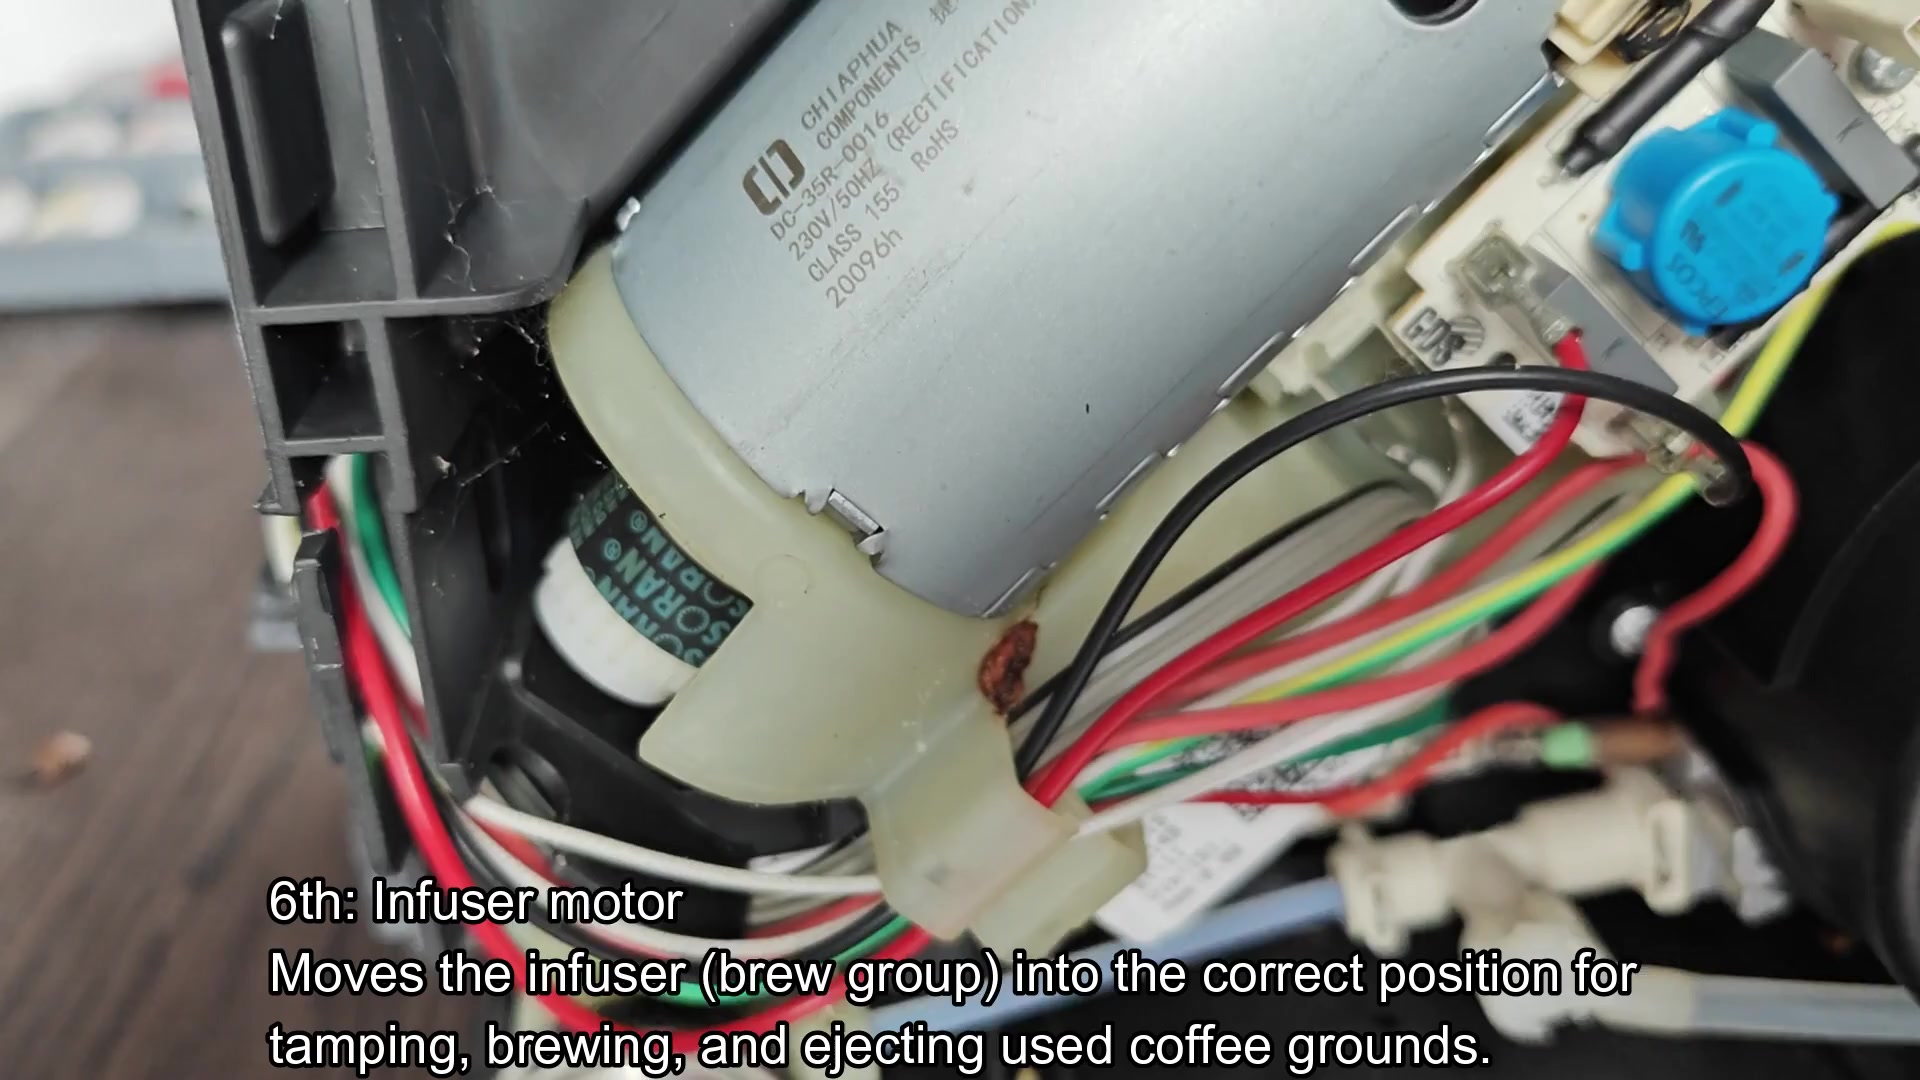
Last but not least, inspect the infuser motor that moves the brew group around when it’s time to tamp, brew and then eject spent grounds. When this motor doesn’t work correctly (or is broken/stuck), the infuser won’t be able to do its job and neither will the rest of the machine. Examine the wiring connections and the motor housing for any obvious signs of damage. Each stage of the coffee cycle rely on exact motor timing.
When we open it up, you can see the little circuit board with various color-coded wires running into it and then the silver motor attached. Those wires send commands from the control board to the motor. If the motor was out of order or the wire disconnected somehow, the infuser wouldn’t cycle properly. When pressing the button, make sure the motor has power and that everything is securely fastened. It is responsible for physically moving the entire brewing process along.
Knowing which one of those six sections is not working will save you a lot of time in narrowing down the cause. So check your motor, your pump, your flow meter, your infuser, your beans and your grinder to find out exactly why it won’t brew.
Turns out most things are easy fixes. Refill the beans. Clean the infuser. And more complicated stuff involves replacing parts. But now that you have an idea where to look for it it should of been manageable.