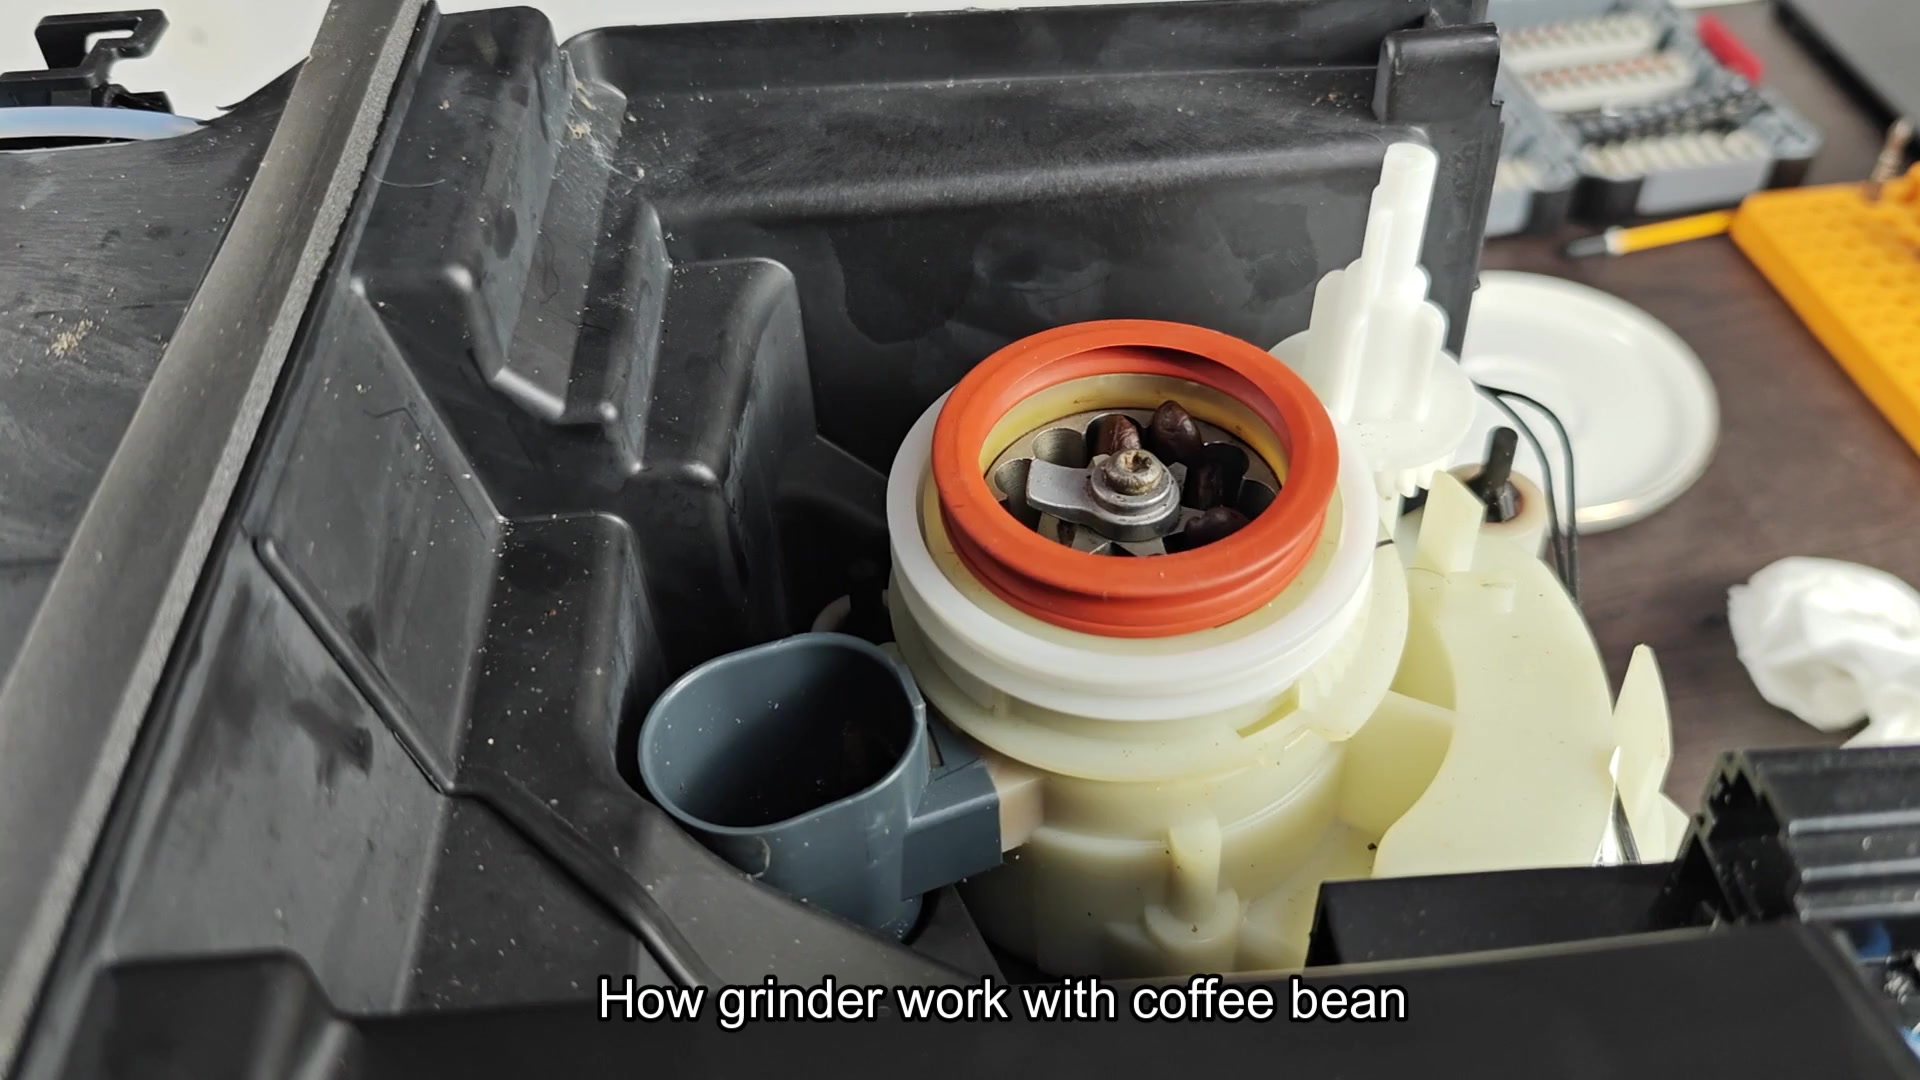
Before doing any sort of maintenance on this machine, however, always be sure to unplug it first. Electricity are dangerous when parts is open; safety first!
Pushing the button didn’t result in the grinder spinning, it stayed quiet. In most cases that’s a sign of something being blocked up (not a motor issue). Remove back cover to check out what’s inside plastic housing.
Cleaning The Grinder Blades
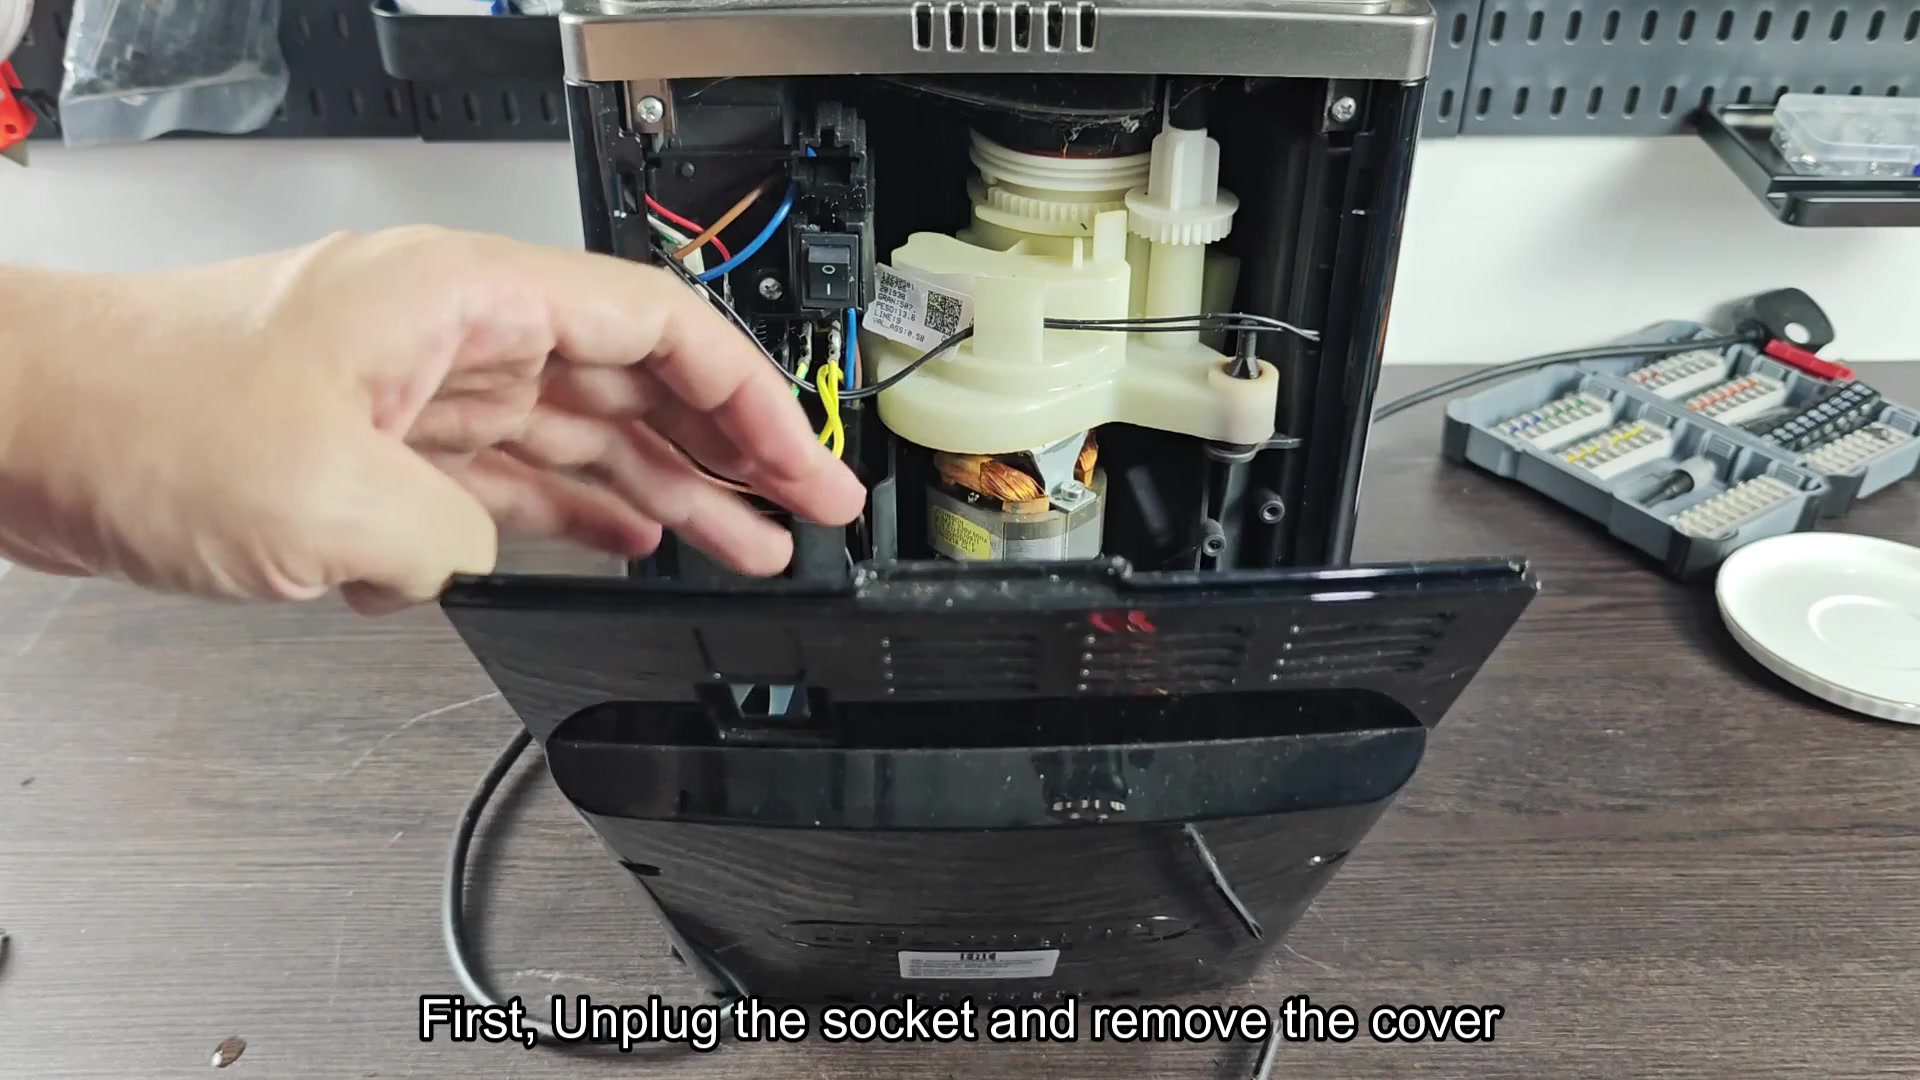
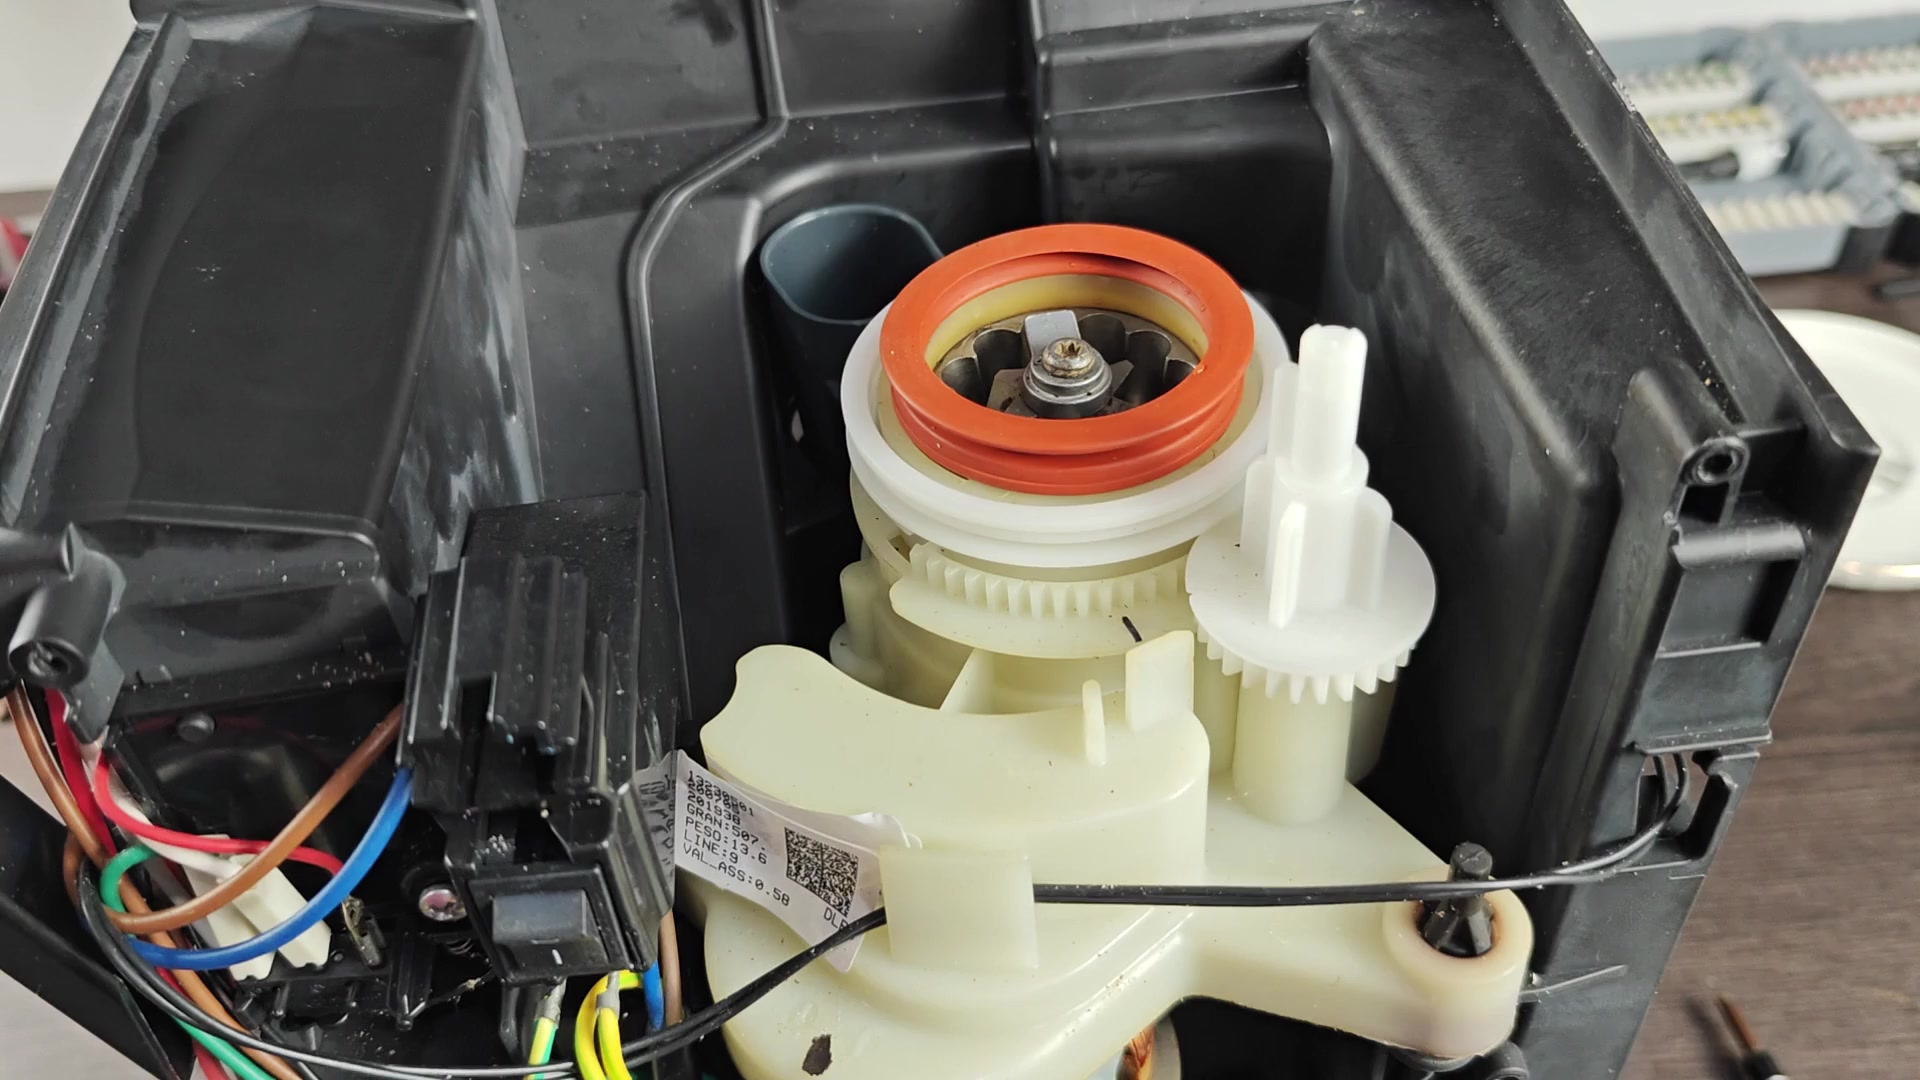
In middle, you see the grinder mechanism. The orange rubber ring is a dead giveaway for it. Against all the other black plastic components, the orange makes itself known. That’s where beans will get stuck and cause a mess. You’ll want to free up surrounding space here so you can reach inside to parts.
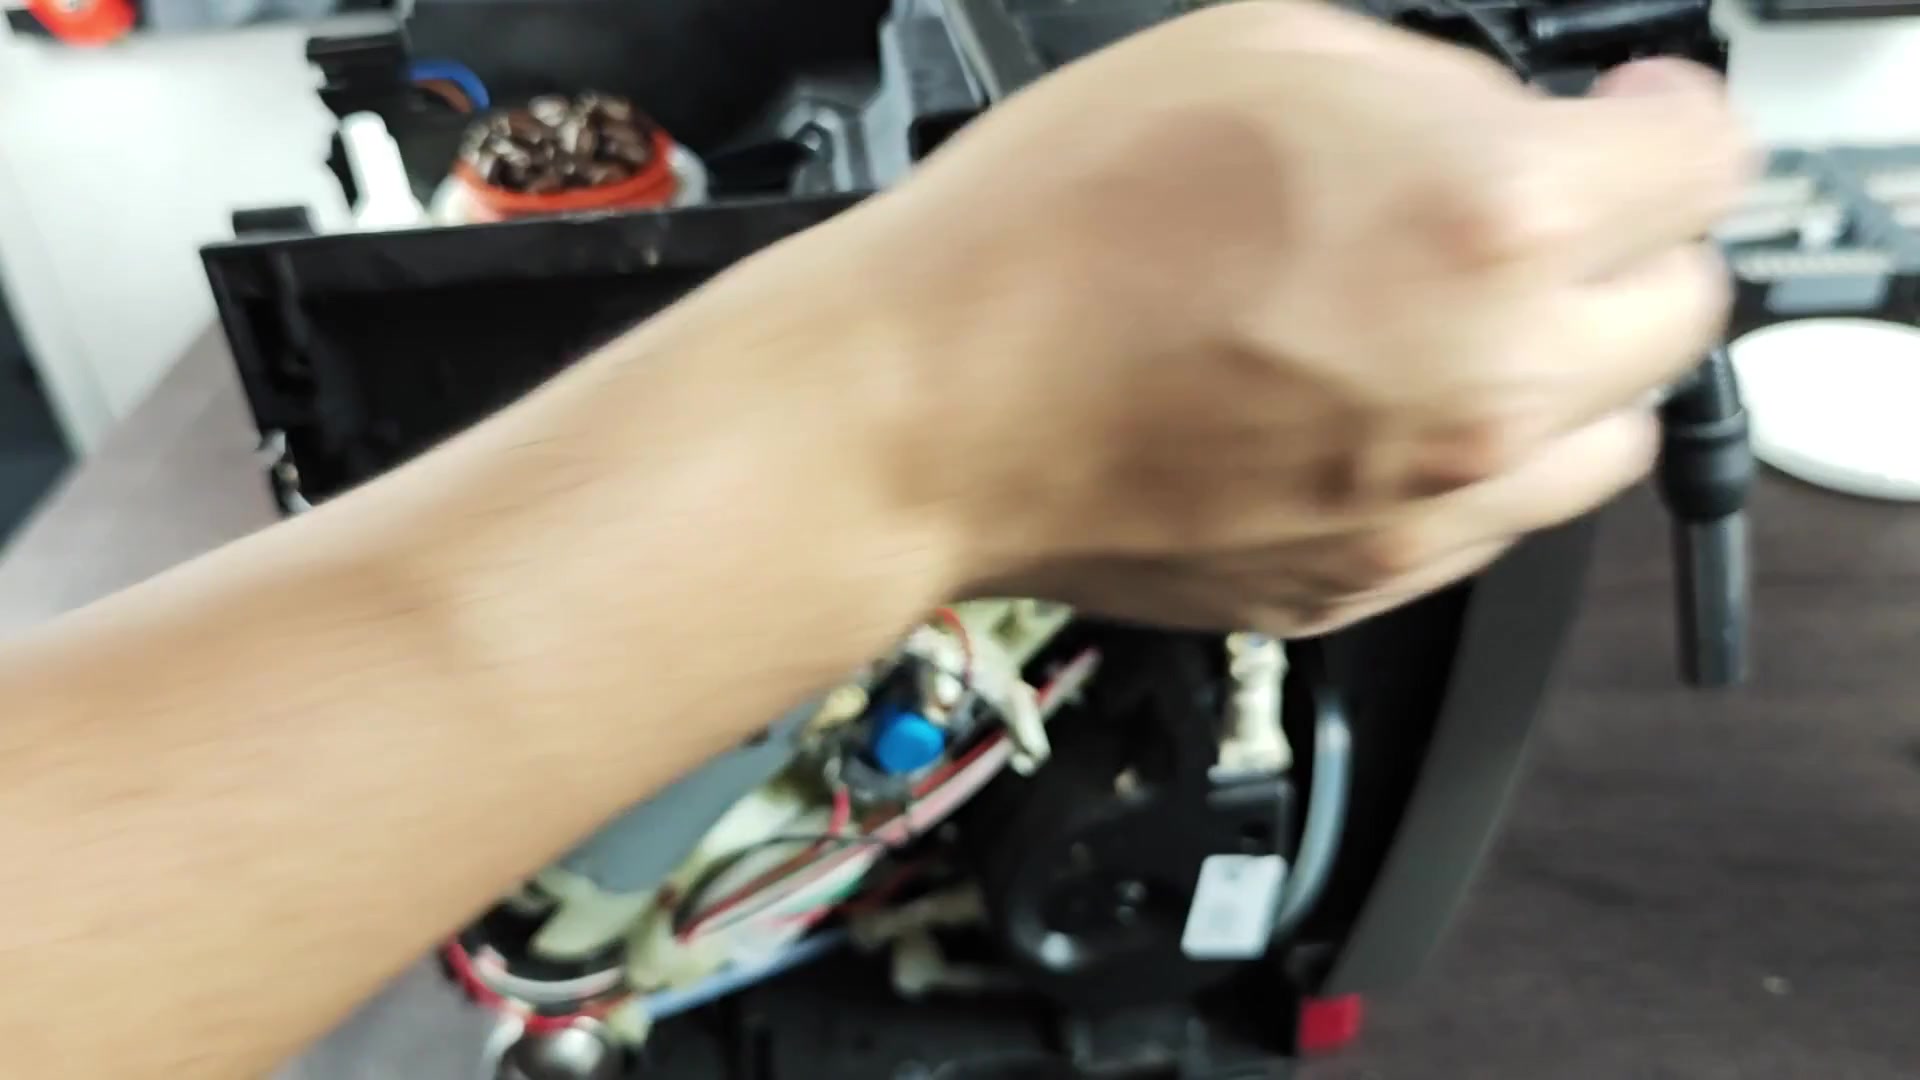
With a hand-held vac, I pull out any stray beans, etc. Vacuuming is preferrable to brushing here as brushing just scatters stuff into places you can’t reach.
After that’s all gone, you’ll notice there’s a white bracket holding everything together. That needs to be removed; it’s covering the real grinder mechanism. The bracket and rubber band should comes right off. Beneath, you’ll find blade assembly.
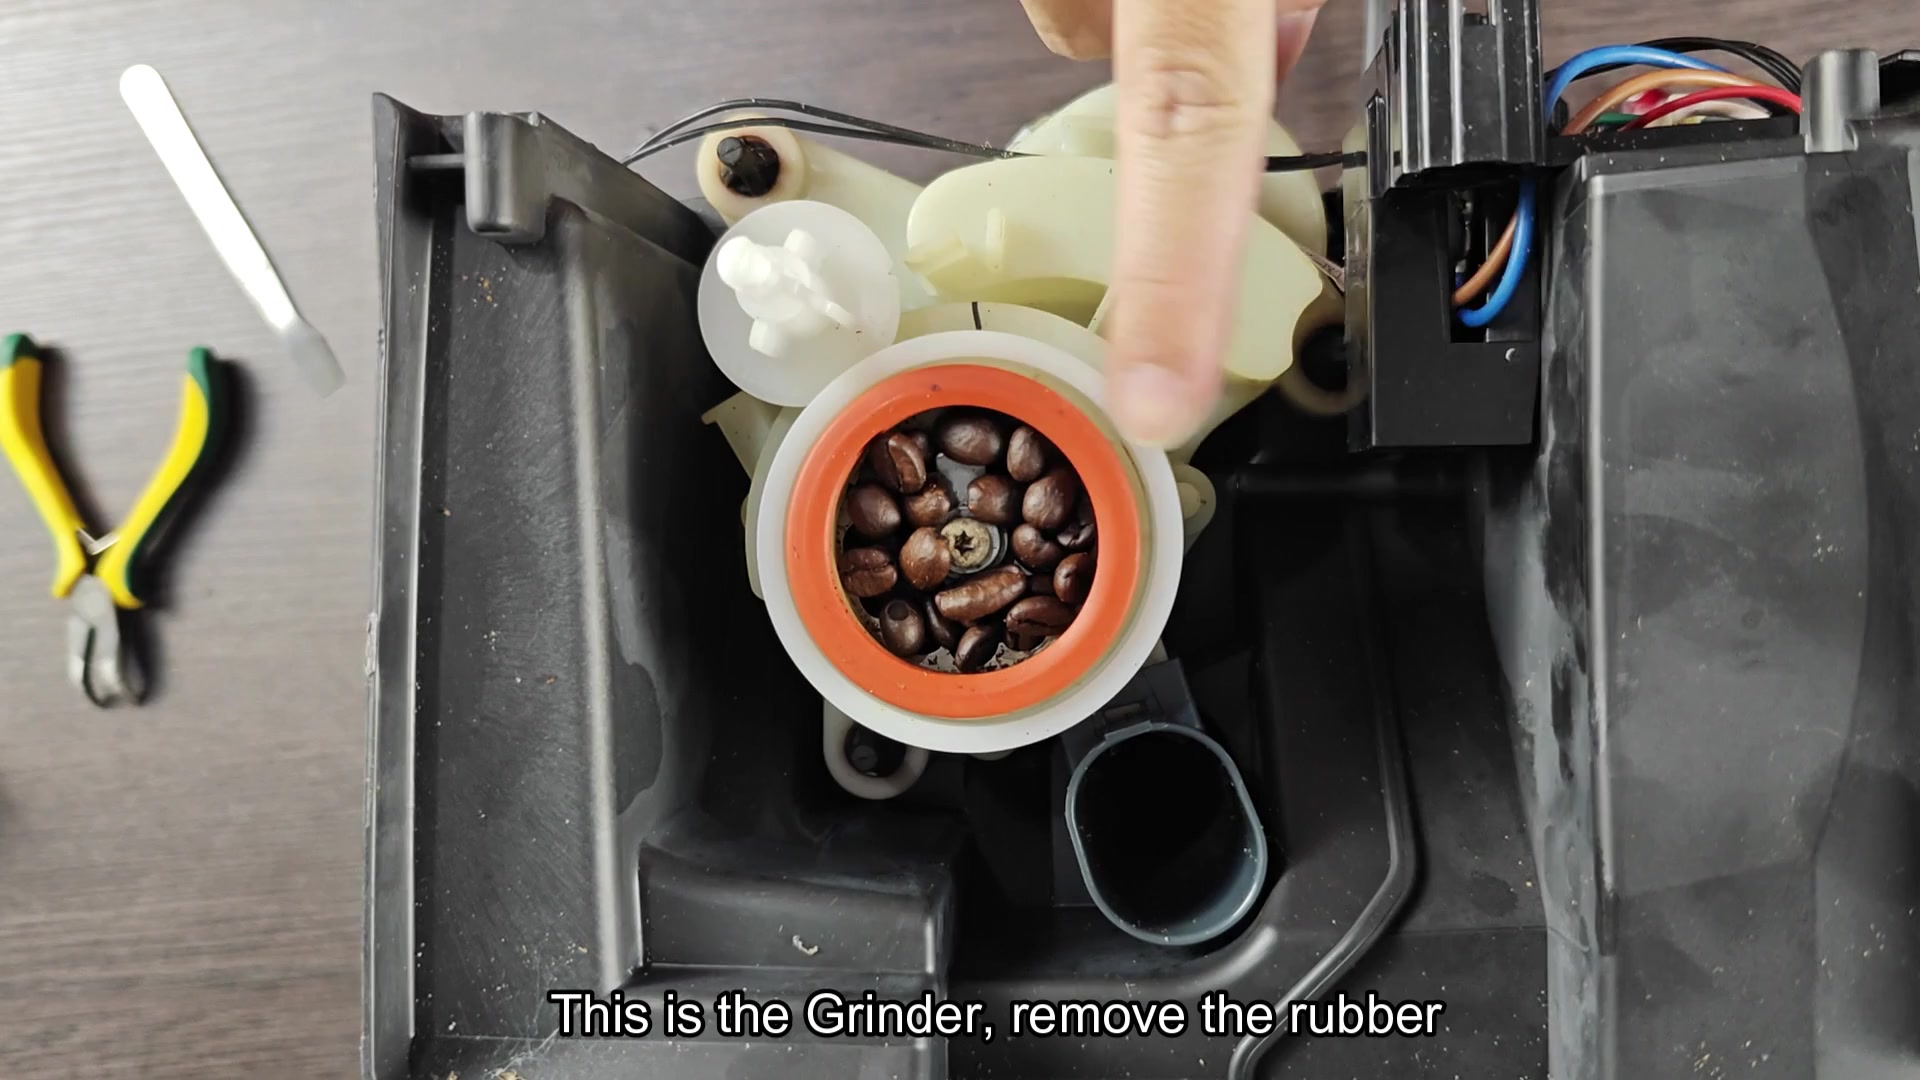
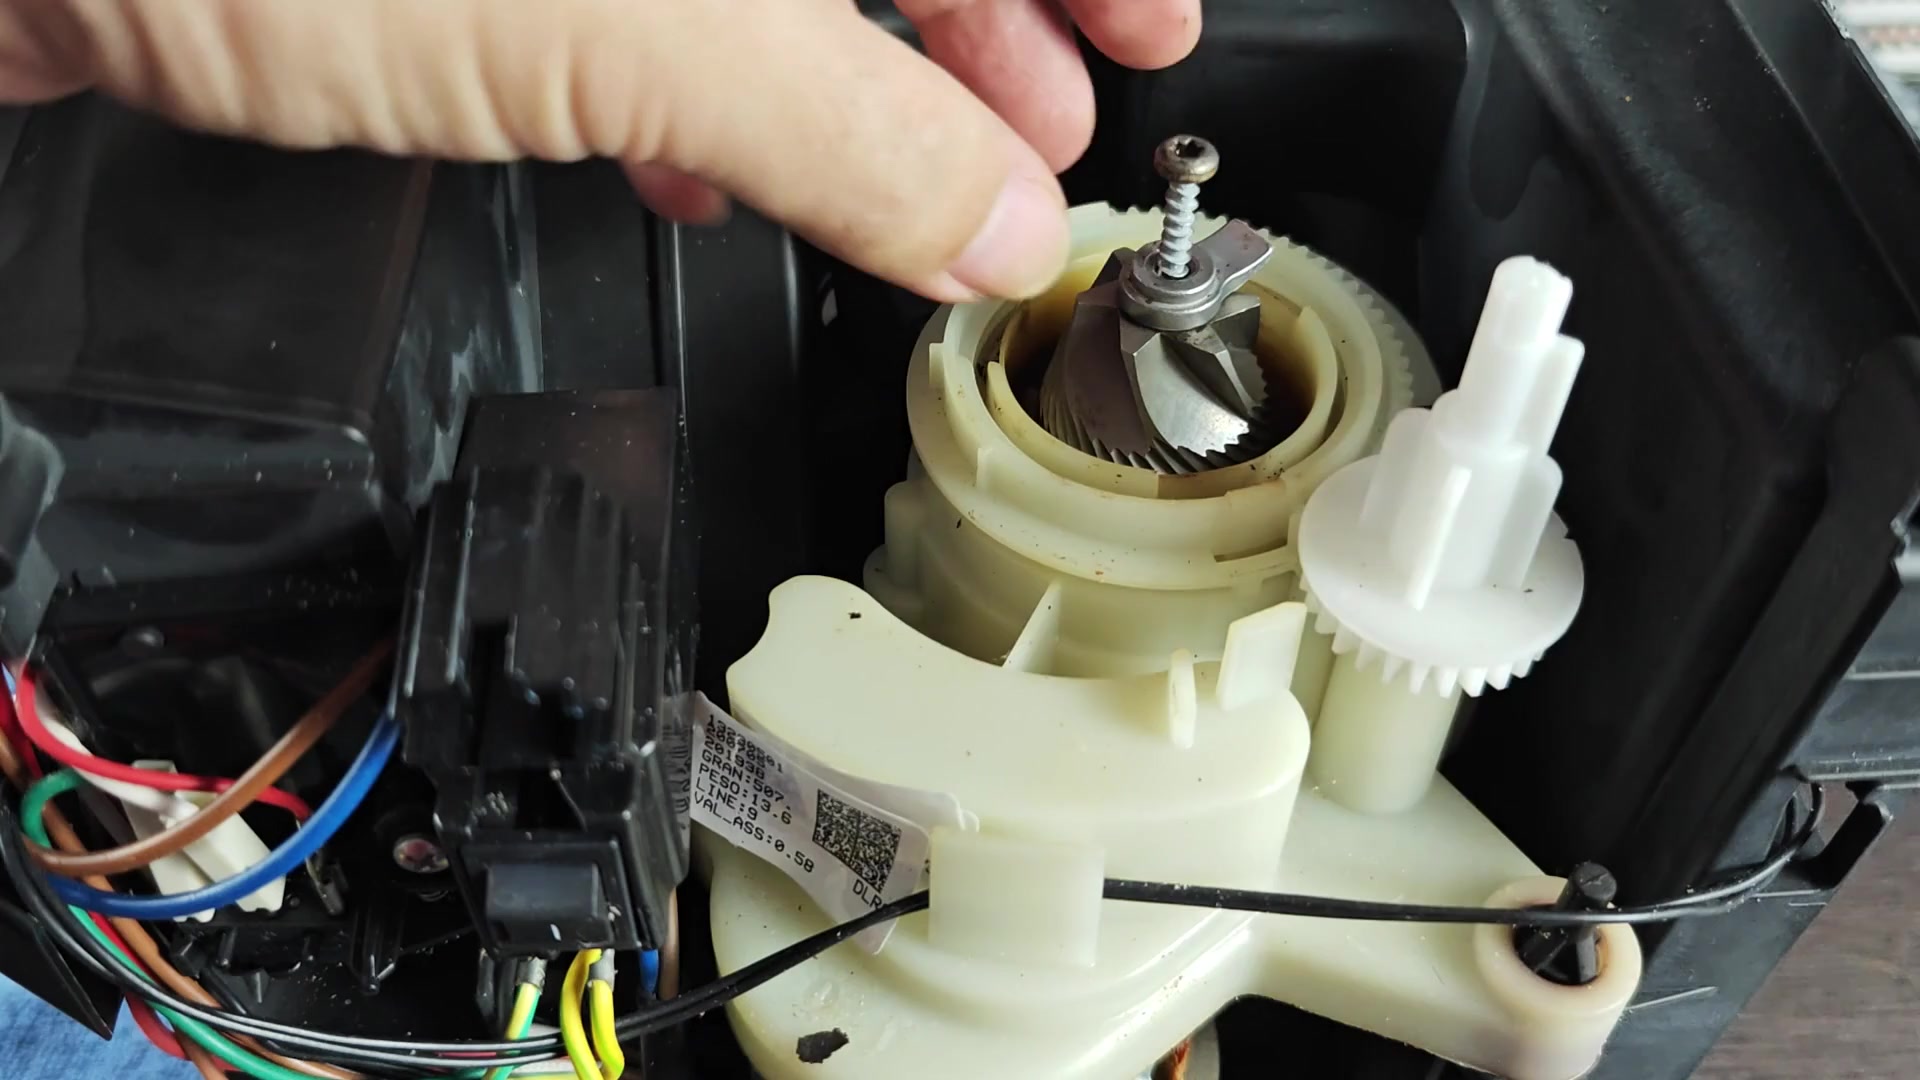
The next step is to loosen center screw holding the grinding assembly in place. This one can be a little counter-intuitive because I had to turn mine clockwise to back it out. For some reason they does things different than this model.
With some steady pressure, the screw should comes loose easily and then lift straight up and out of position. Once the screw is gone, just lift the grinding blade directly out of the housing.
Why? The blades have old coffee grounds and oil on them. This makes them look dirty and causes too much friction, which prevents gears from spinning smoothly.
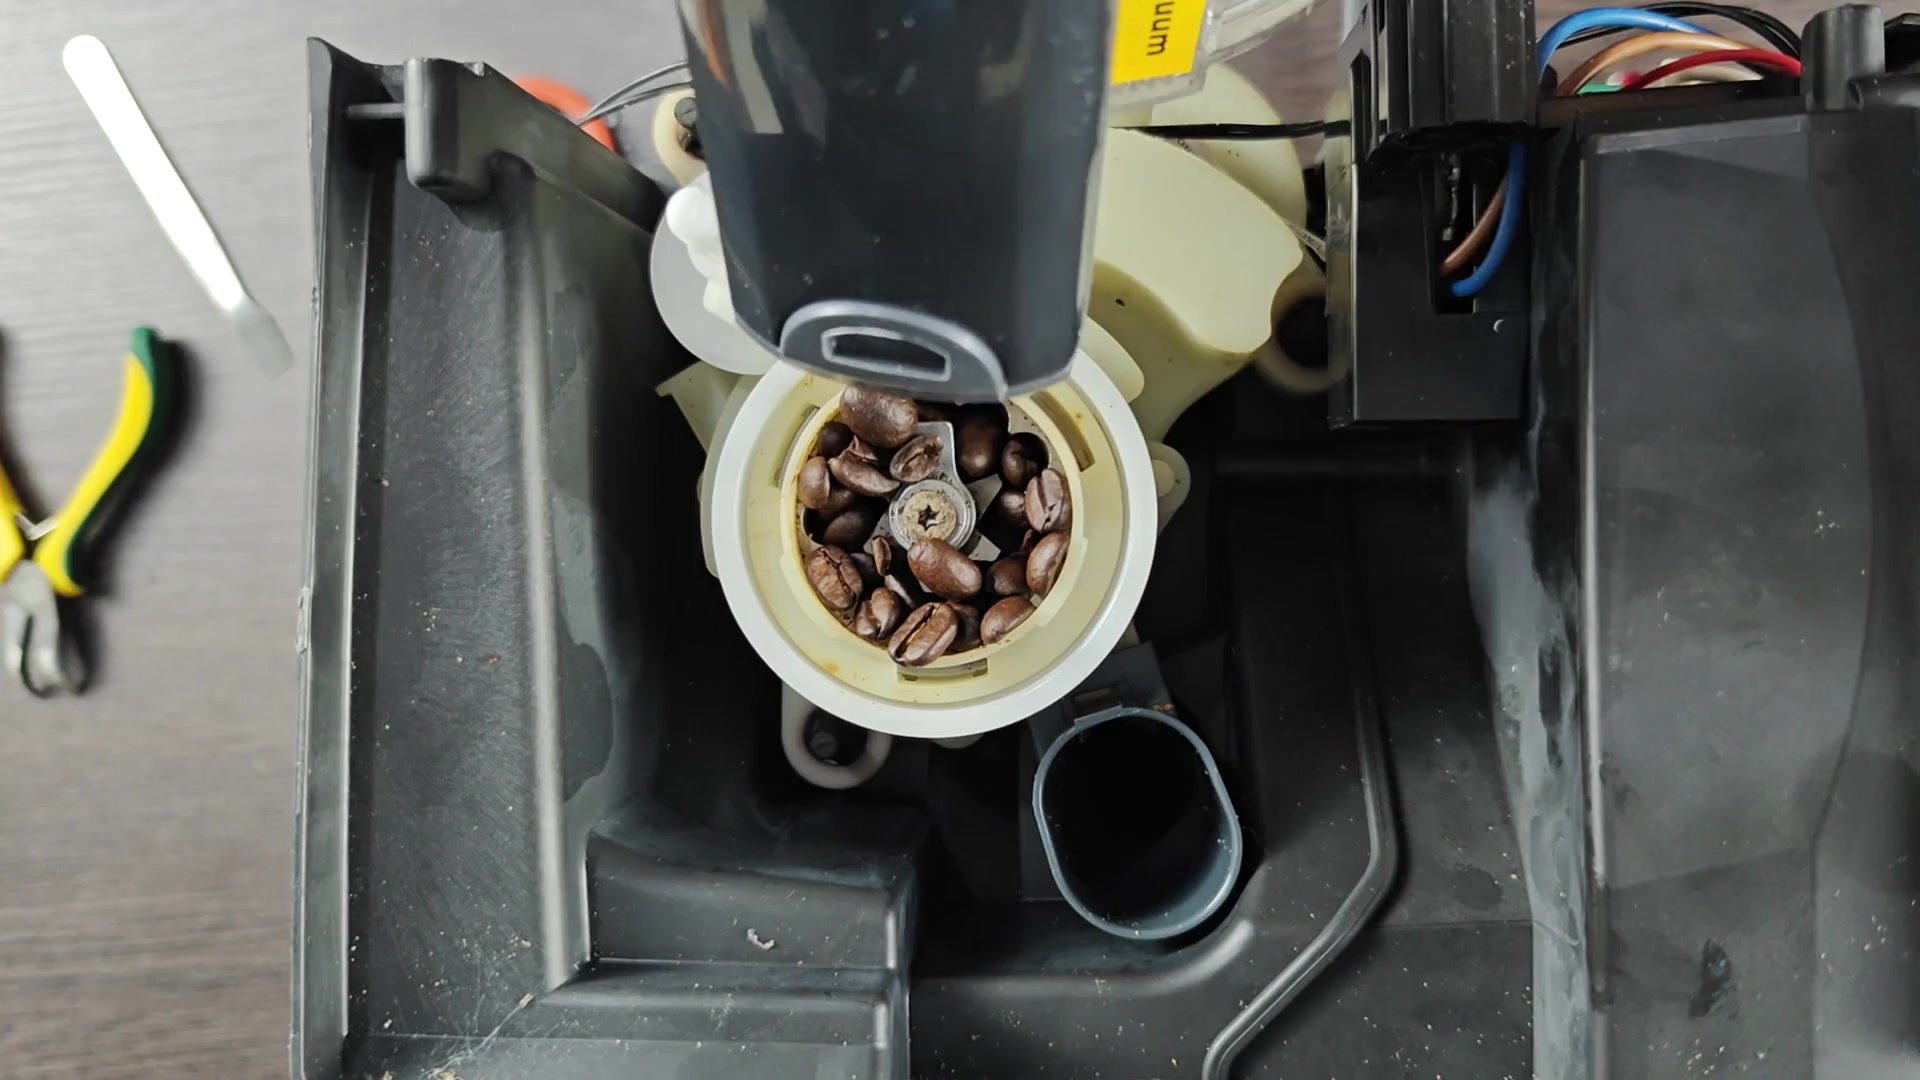
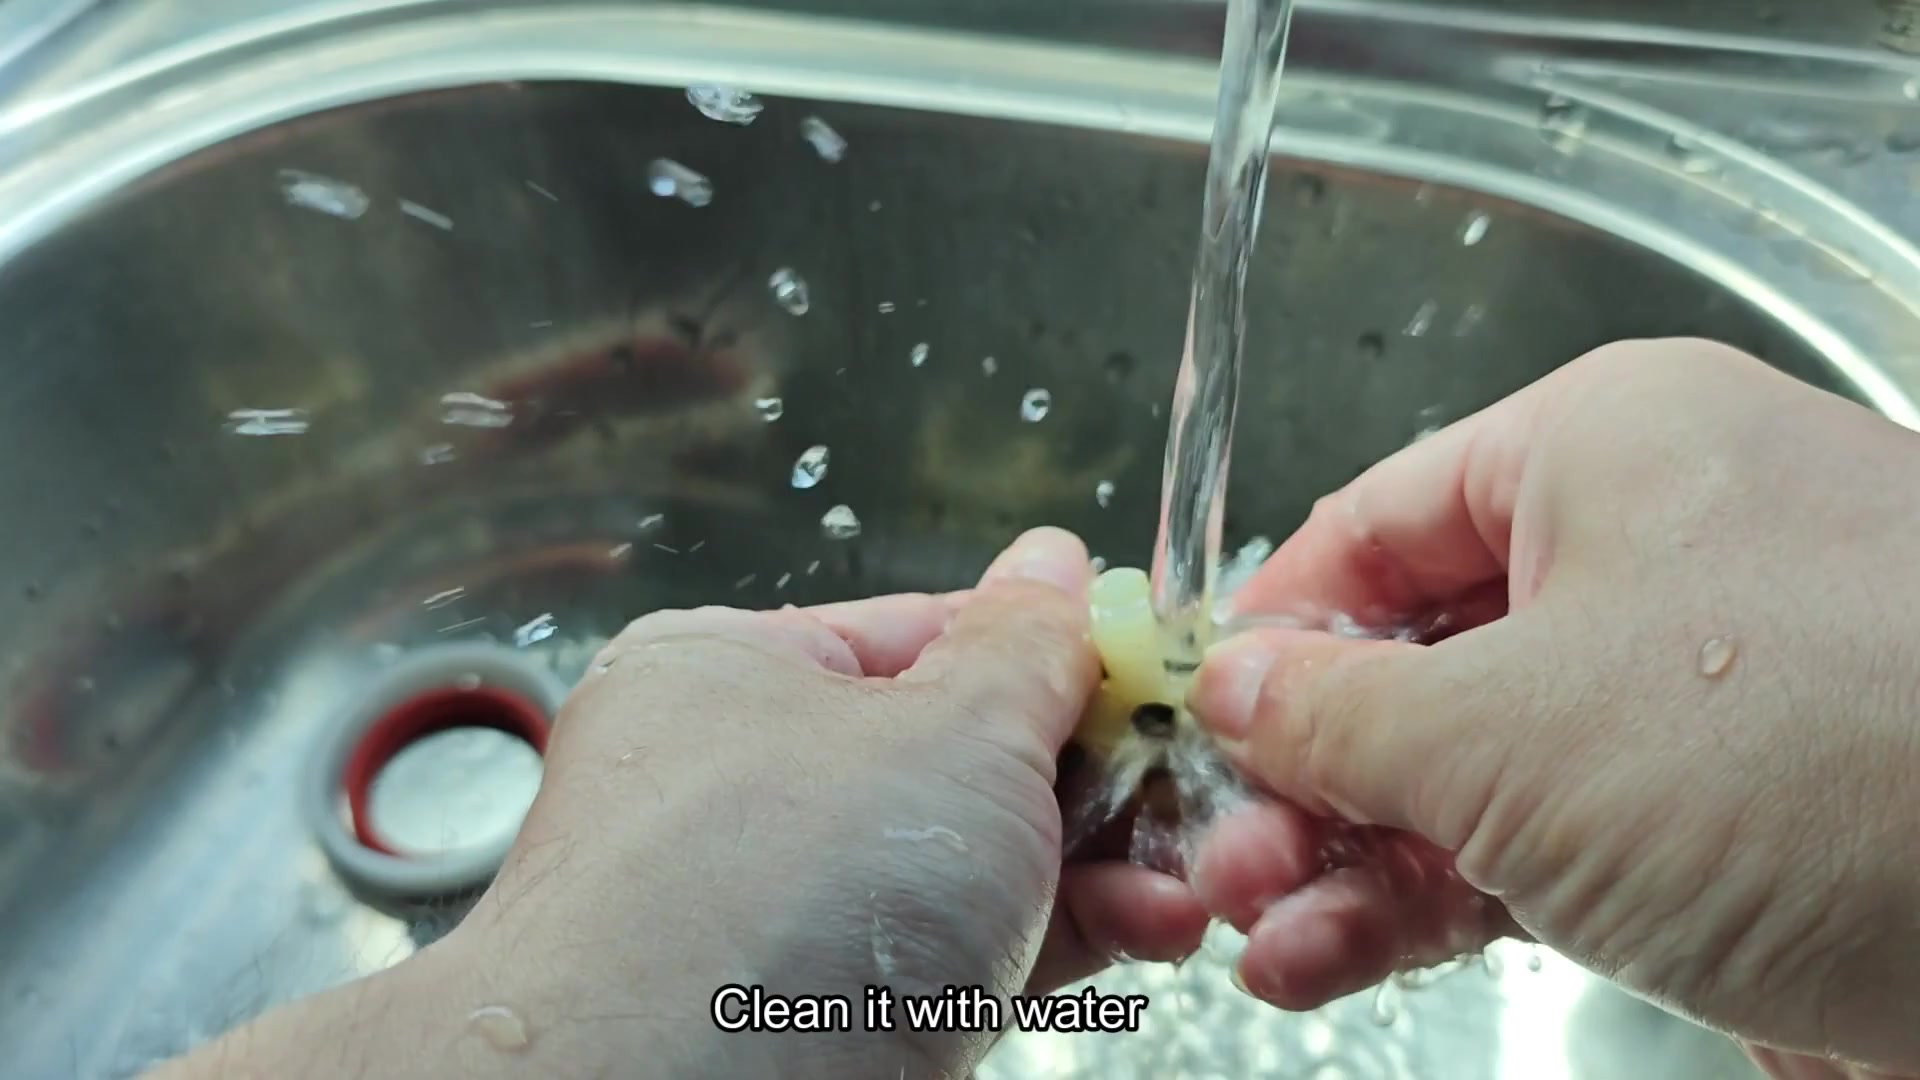
Remove this part and simply run it under warm water in sink until all of gunk is gone. It will wash away very easily with no residue. There’s no need to use soap; in fact, using soap may leaves behind a layer.
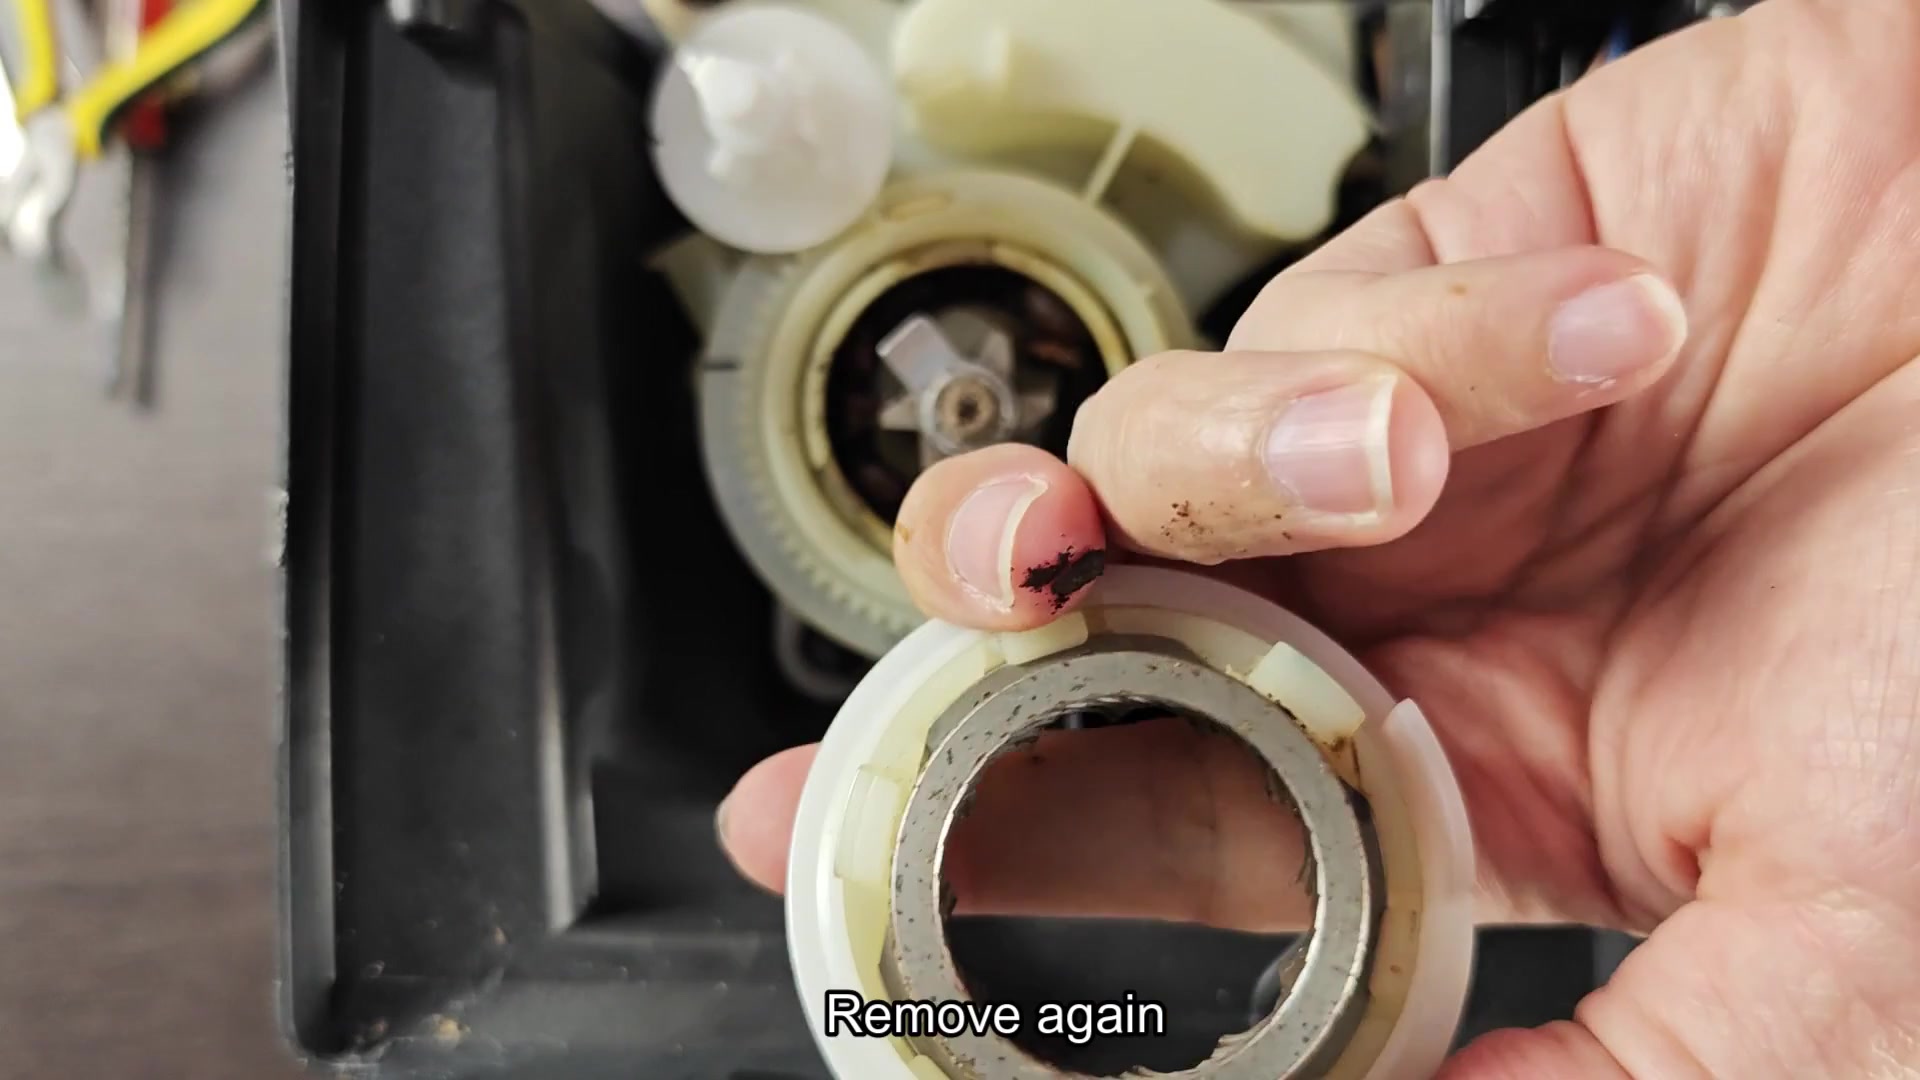
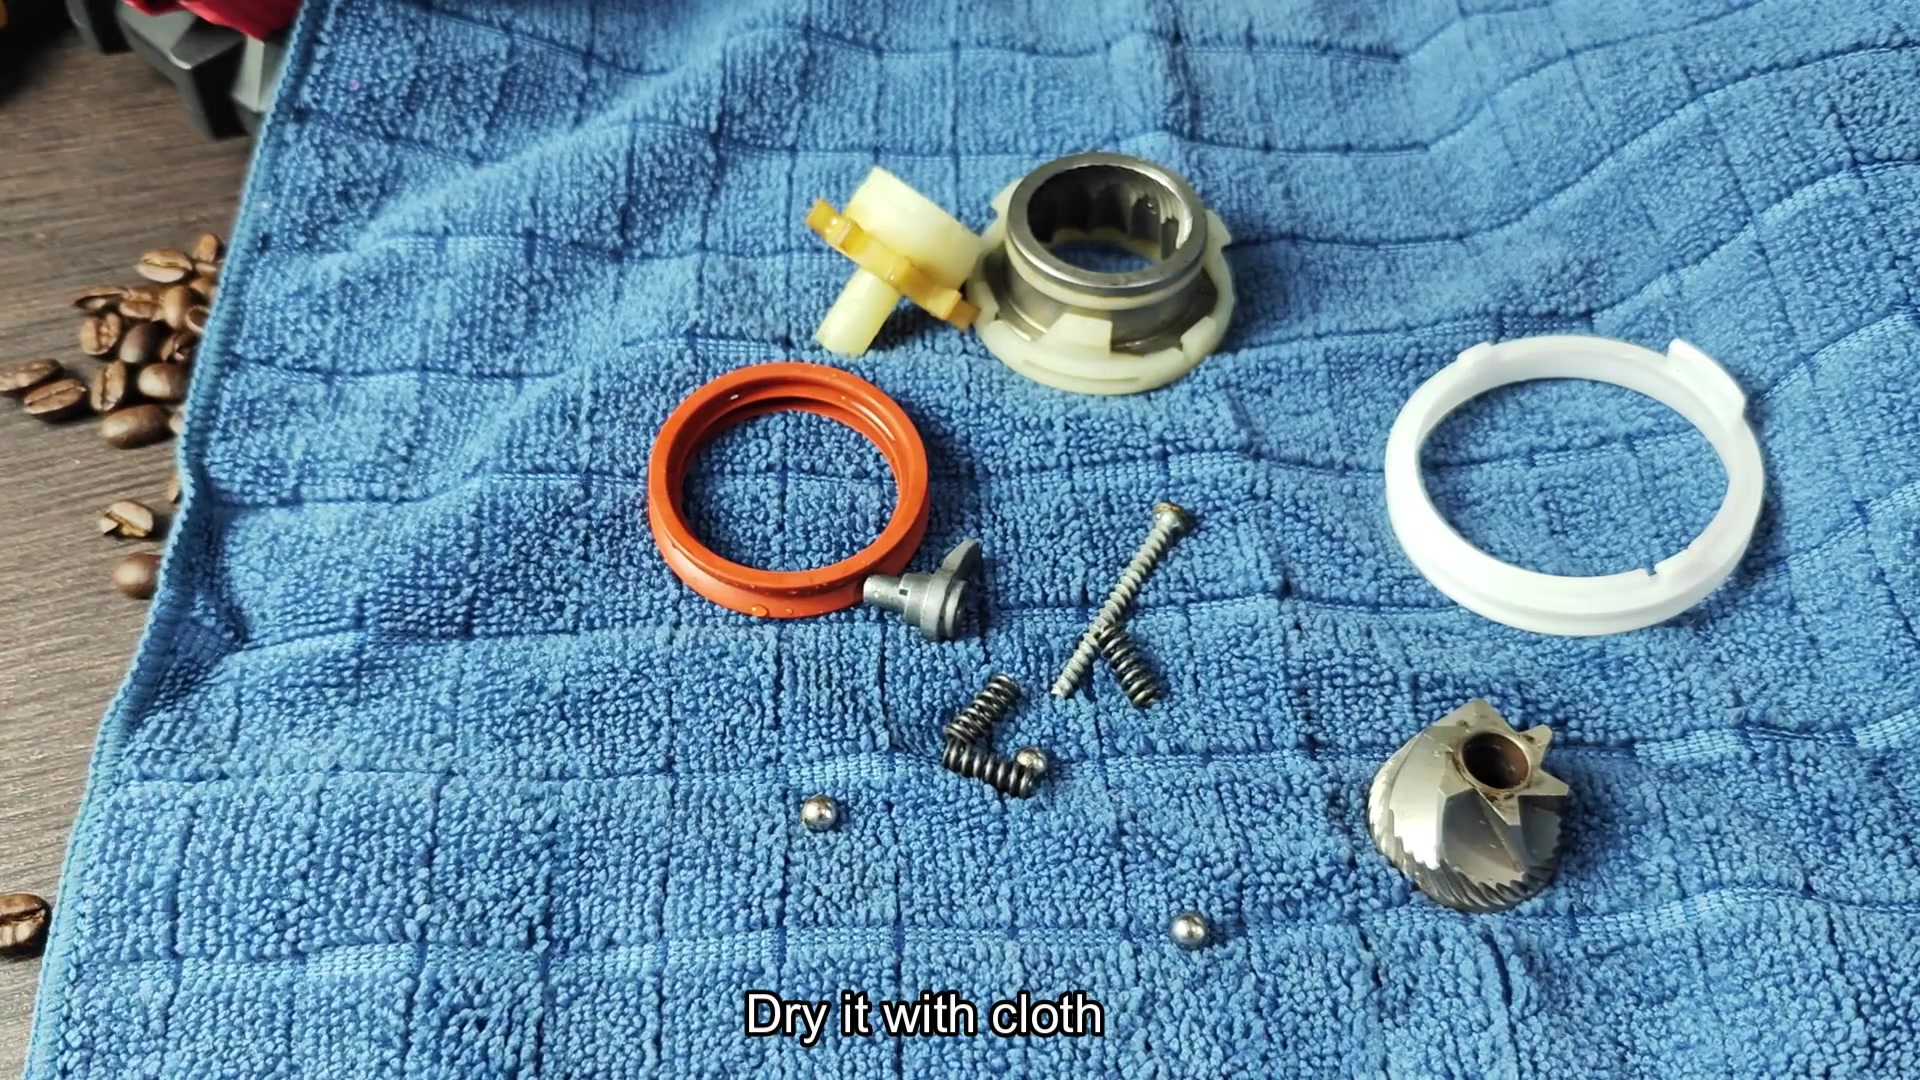
Rinse all parts and make sure to let them get really dry. You don’t want moisture in an electric device. Wipe it down with a cloth. Make sure you do this around all areas of the device, including those little hard to reach places.
Place your screws and orange o-ring on a towel and let it air dry. This ensures that there will be no corrosion or rust issues later on.
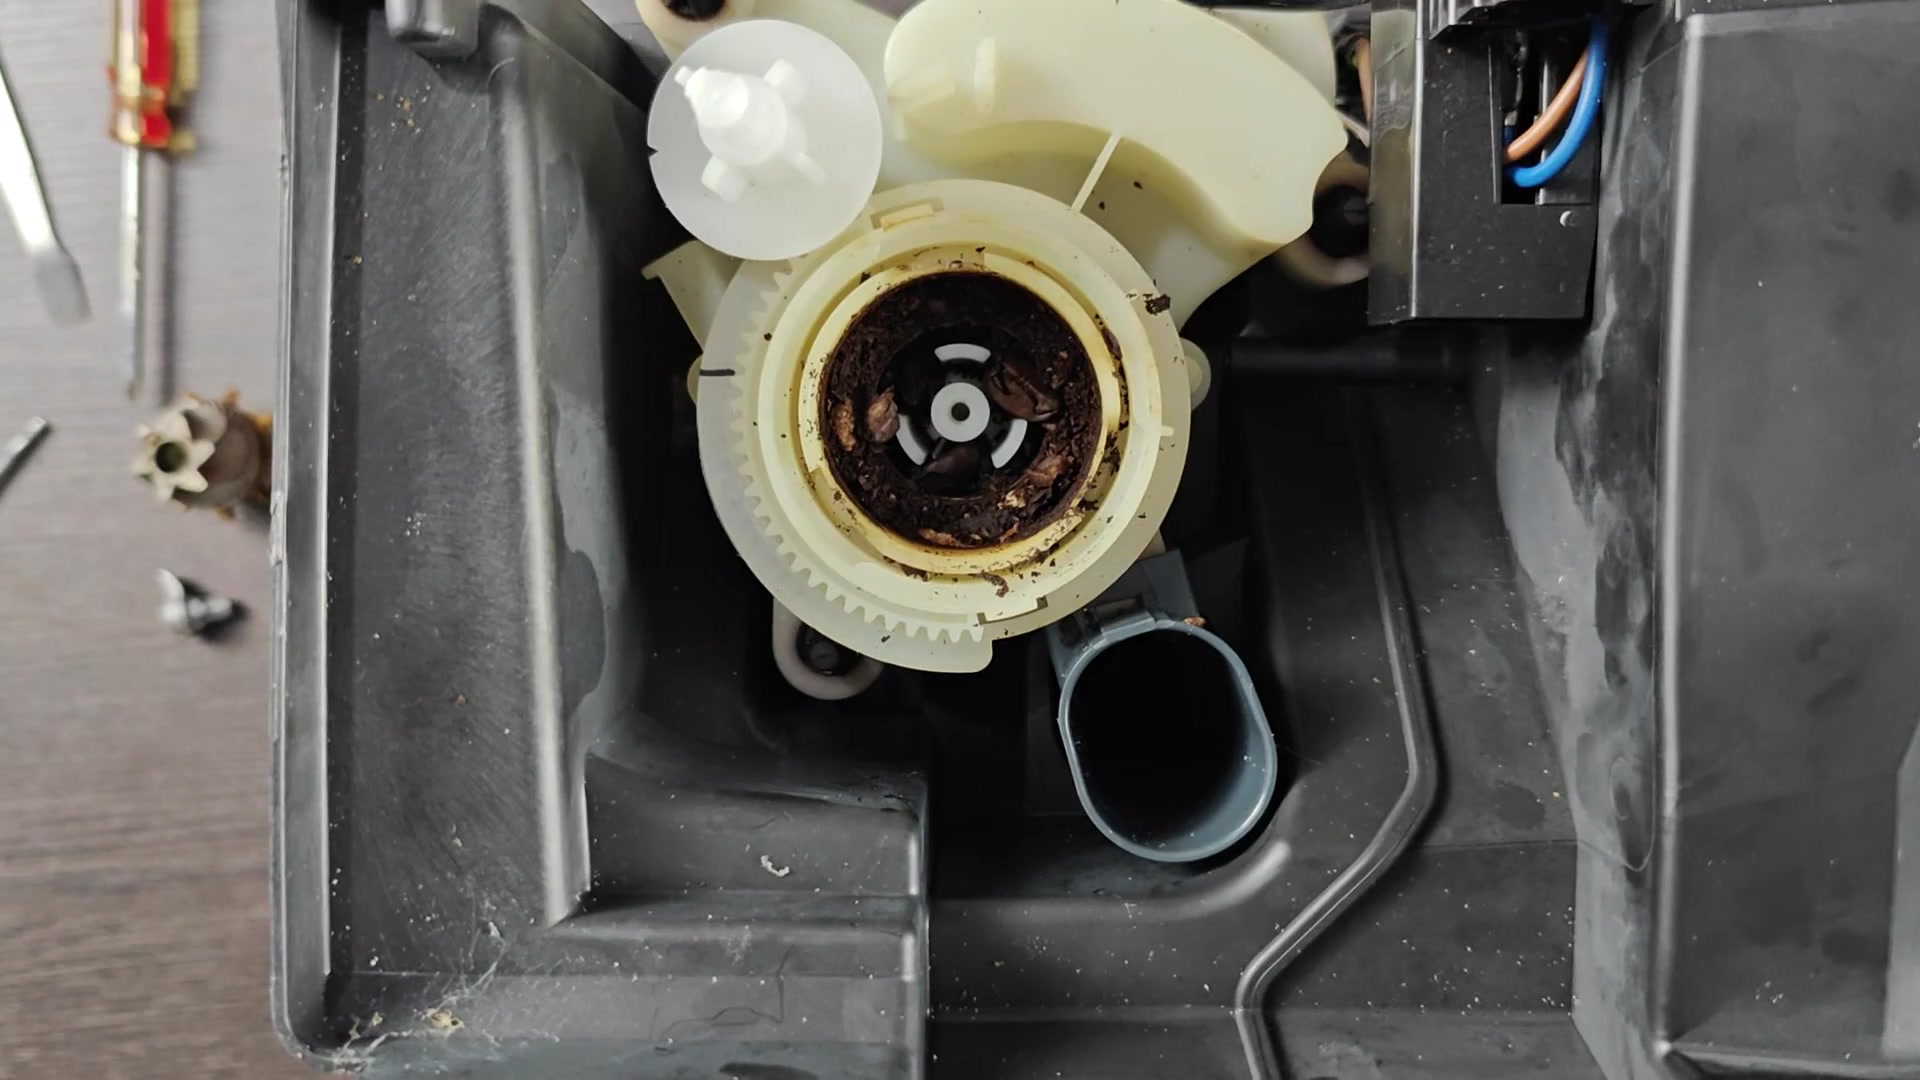
Now just reassemble the unit and slide the now clean blade back onto housing. Tighten down with the screw turning it anti-clockwise. Screw it in nice and firm as you don’t want it to be able to wobble around while operating. If it wobbles, it will grind unevenly and sound like a rattle trap.
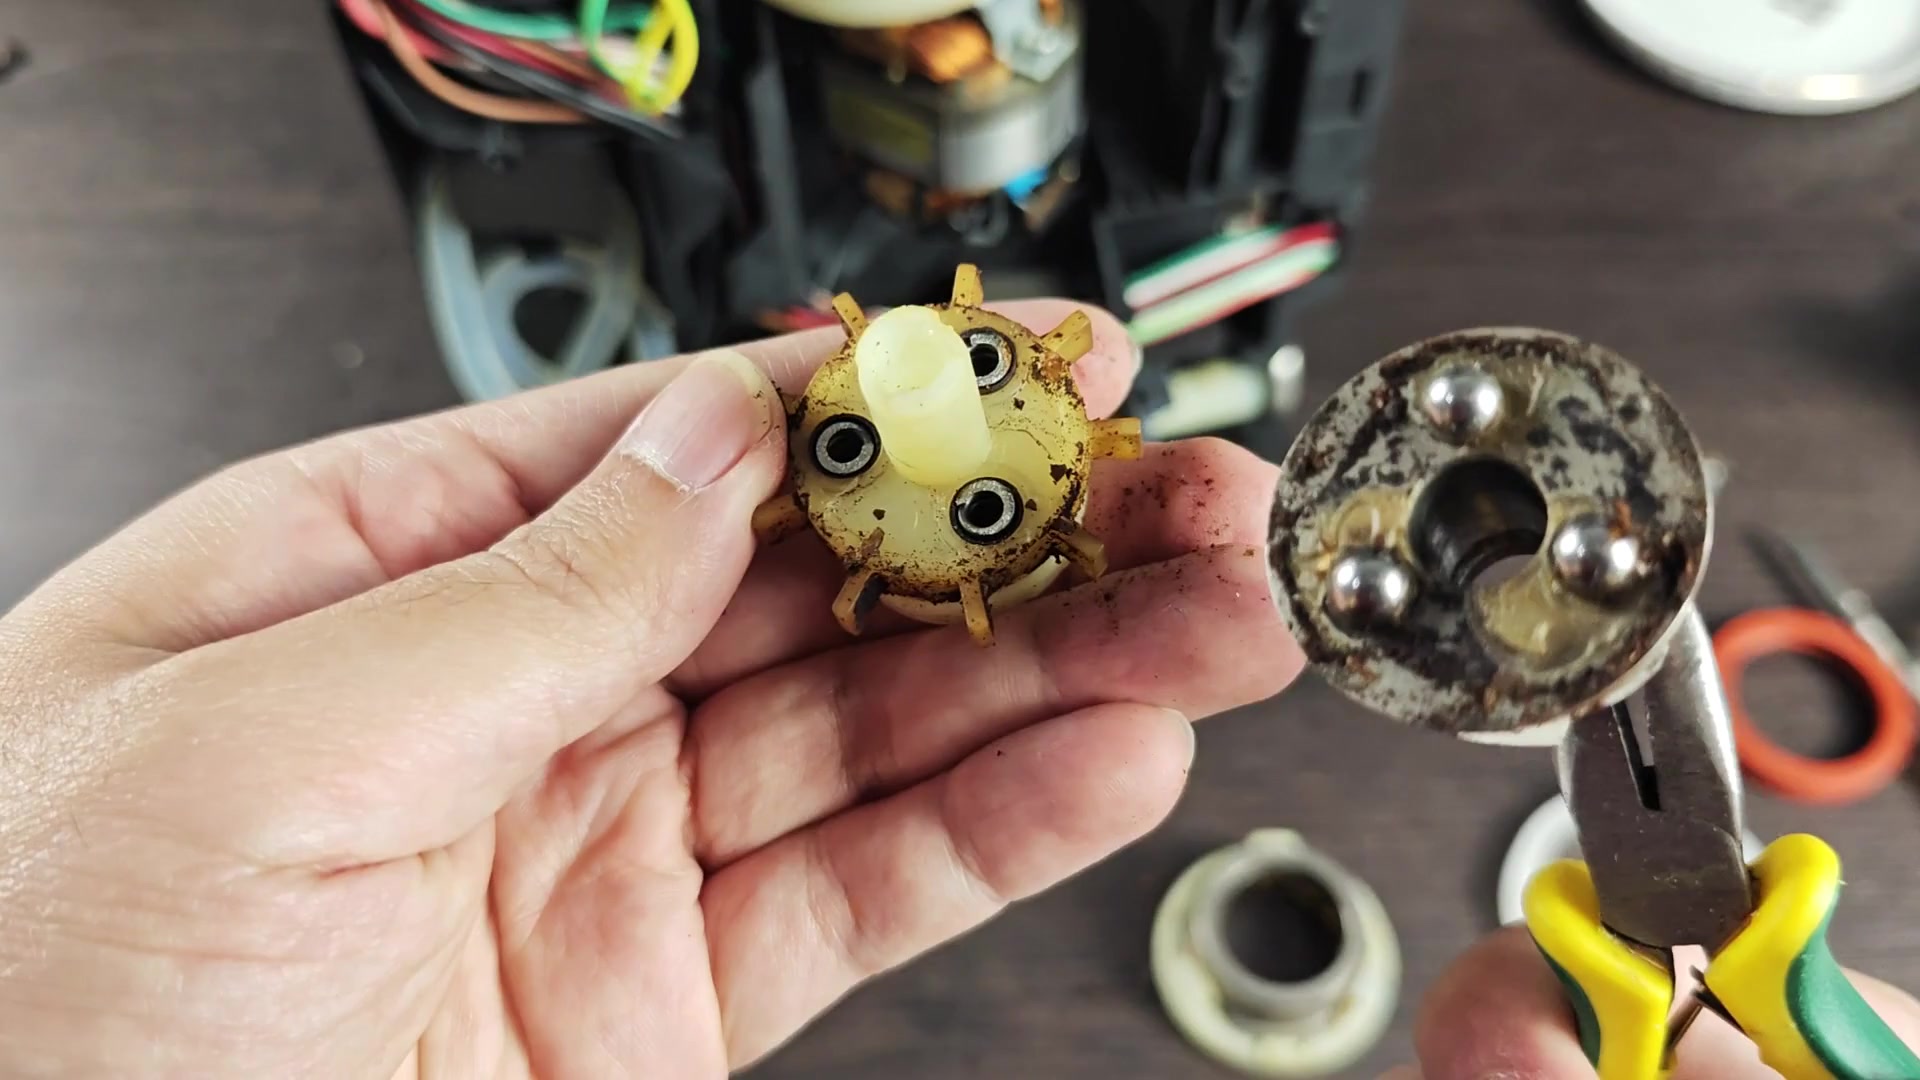
Put the white bracket over the assembly and ensure everything is aligned, then place the rubber ring back in position to keep dust out of mechanism. Put the white bracket over the assembly and ensure everything is aligned.
Before closing it up, make sure there is no more coffee residue. If there are any foreign objects they will cause a jam in the future as you grind.
Before you begin maintenance, unplug the machine, then test it by letting it run empty once you’re done. It will spin freely (no noise). This ensures that all parts are in place and there is no blockage from cleaning procedure.
Next, load up your hopper with some coffee beans. Ensure that these grind well and don’t get stuck in the beans. In short, make sure the grinder is working fully and performing to standard.
In most cases, a simple cleaning will resolve any problems. However, if your grinder continues to fail, you might of have a faulty motor.