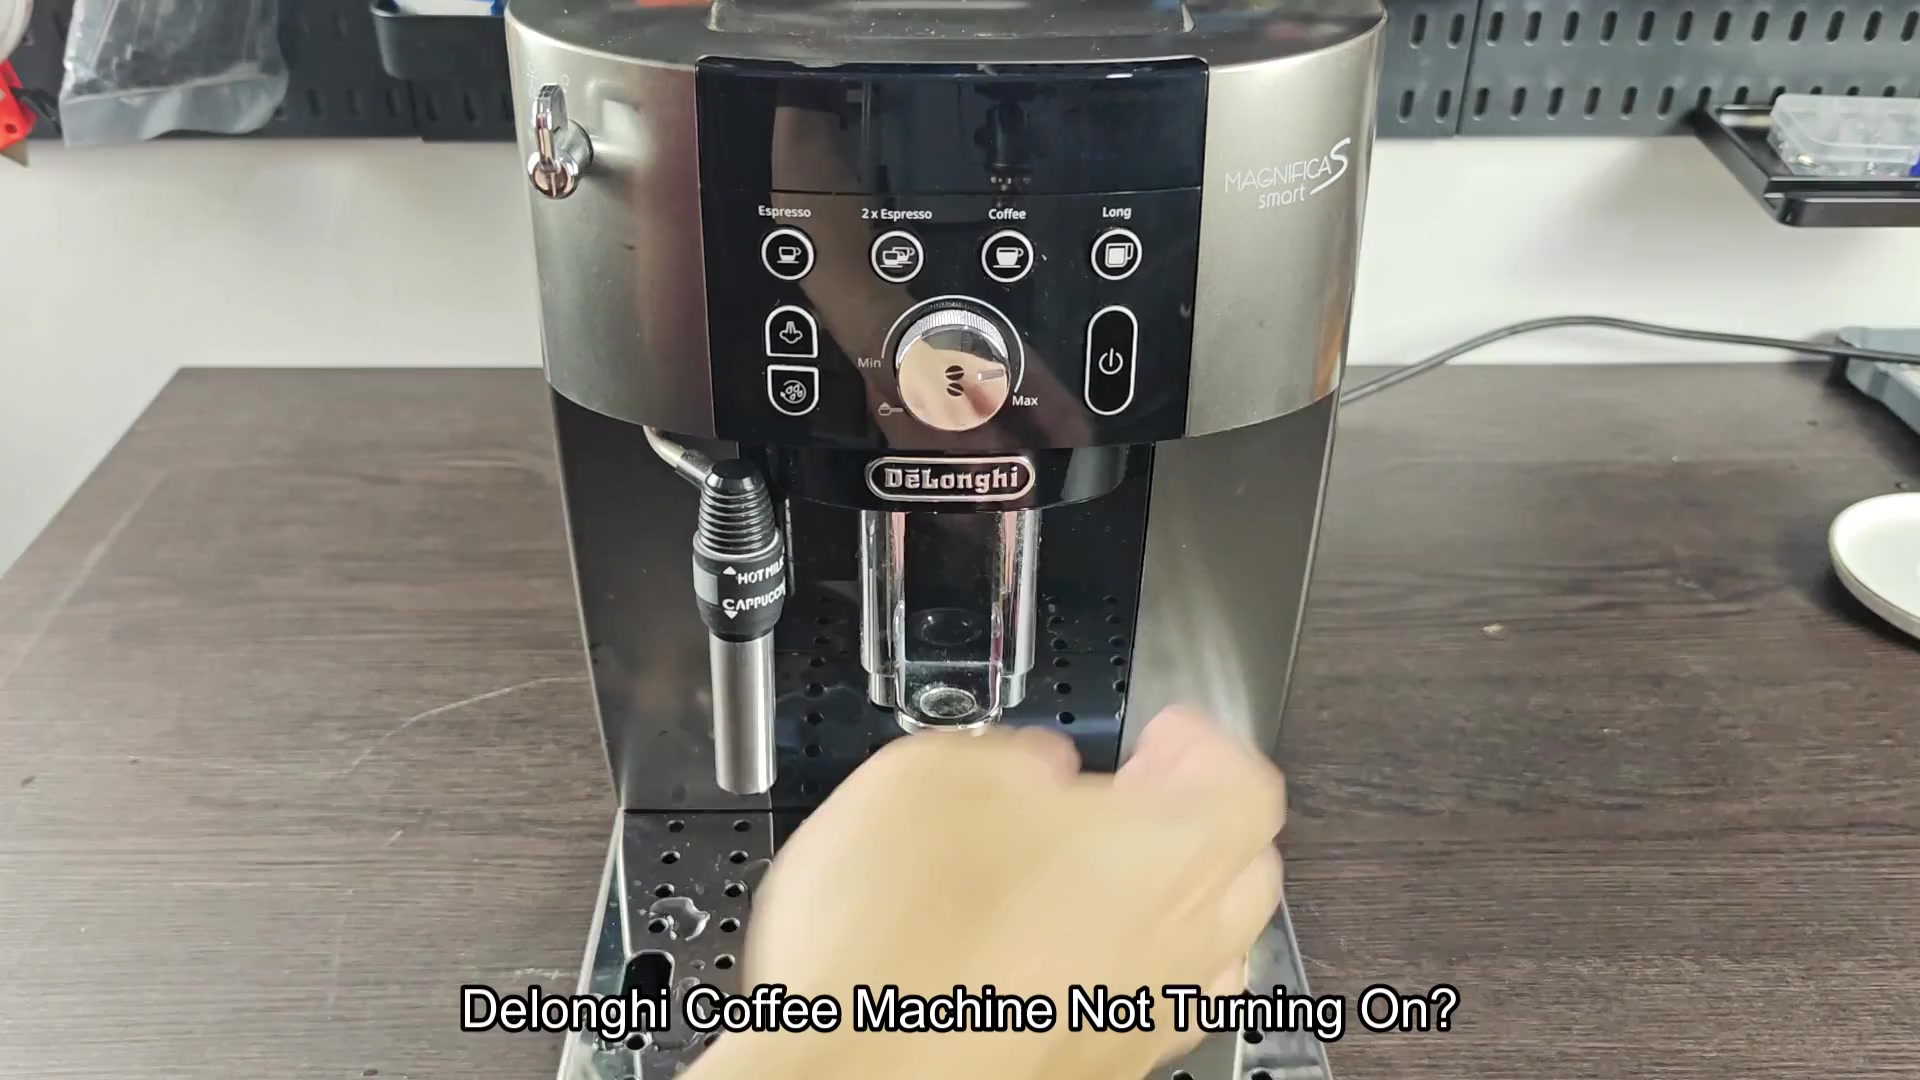
I pushed the button and nothing happened. The machine was totaly dead. It had been working the day before but now there wasn’t even a display. This is when you should of consider something simple, like power issues, because that is typicaly what kills things like this.
Pull out your tools and start opening it up. Safety first though. Always pull that sucker out of the wall before you do anything! Unplugging the device from the socket are non-negotiable.
Testing The Fuse
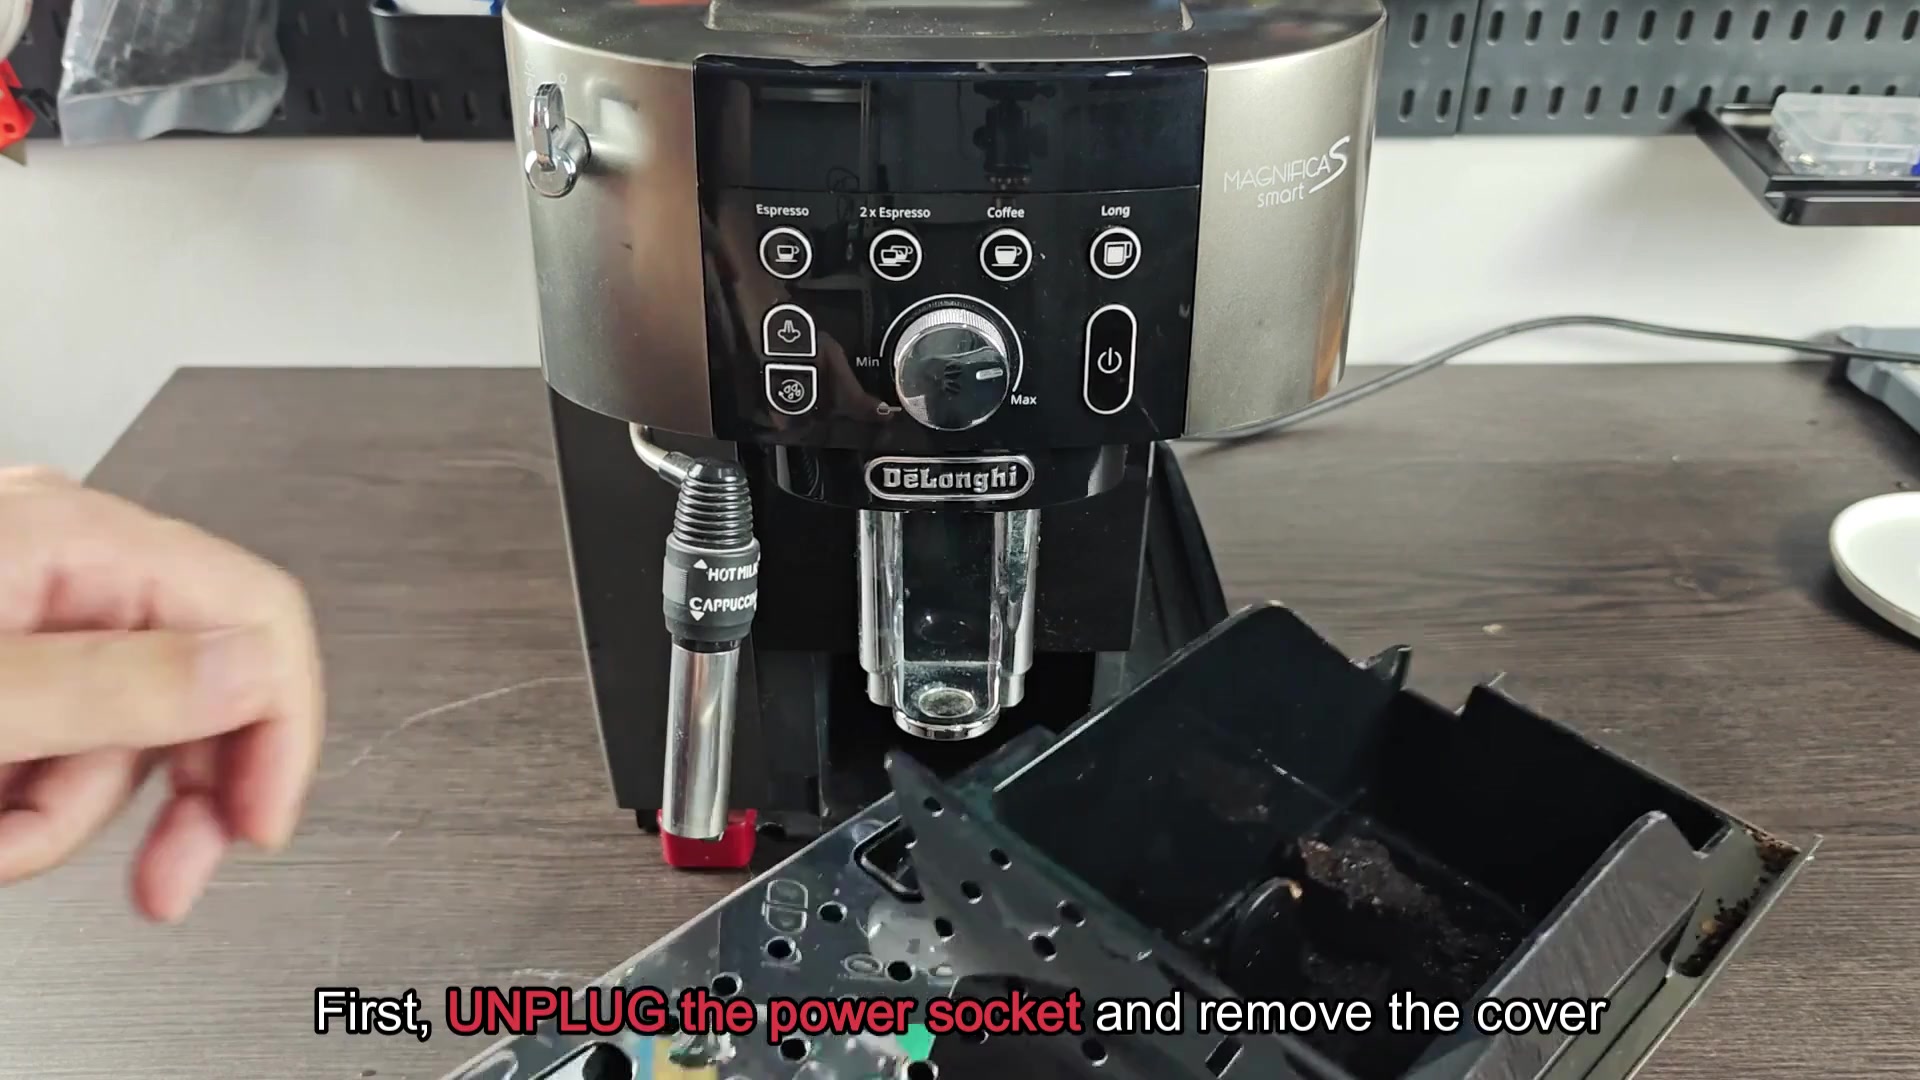
Slowly and gently take off exterior coverings and pop off housing. No need to fight it. Remove casing and you’re in business.
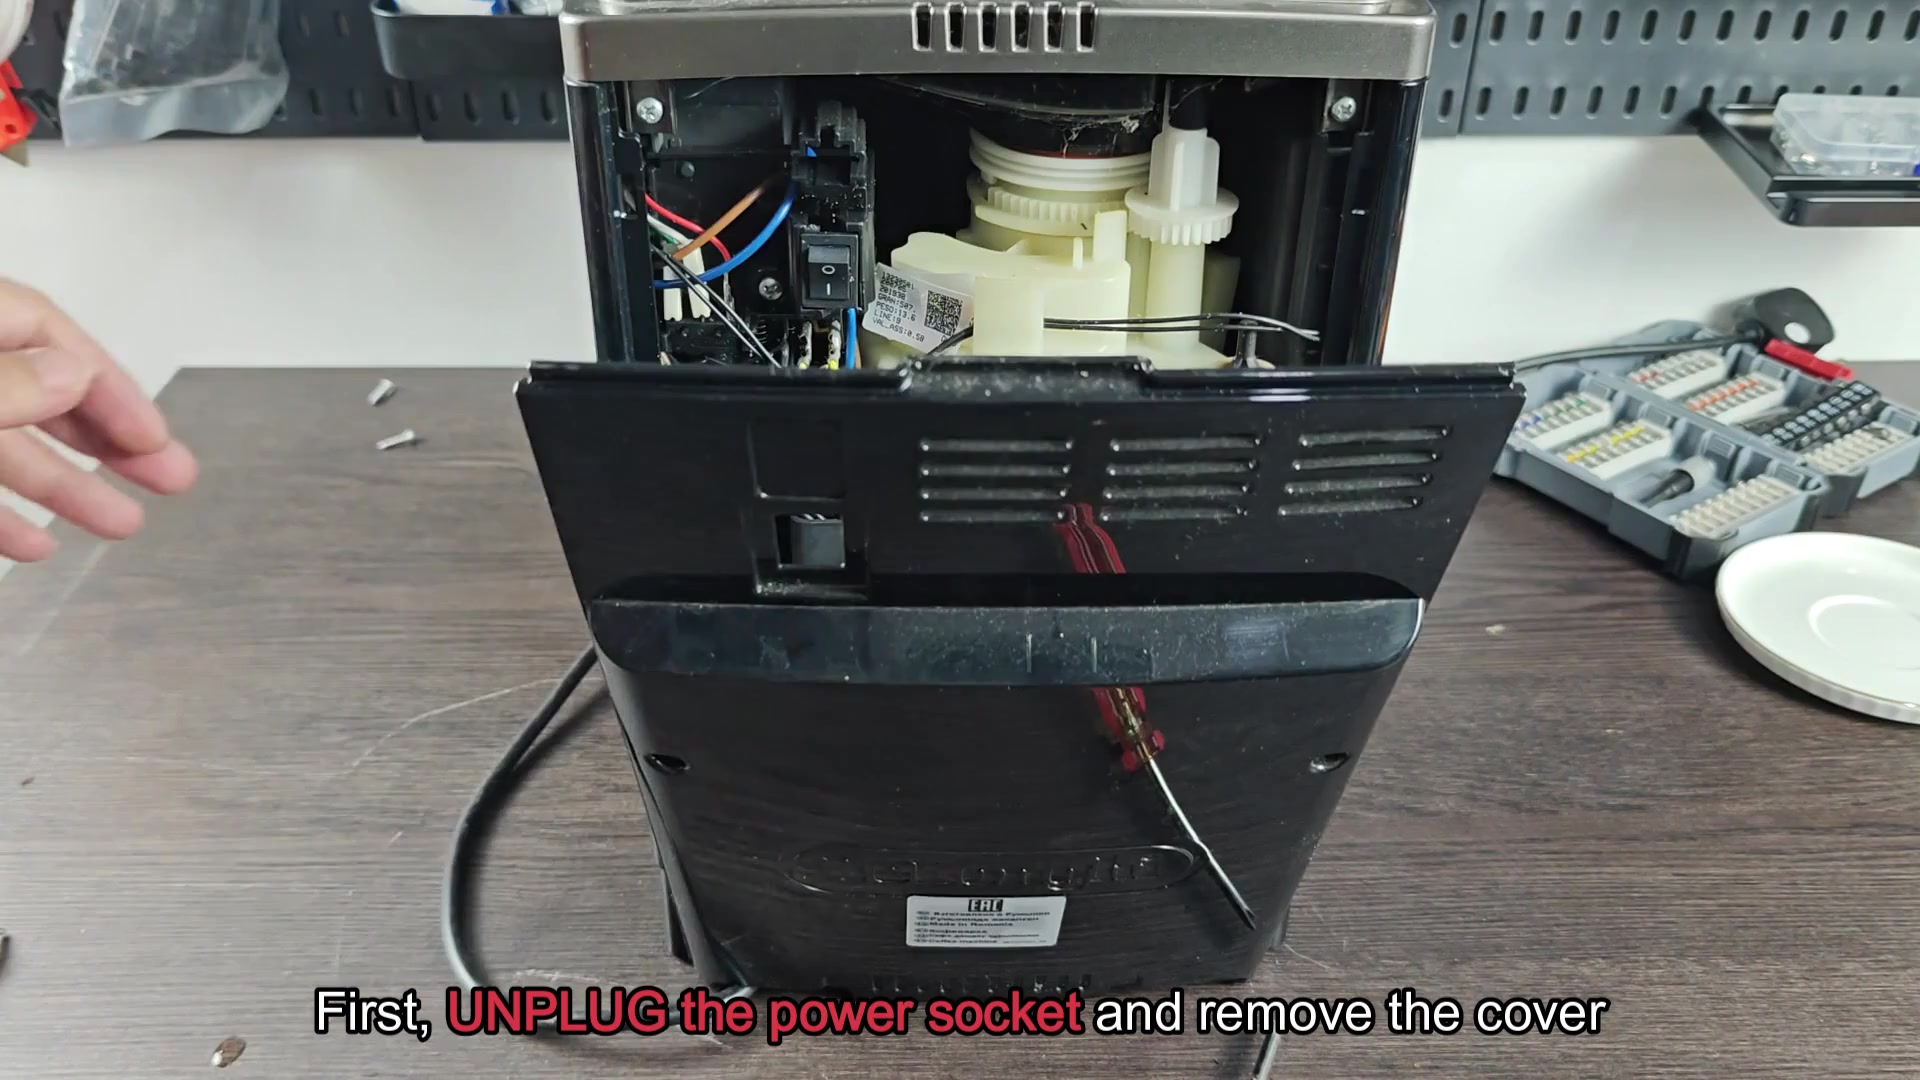
Here is what’s inside of the Magnifica S Smart. It took me a second to locate the PCB and fuse which is located just above the water tank section. There is wires all over the place in there, but locating the power switch connection was easy enough.
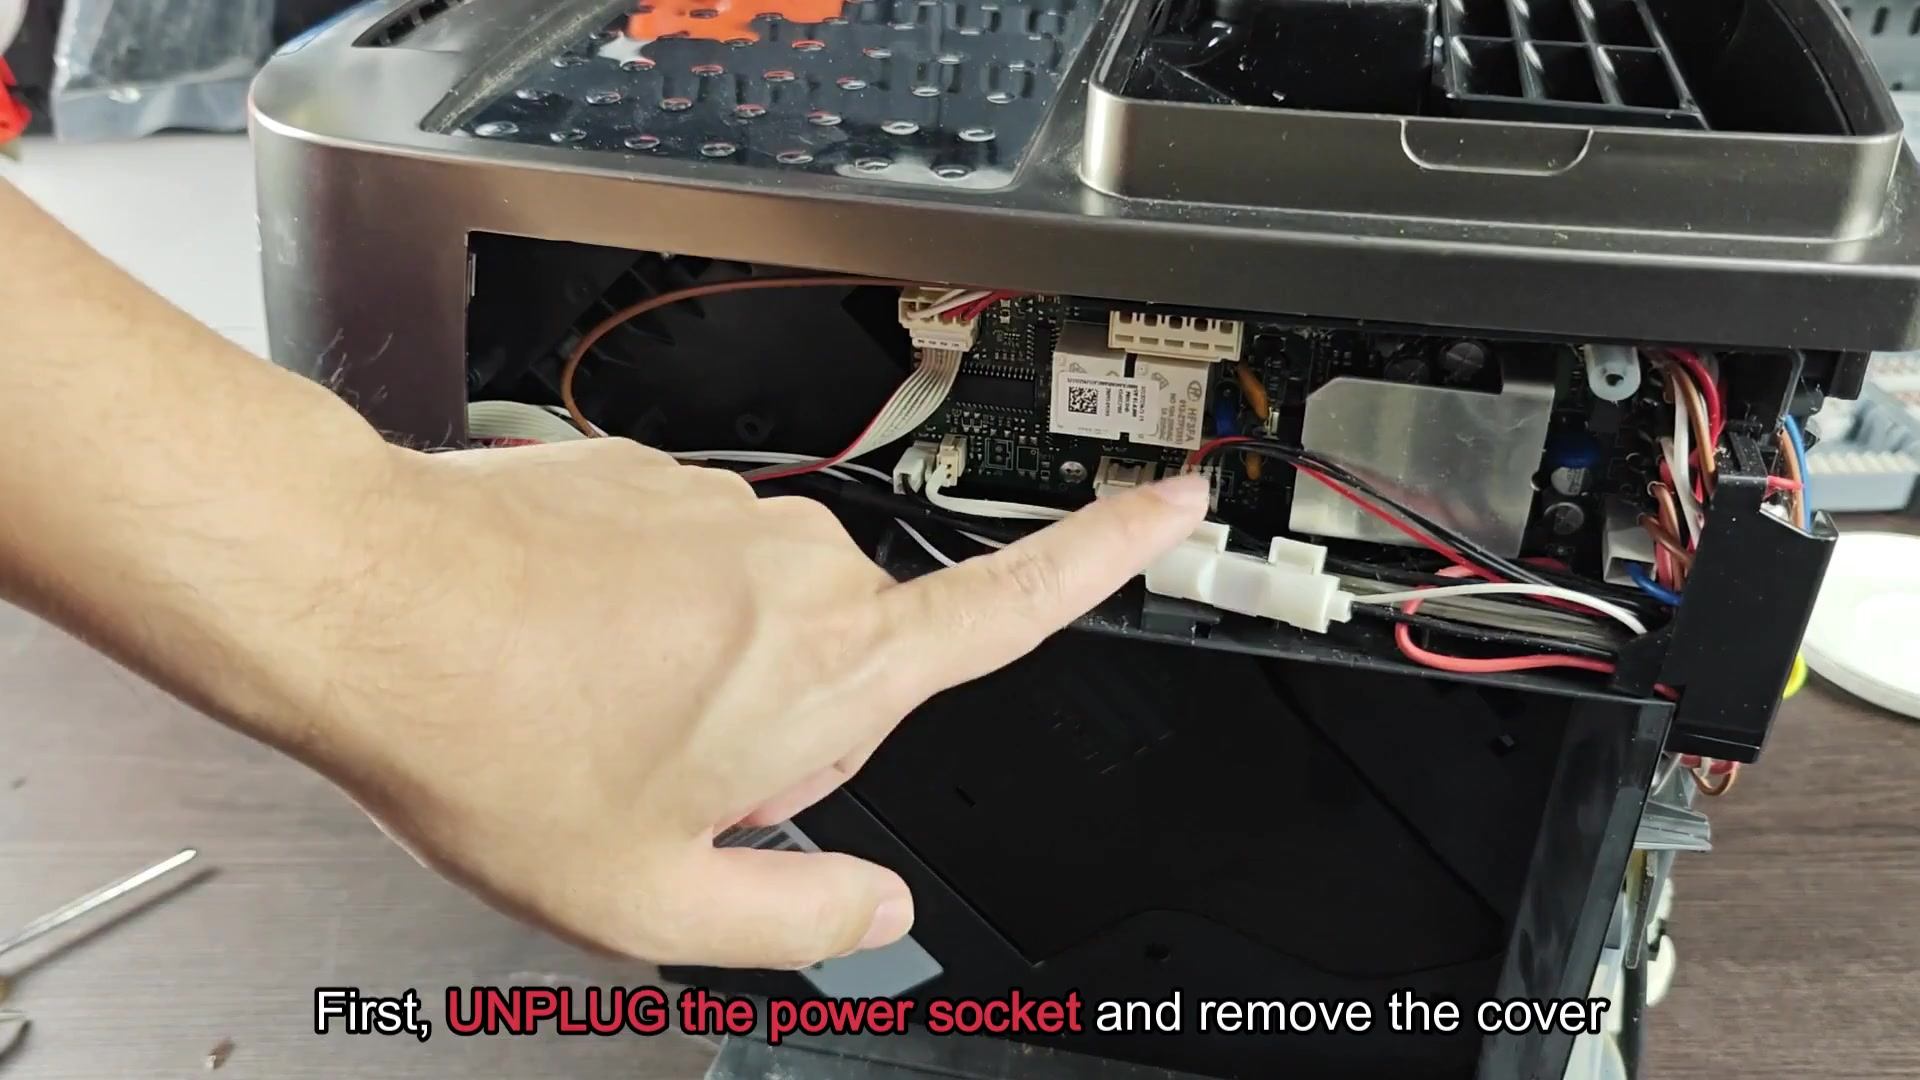
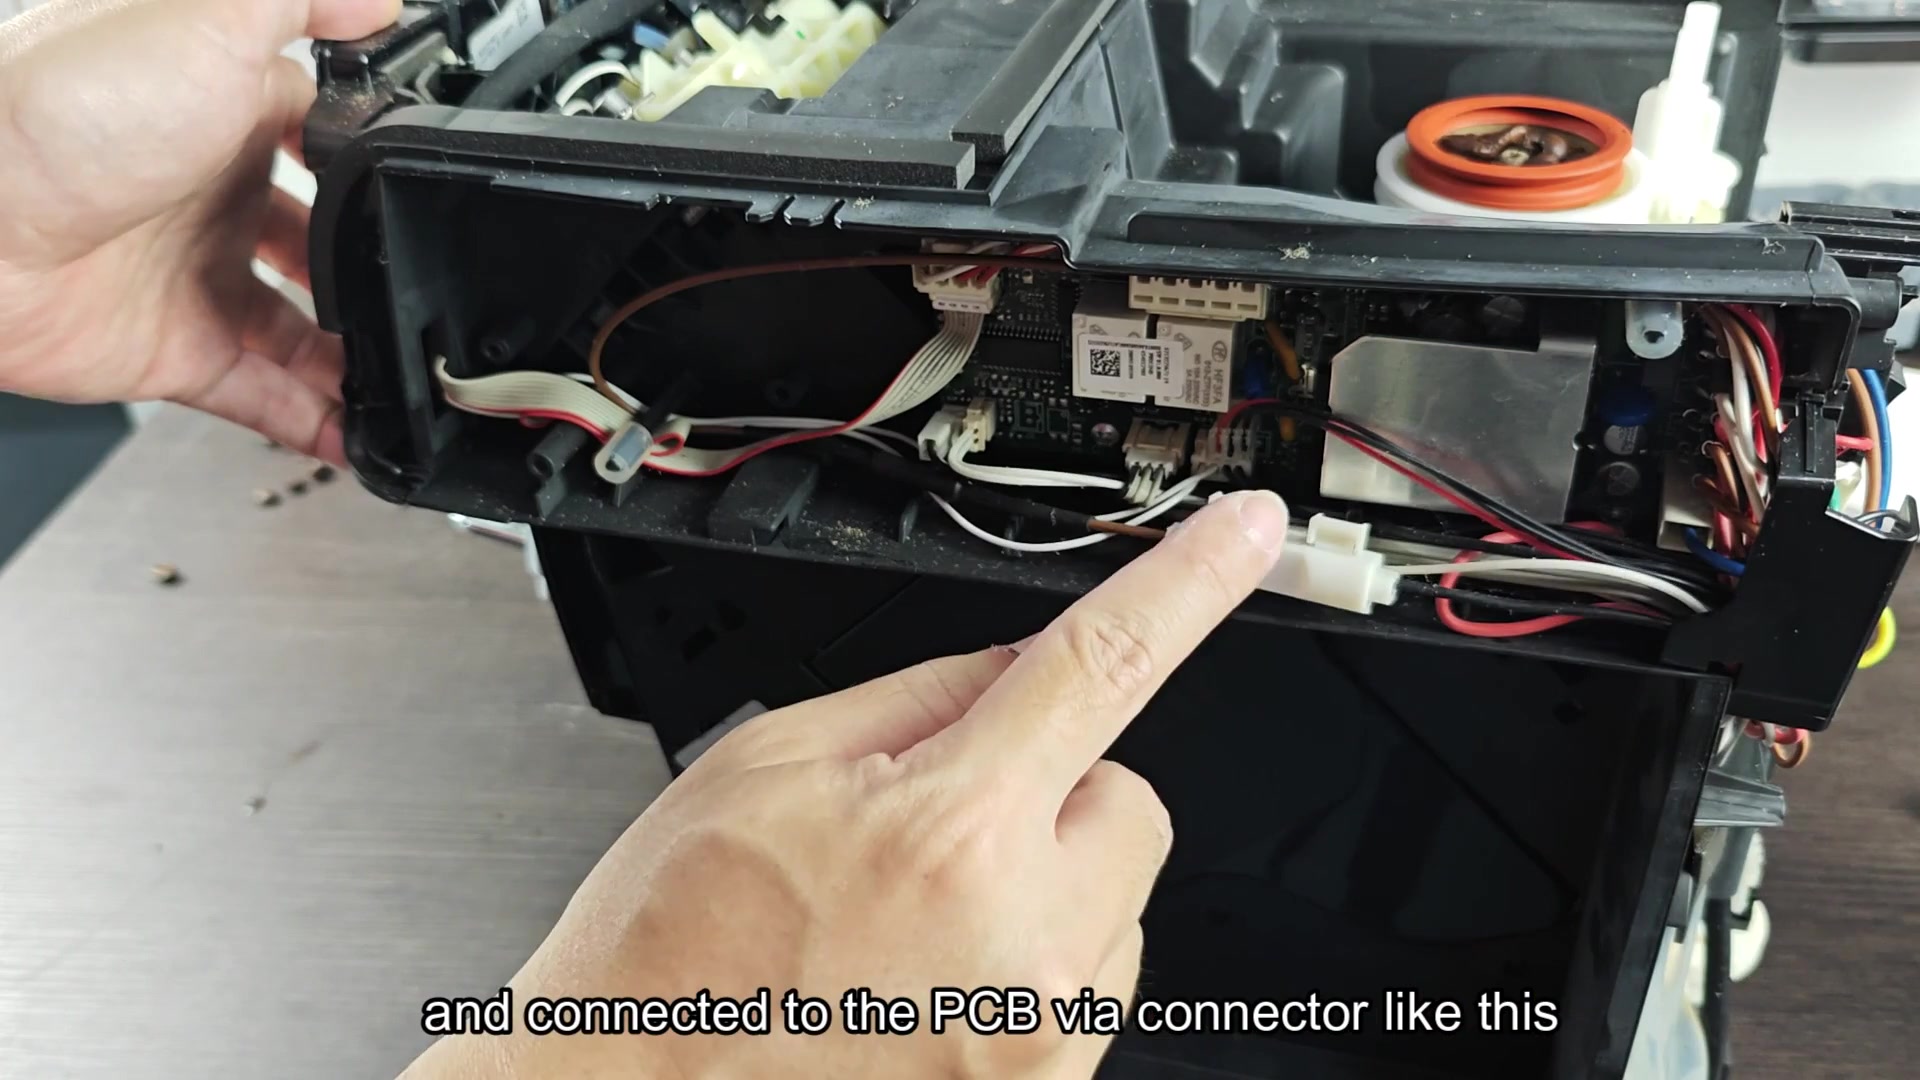
This is where the cord enters. It ties right into this switch, which in turn runs further inside the unit. You follow it back to the small connector joining two parts then on from there to the printed circuit board. Nothing look out of place or hanging loose here, but arrangement is tight and makes sense.
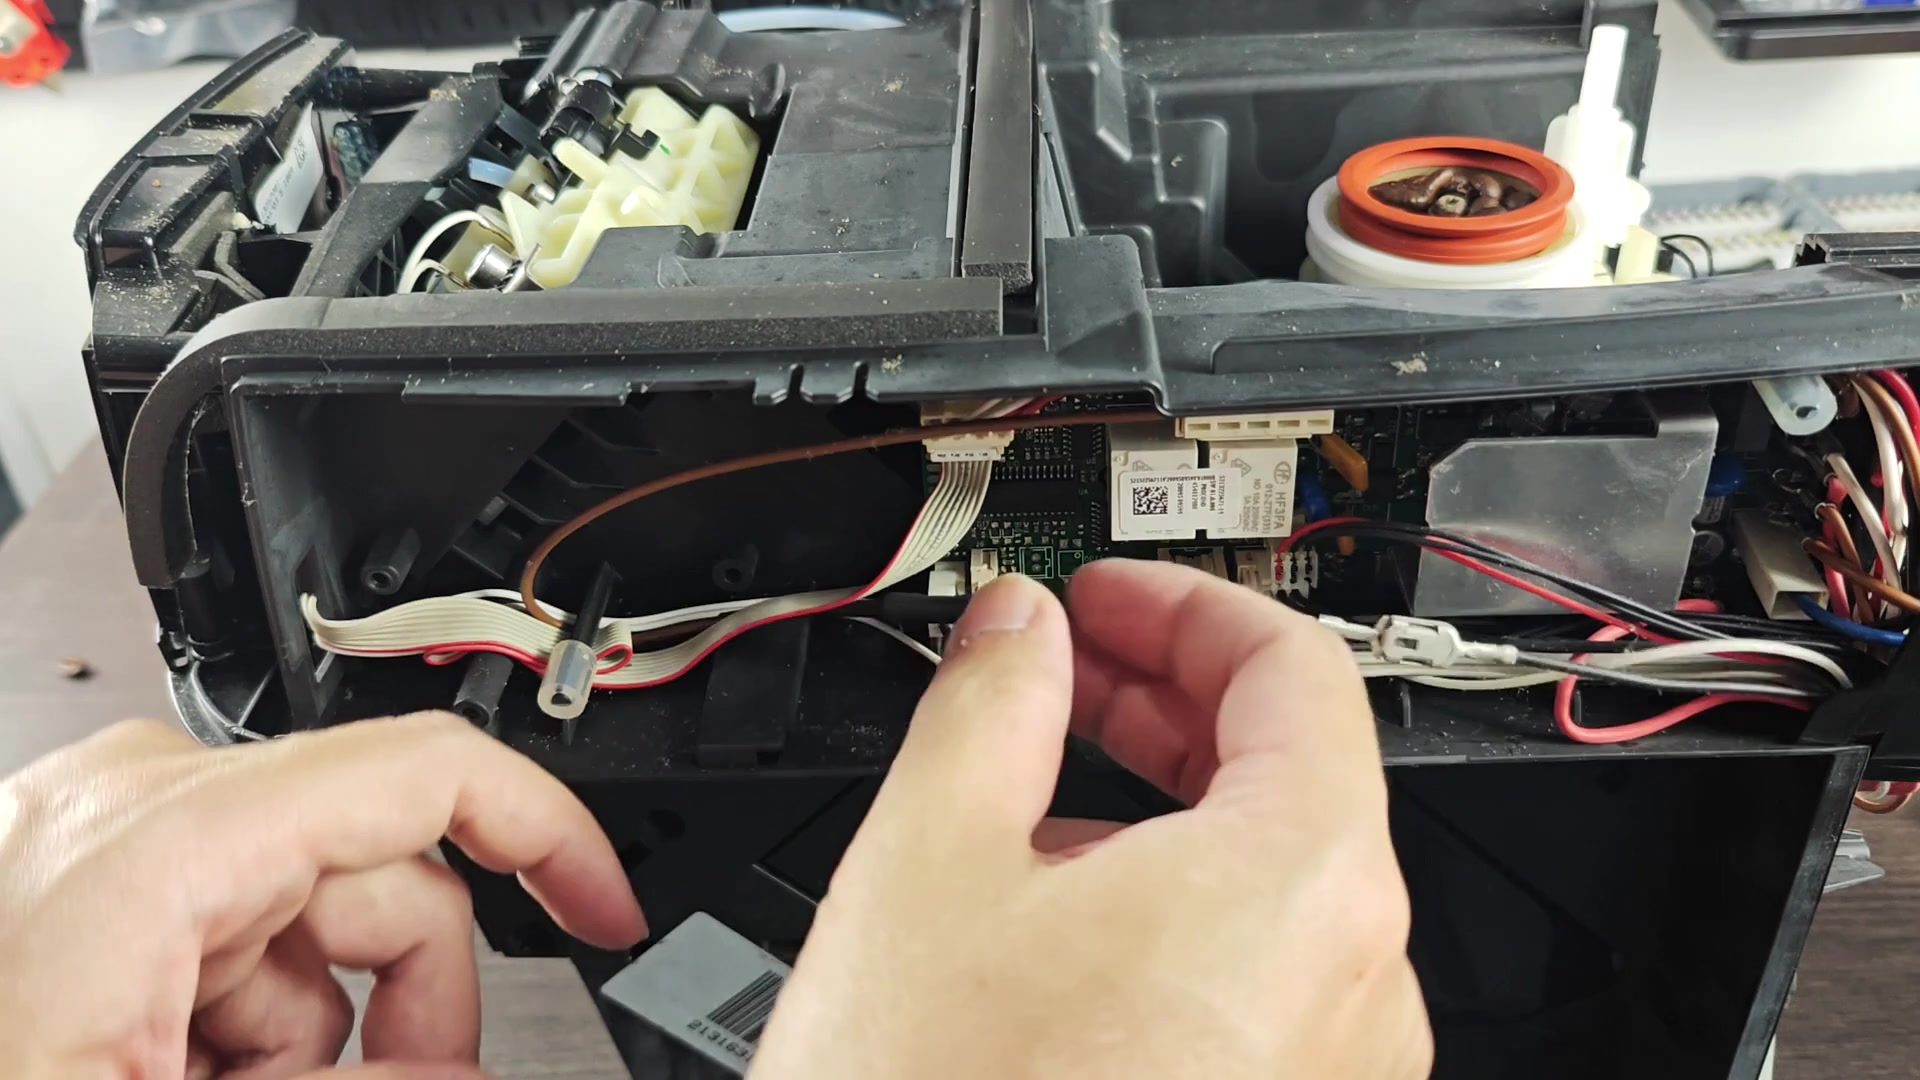
Now you’re looking at the brown wire with a fuse which protect all of those things from getting fried by too much electrical current. It’s located just next to the green PCB board. This is glass tube in middle that takes quite a bit of electrical load when it fires. When it go bad it shuts down, hence no more action from machine.
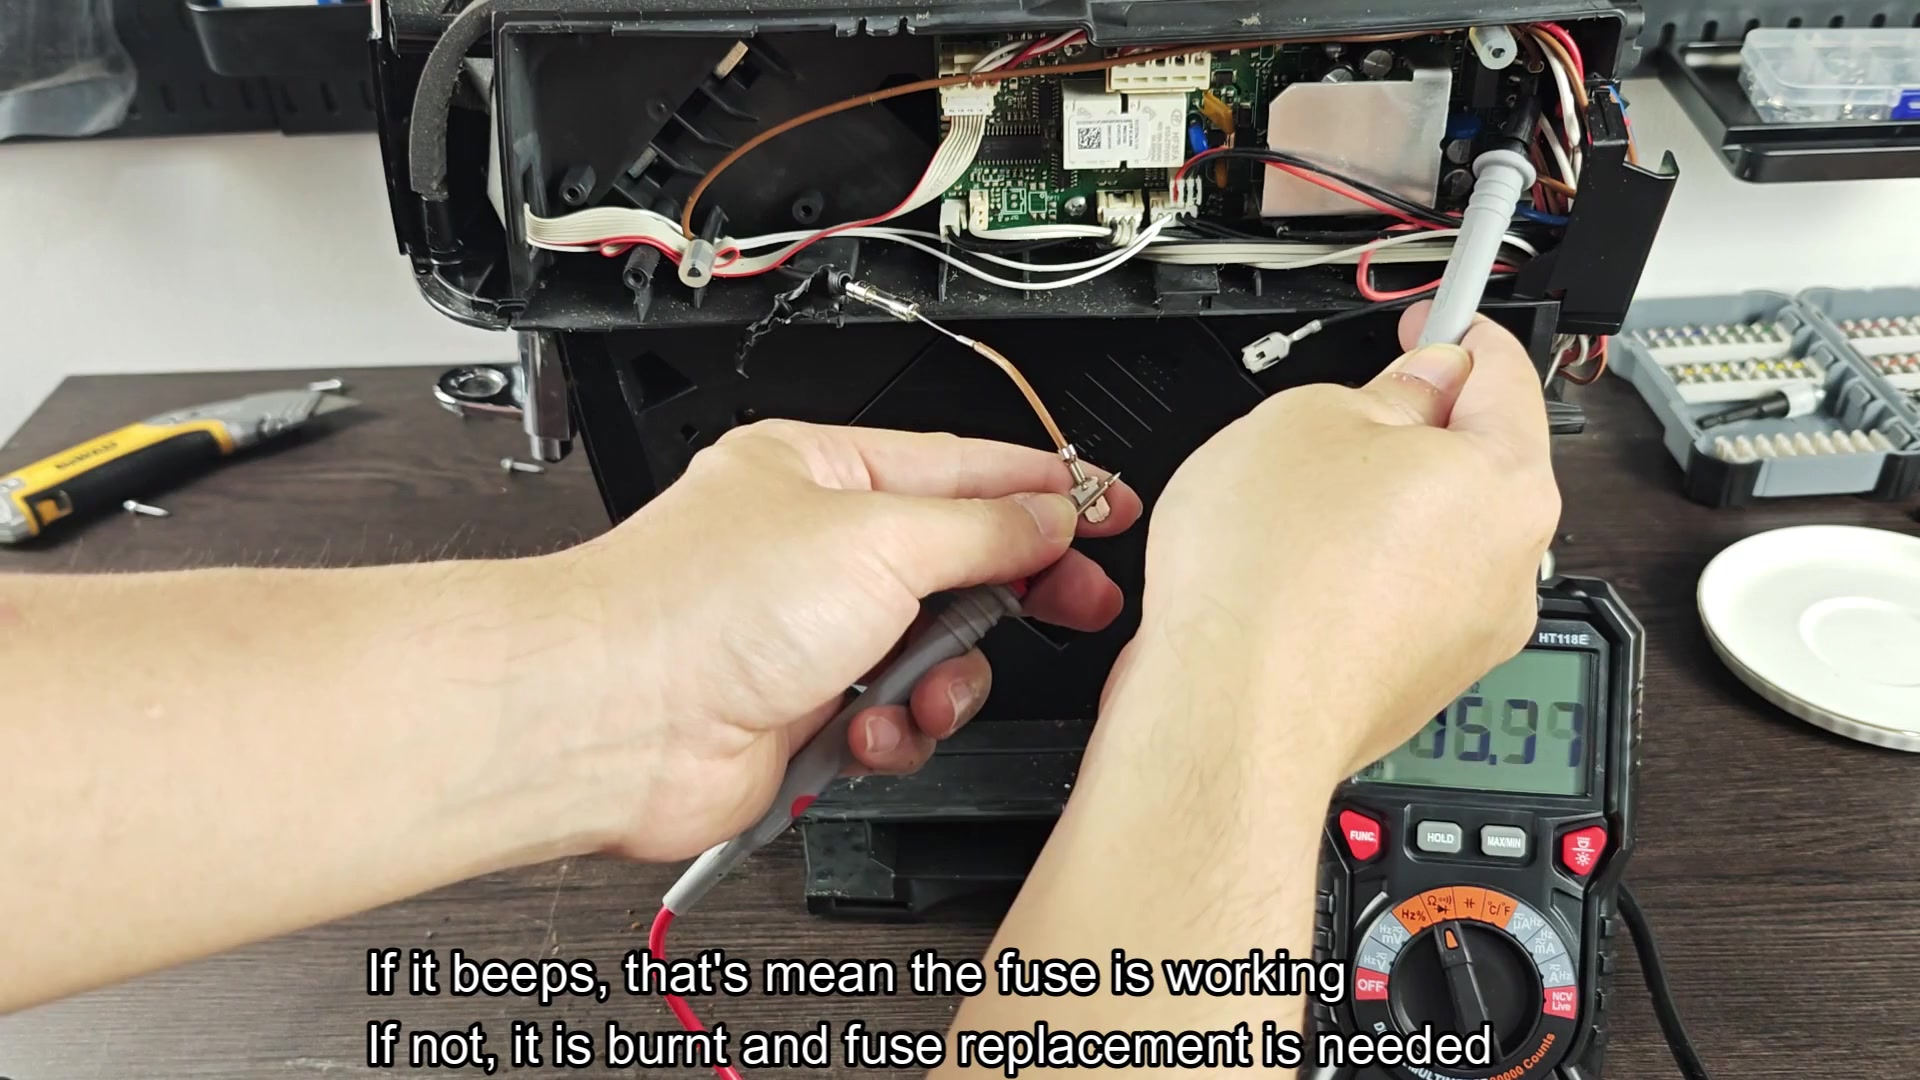
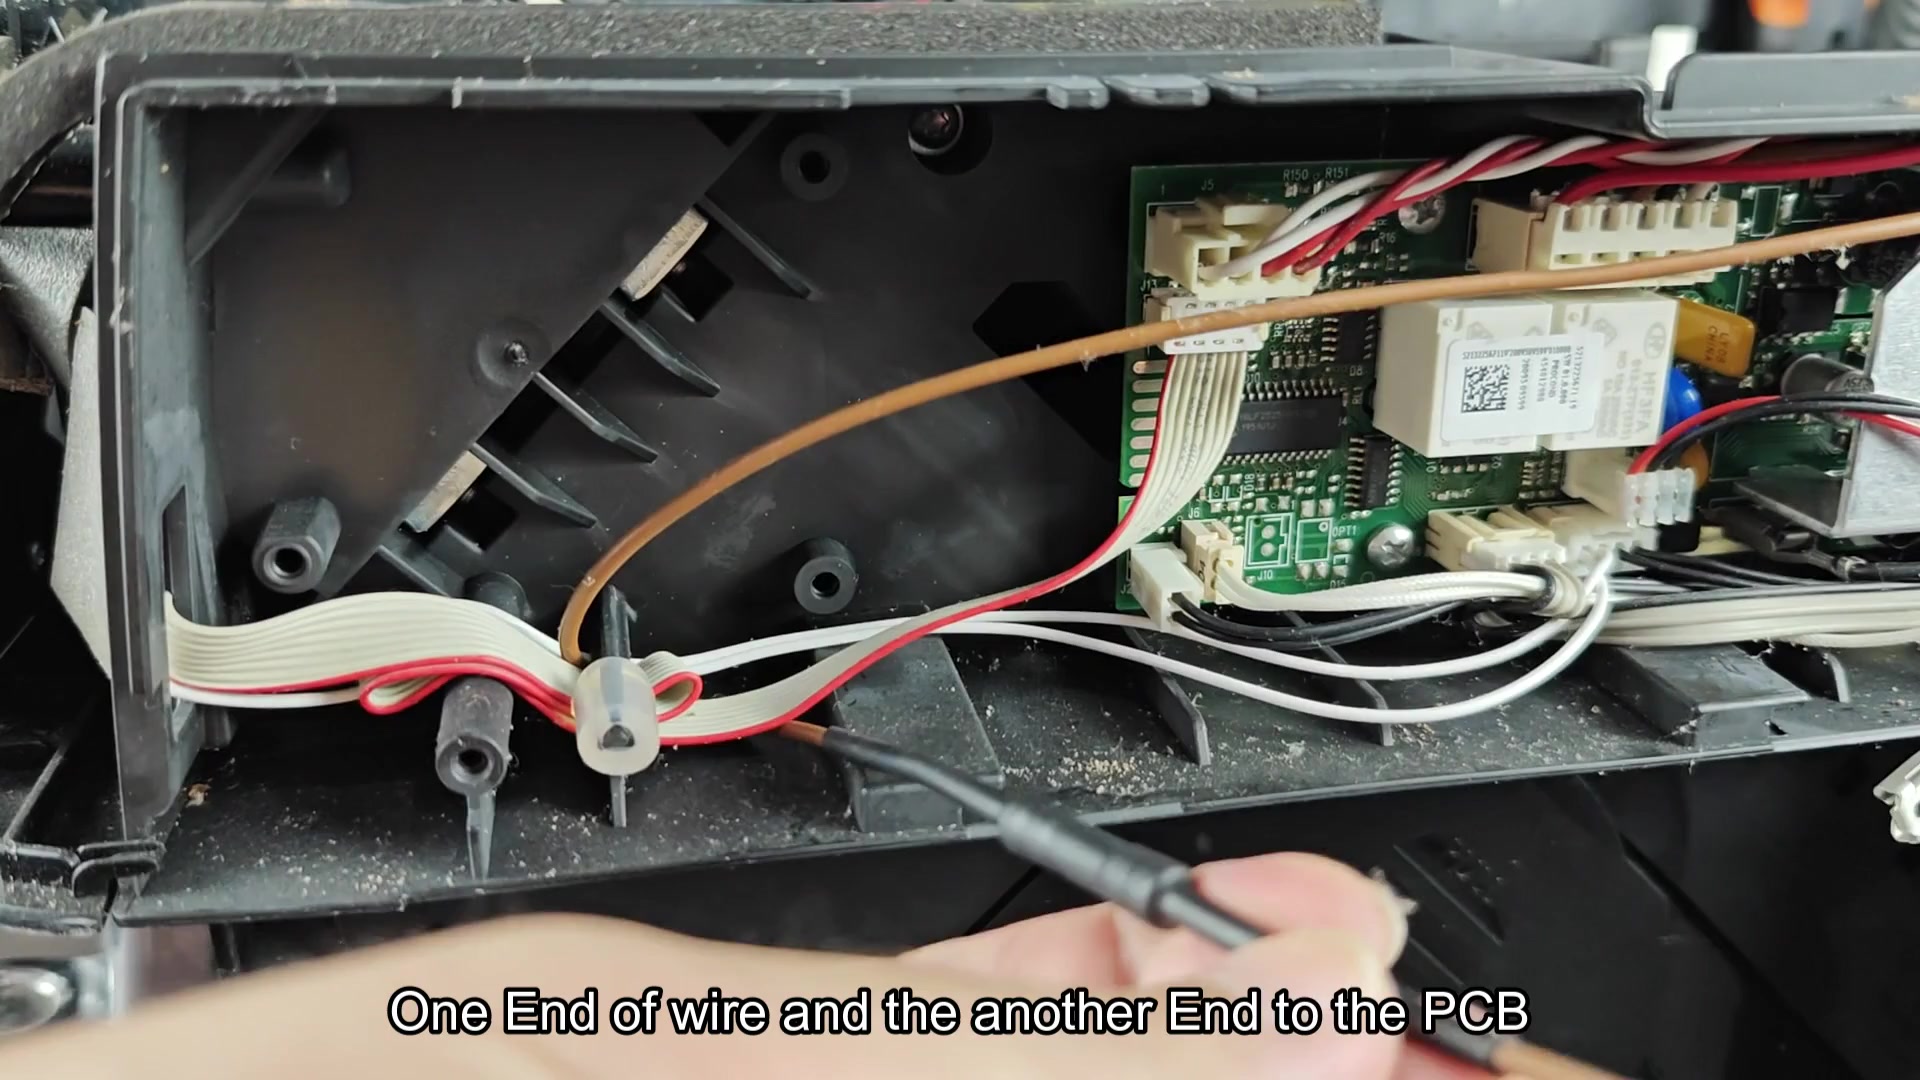
Perform a continuity test to be certain if the fuse blew or not by checking to see if there is continuity from one end of wire to other. From the source side, one wire will go directly to the board while the other will be to opposite end. Use your meter, don’t just rely on visual inspection.
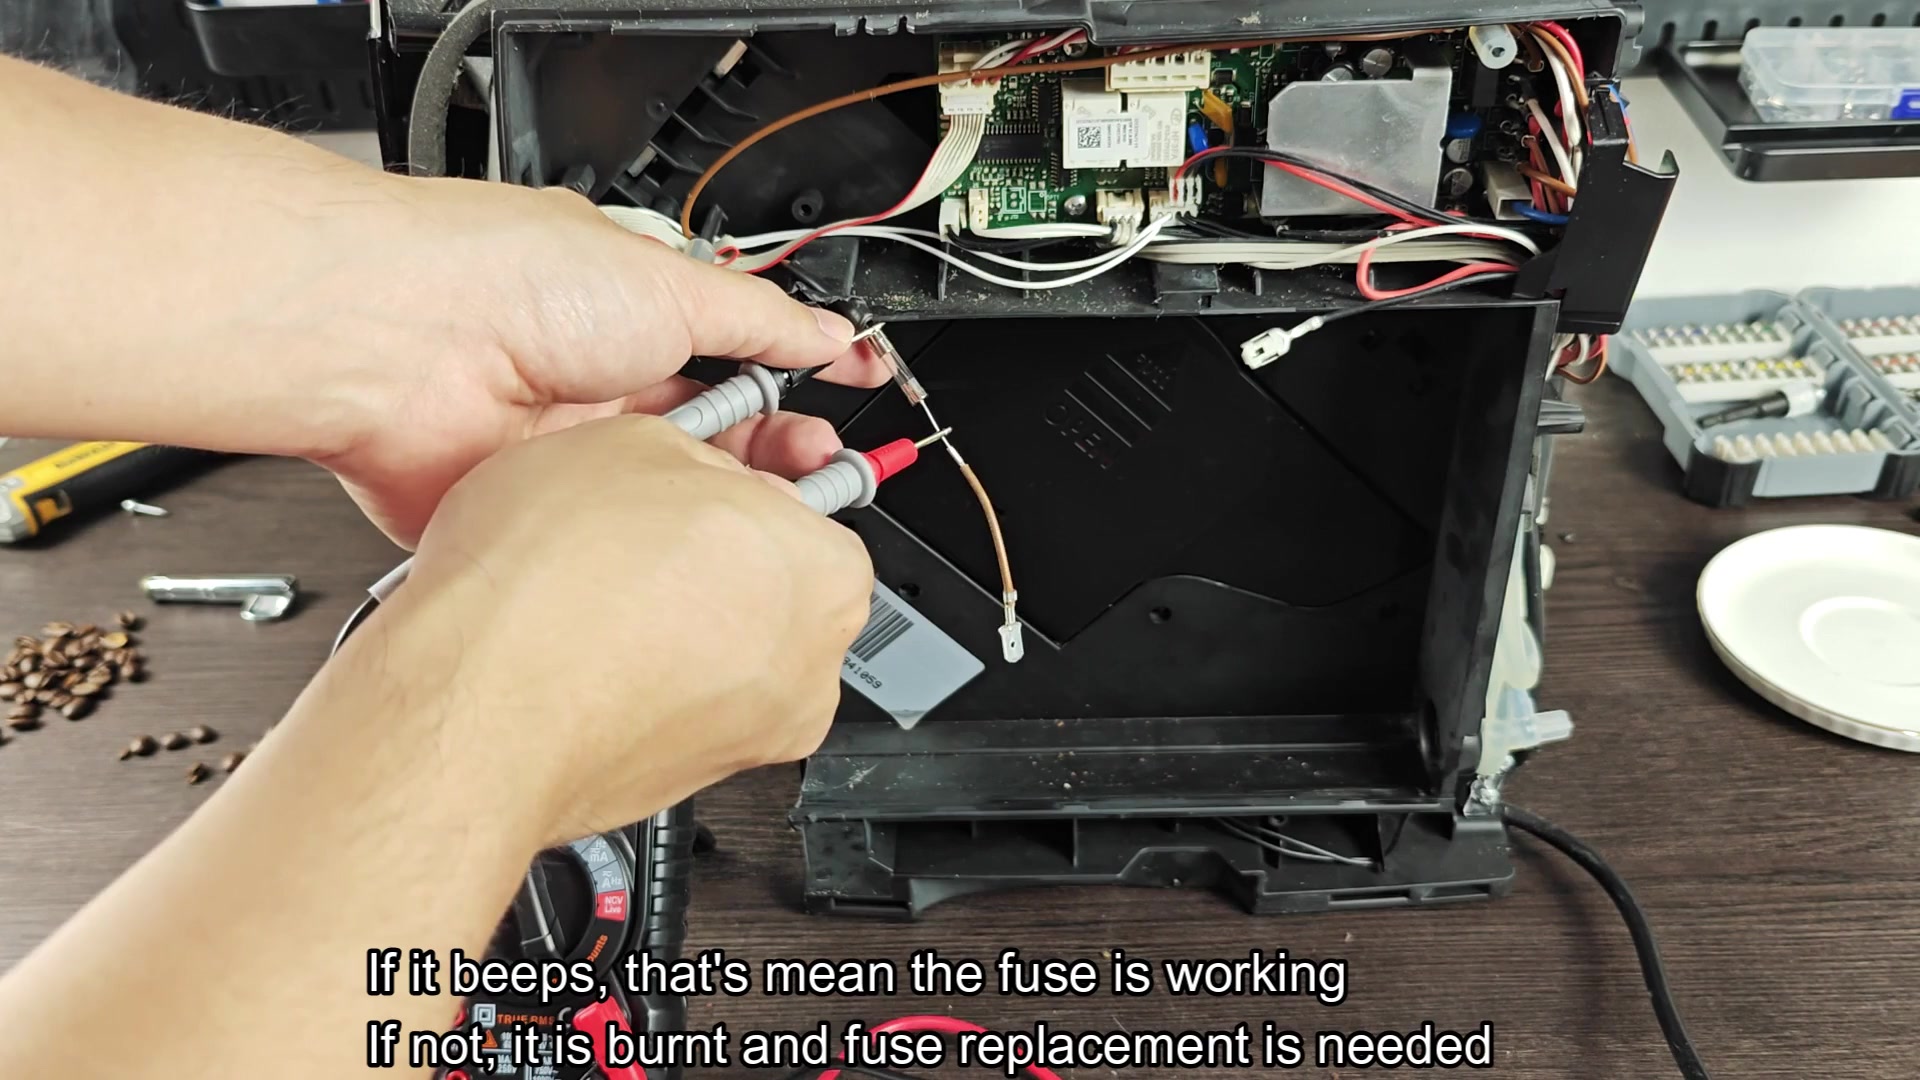
For this, a digital multimeter hooked up on continuity setting proves useful. Simply place your probes on each end of fuse and if there’s a continuous signal you’ll hear a loud sound; a broken connection will be silent, telling you right away where you stand.
By touching the probes to metal ends you see that it read OL on screen. That means infinite resistance, which shows path is broken. So there was no beep coming out of speaker, which confirmed that fuse had indeed been burnt out. Time for new one.
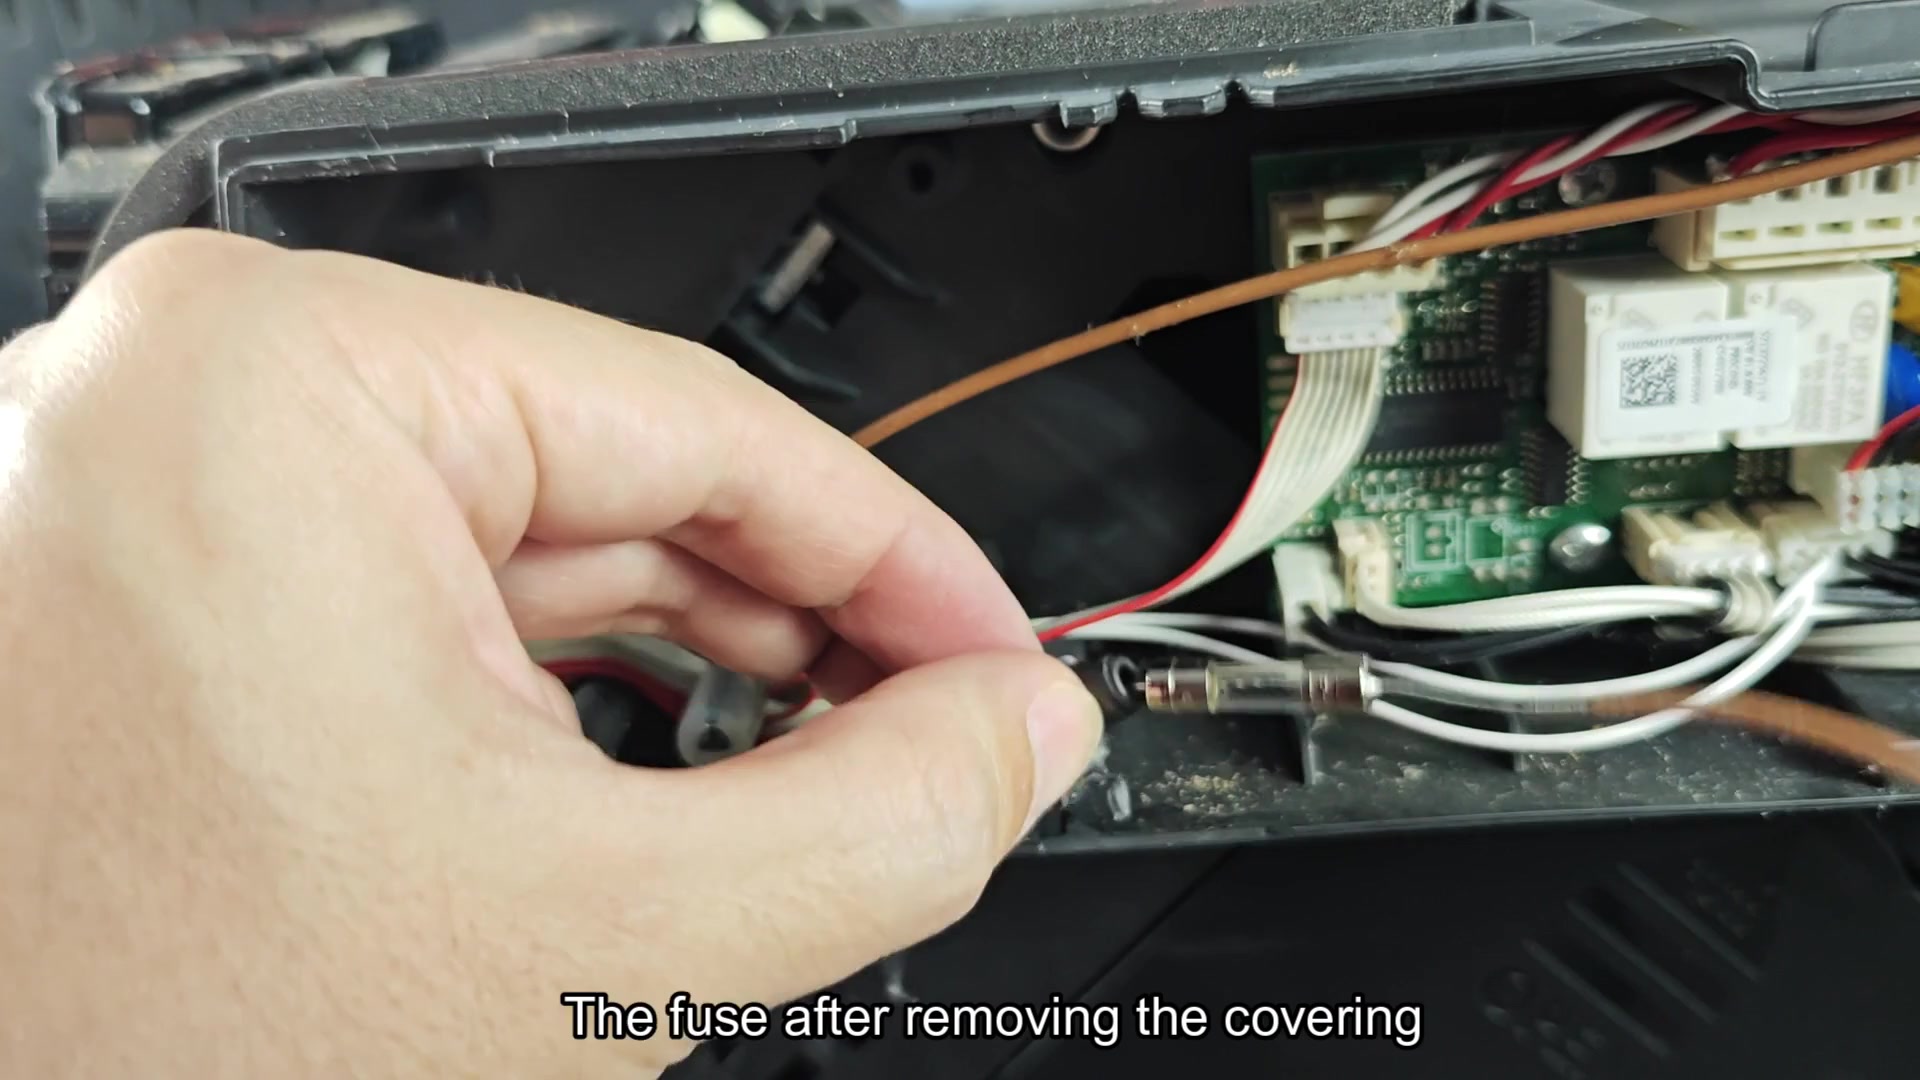
If your fuse was good it would have made a distinct sound letting you know there’s free flowing electricity. But unfortunatly, your fuse didn’t do that. That was because the internal filament has snapped under stress.
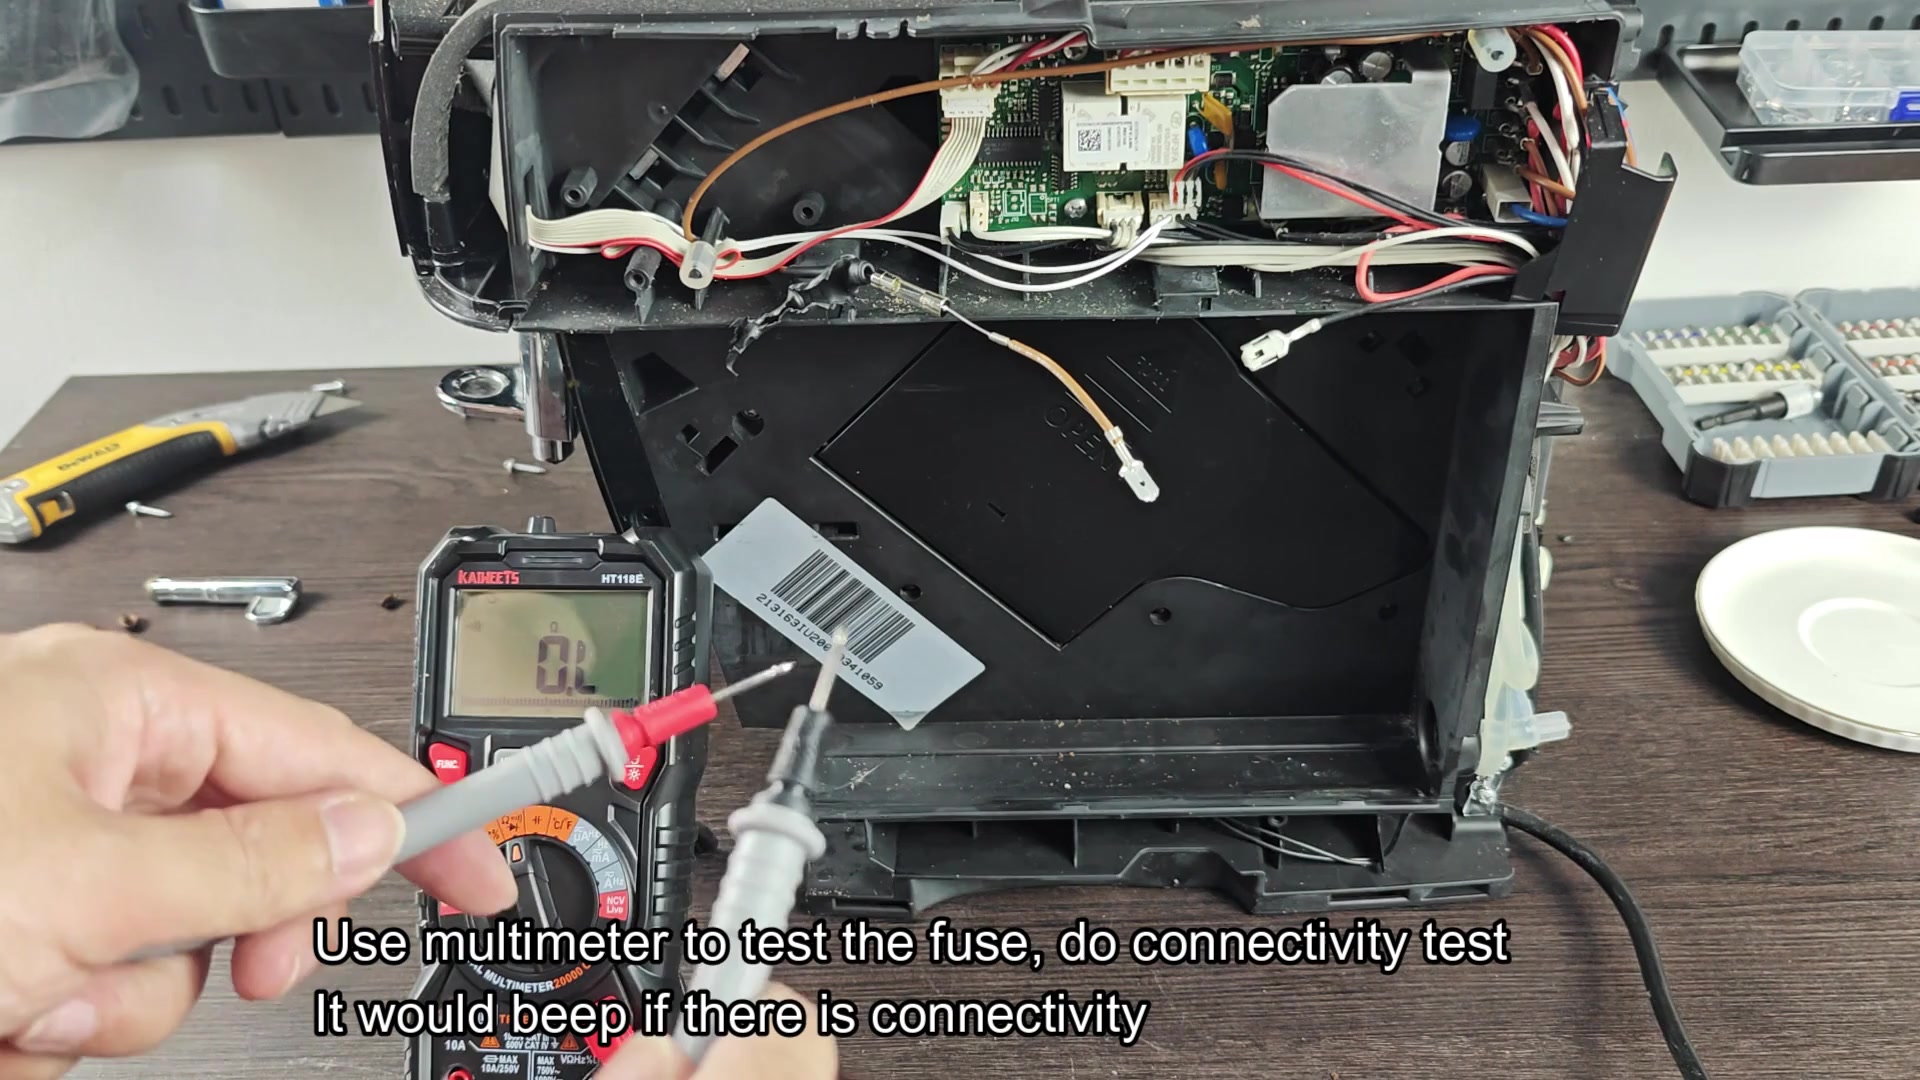
This is more common than you think, and replacing this inexpensive component resolve a major issue. If a beep means yes then why does your test say different than expected? Clearly your meter has spoken and there is no room for confusion here. It is time to find yourself a replacement fuse.
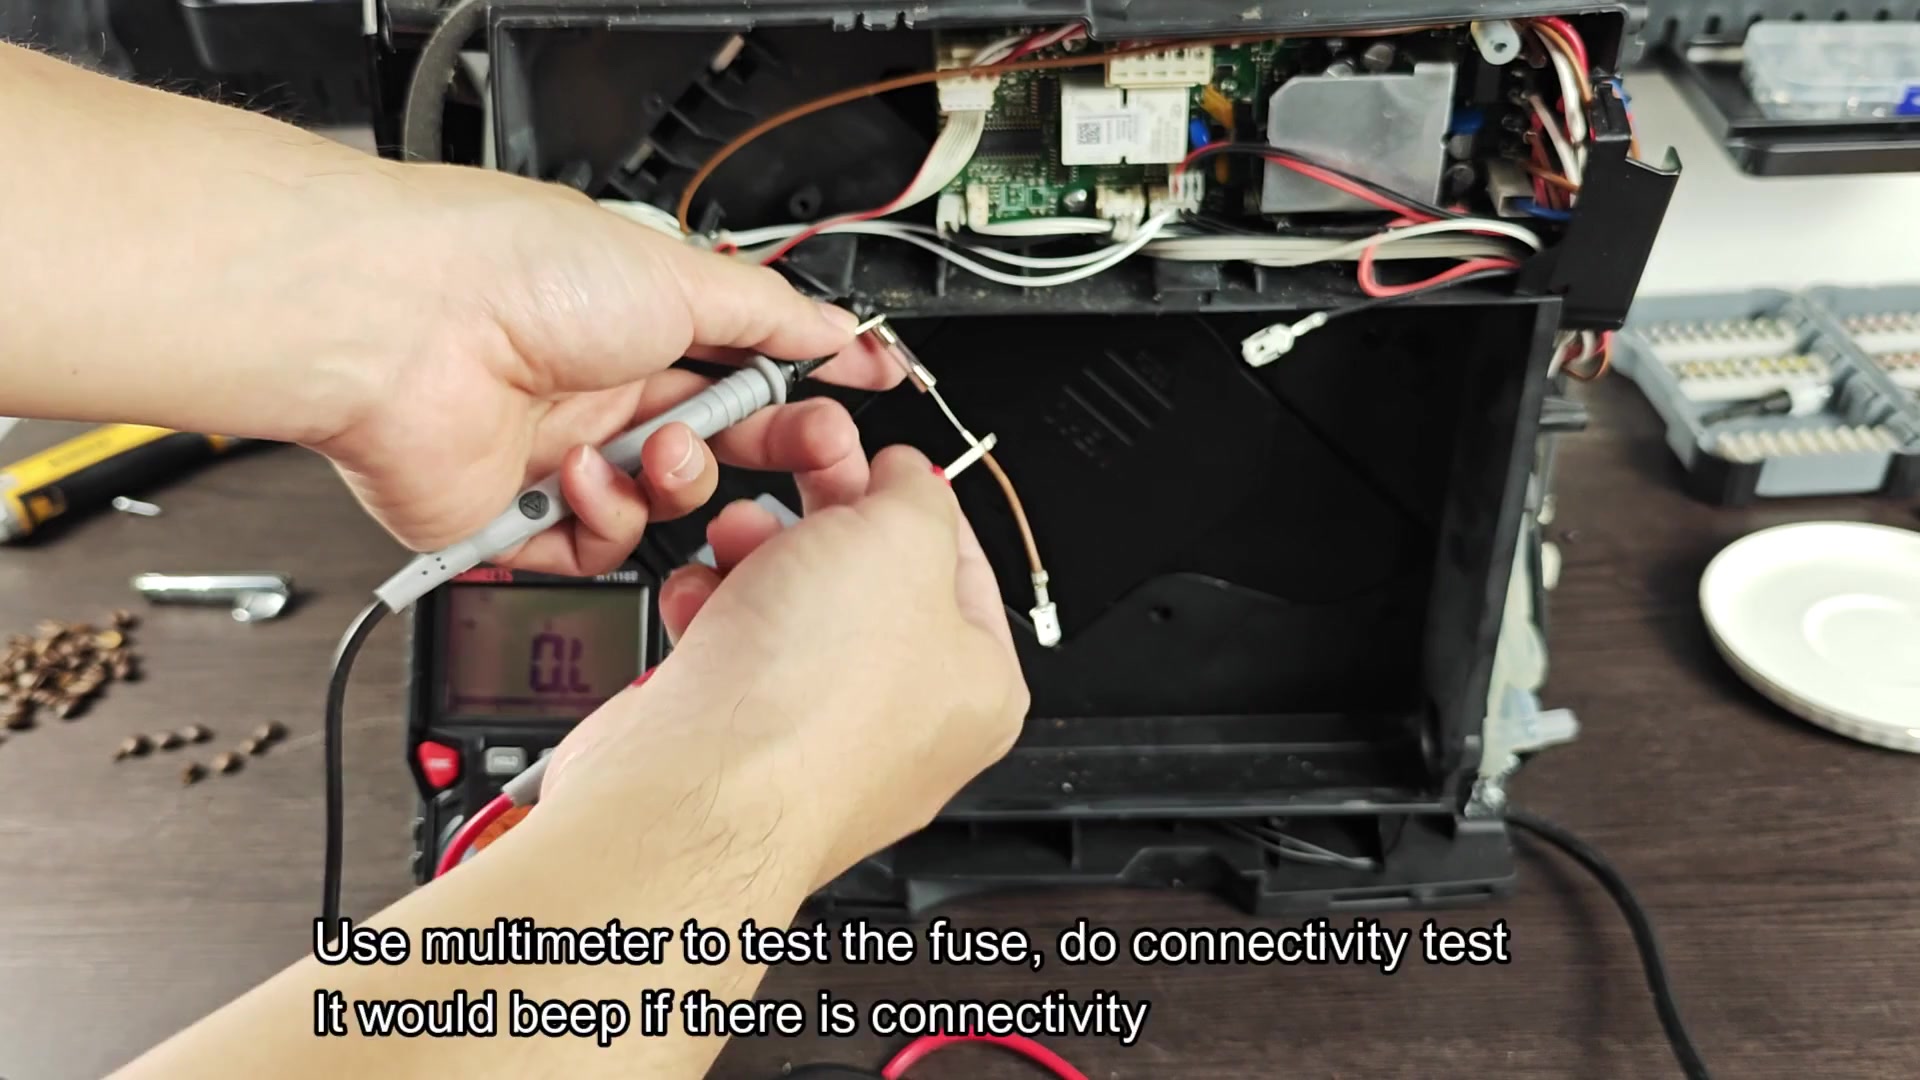
The old fuse pulls out easily and new slides in easy too. And yes, you need to be careful and match the rating exactly for safety sake. Don’t guess with the specs so always get the correct part number. Replacing it was easy.
After replacing it you put it all back together and snugly replace the covers. Then you plug it back in to wall outlet, push the power button, cross your fingers, and hope. It instantly turned on and screen lit up! It was a full recovery. That was bigger help than I expected.