Then you turn it upside down and get to work on base. What’s in here? Who knows? Well you do now!
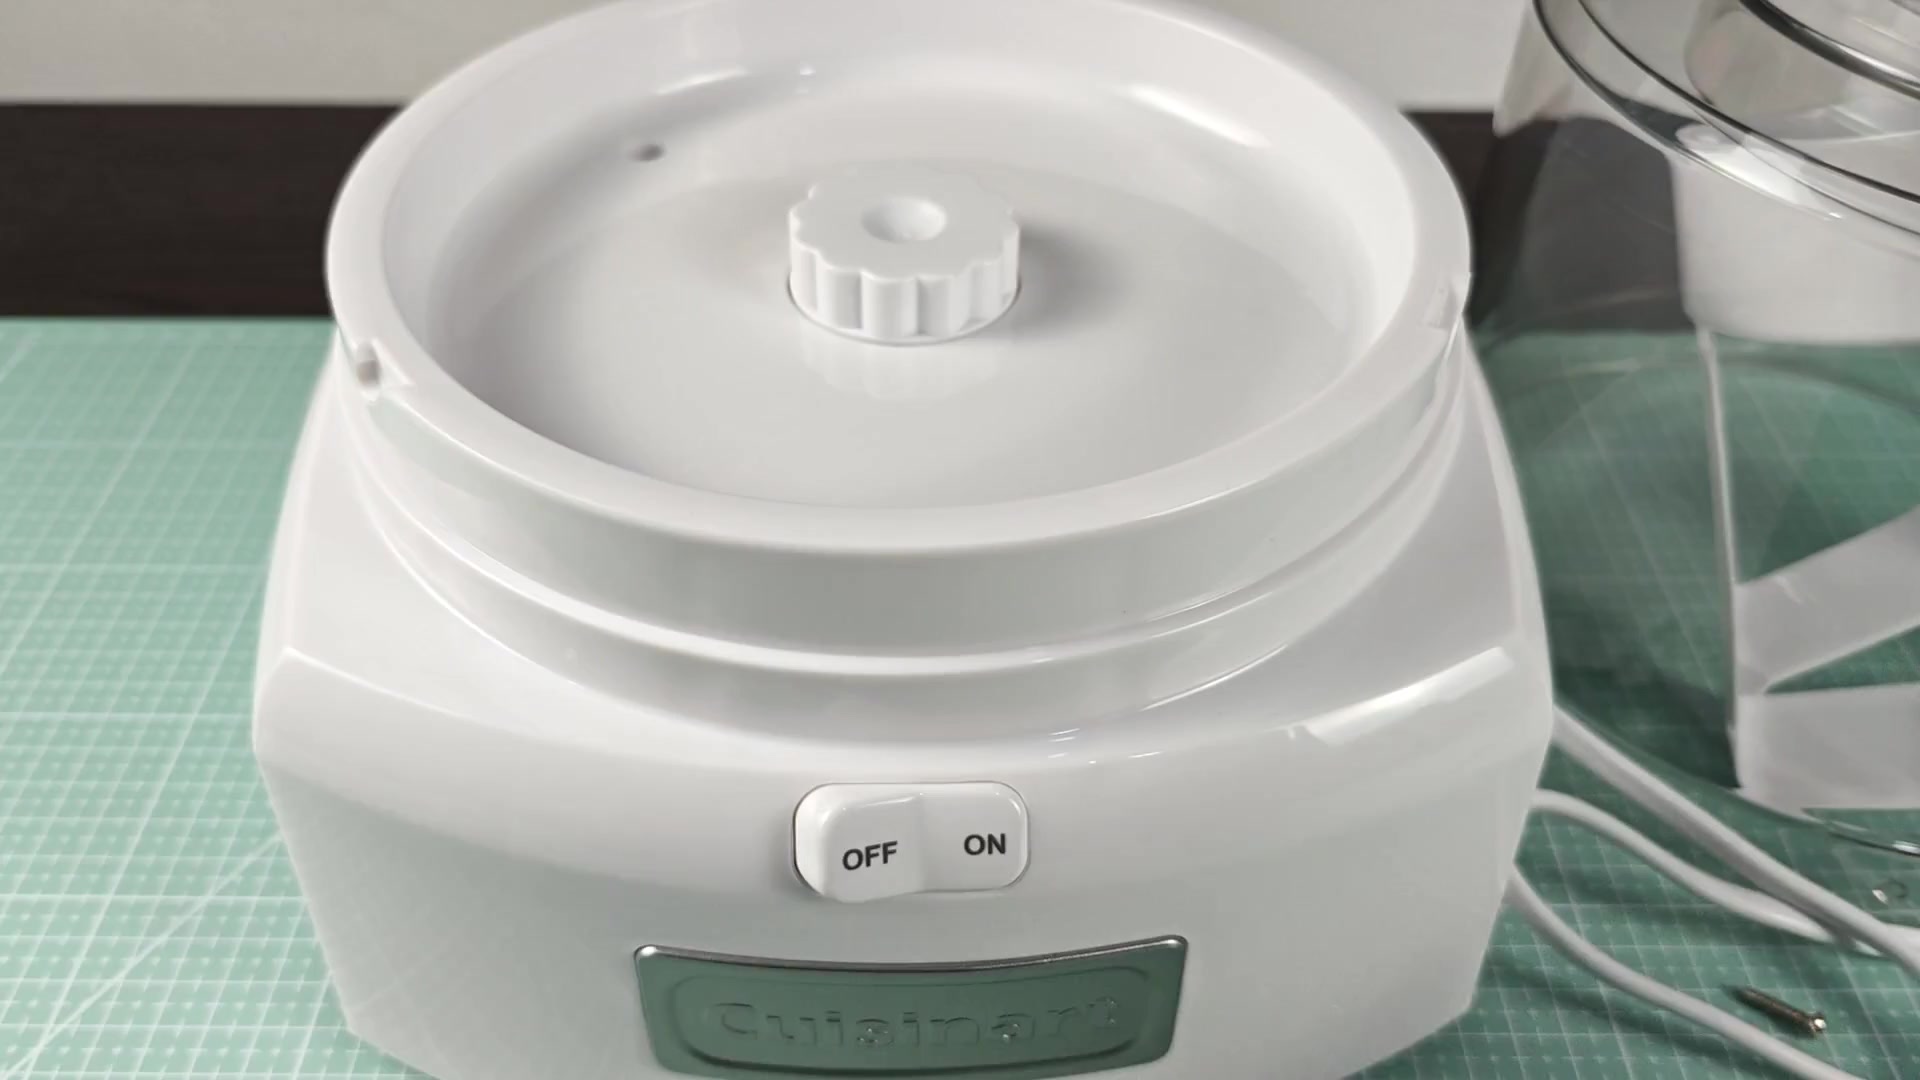
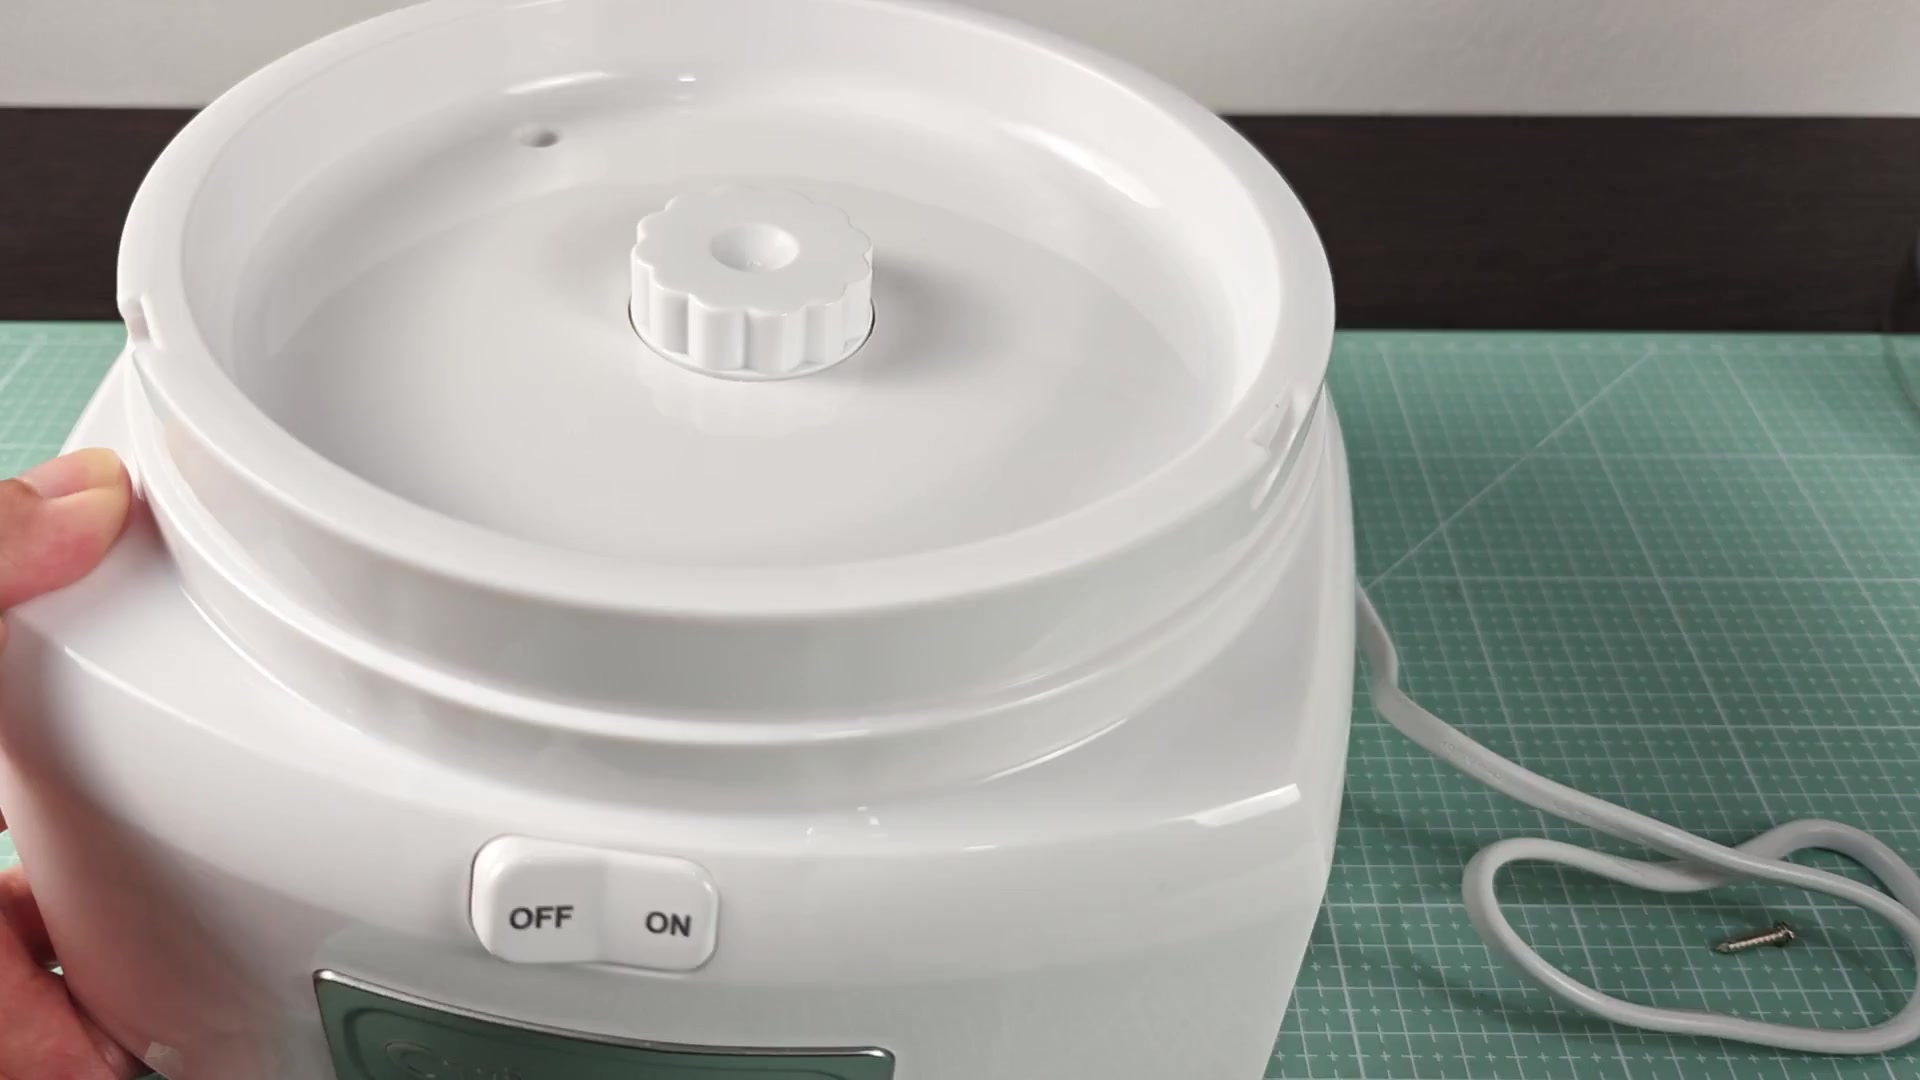
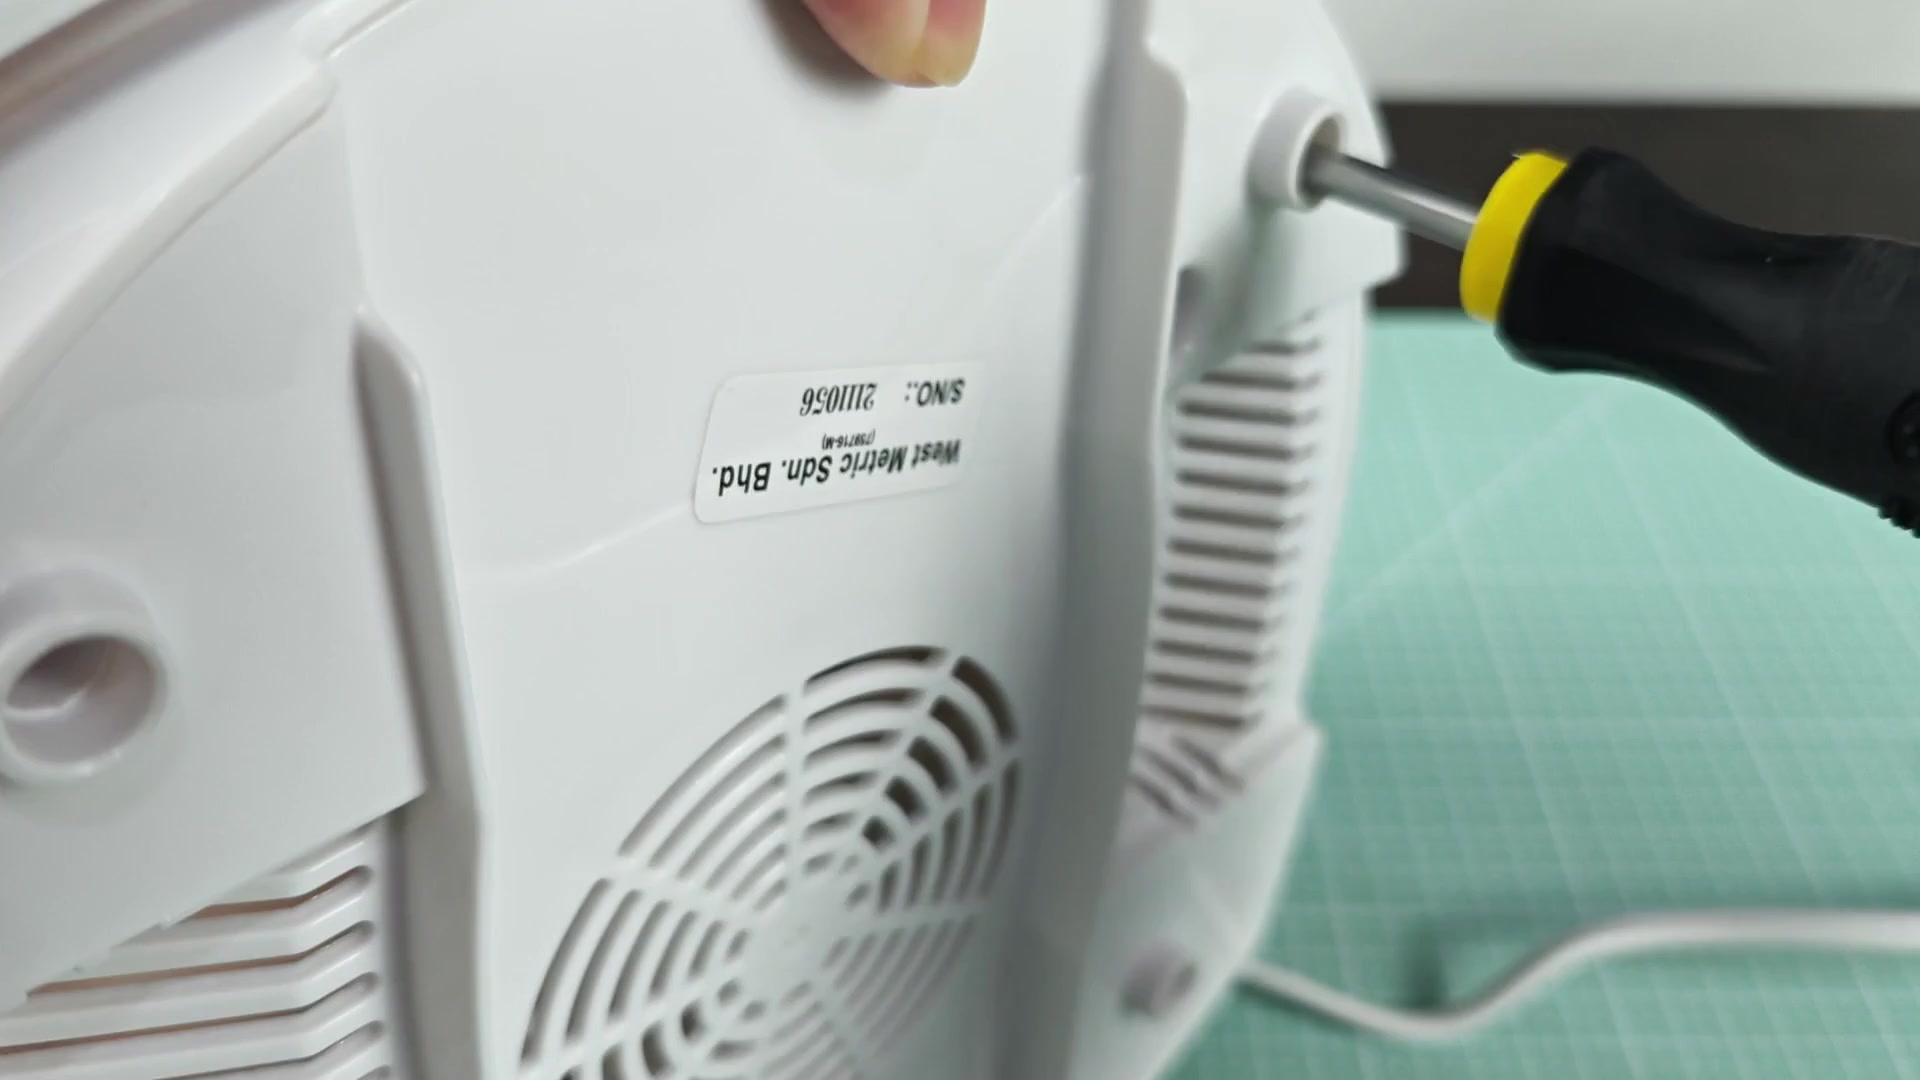
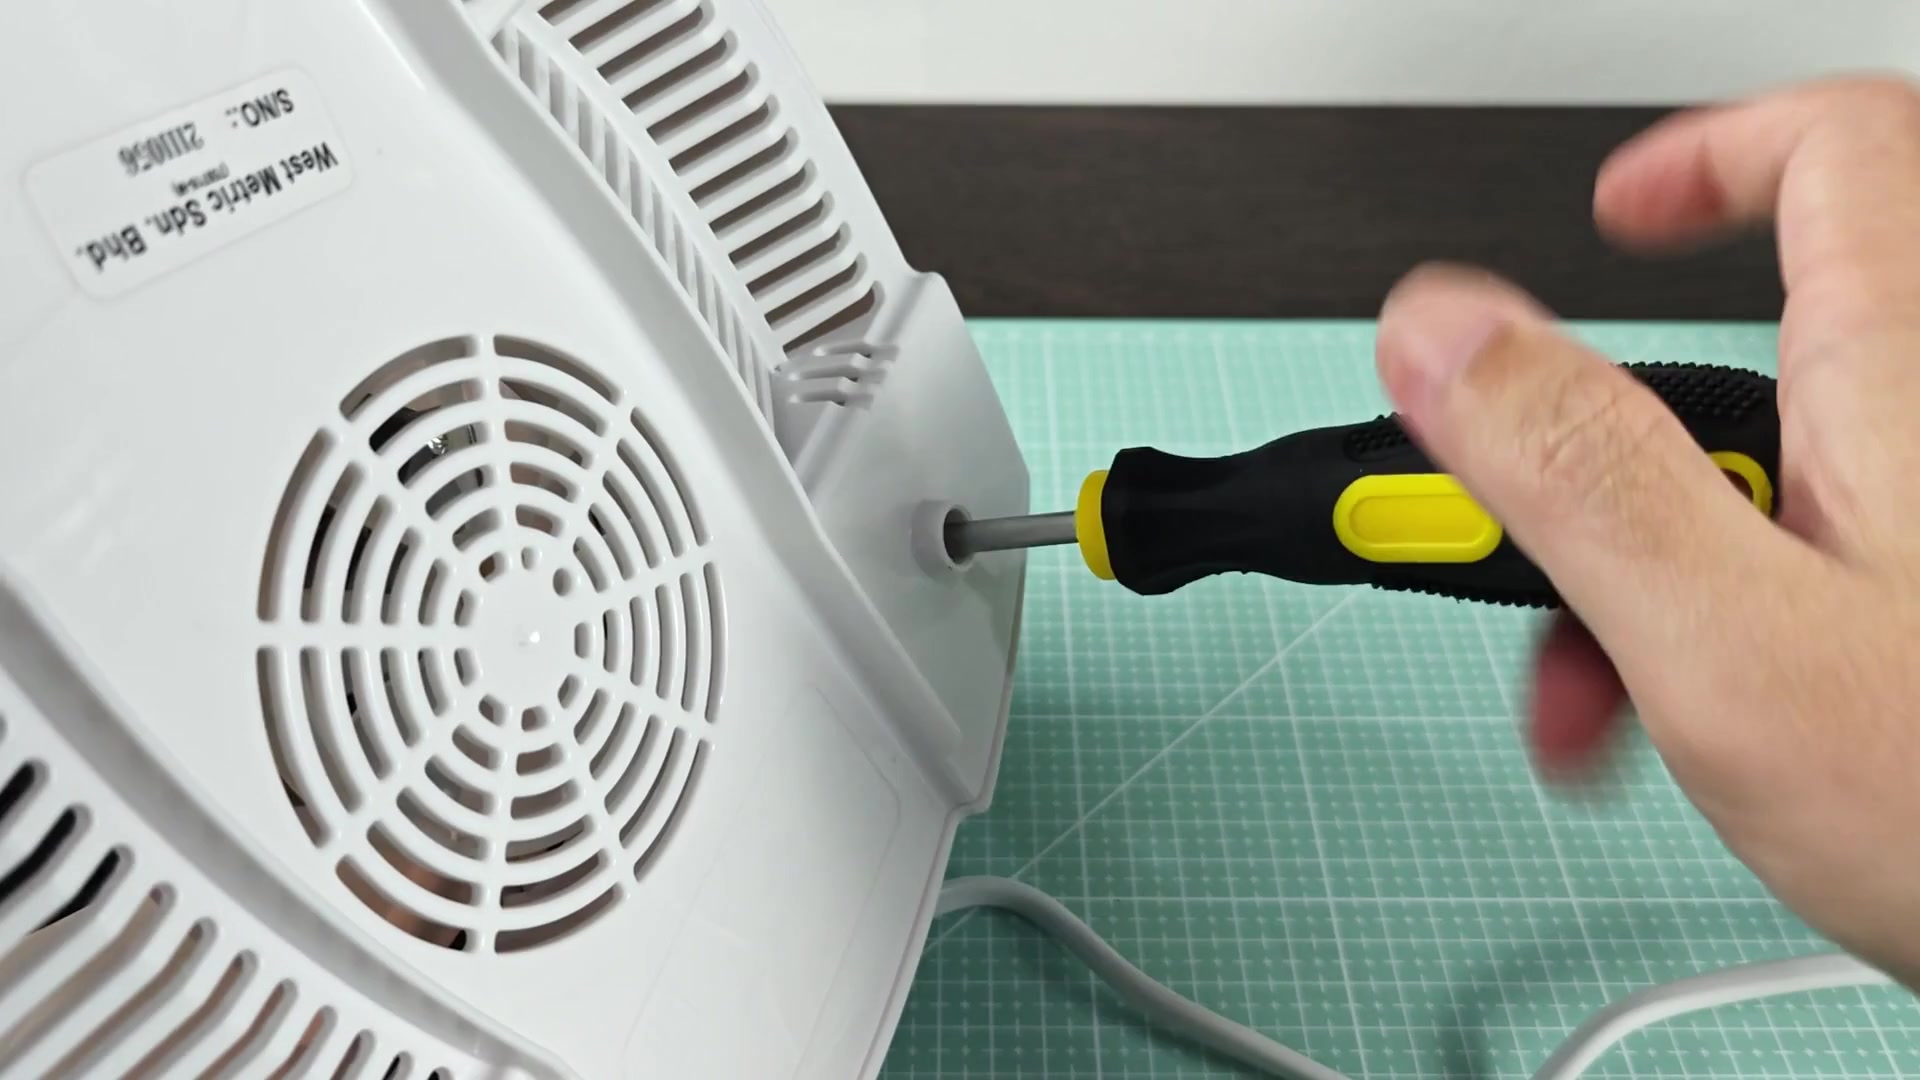
Four screws holds the whole thing together. Three of them are ordinary screws that can be removed with a regular screwdriver. Very little resistance makes for an easy pull.
Inspecting the internal components
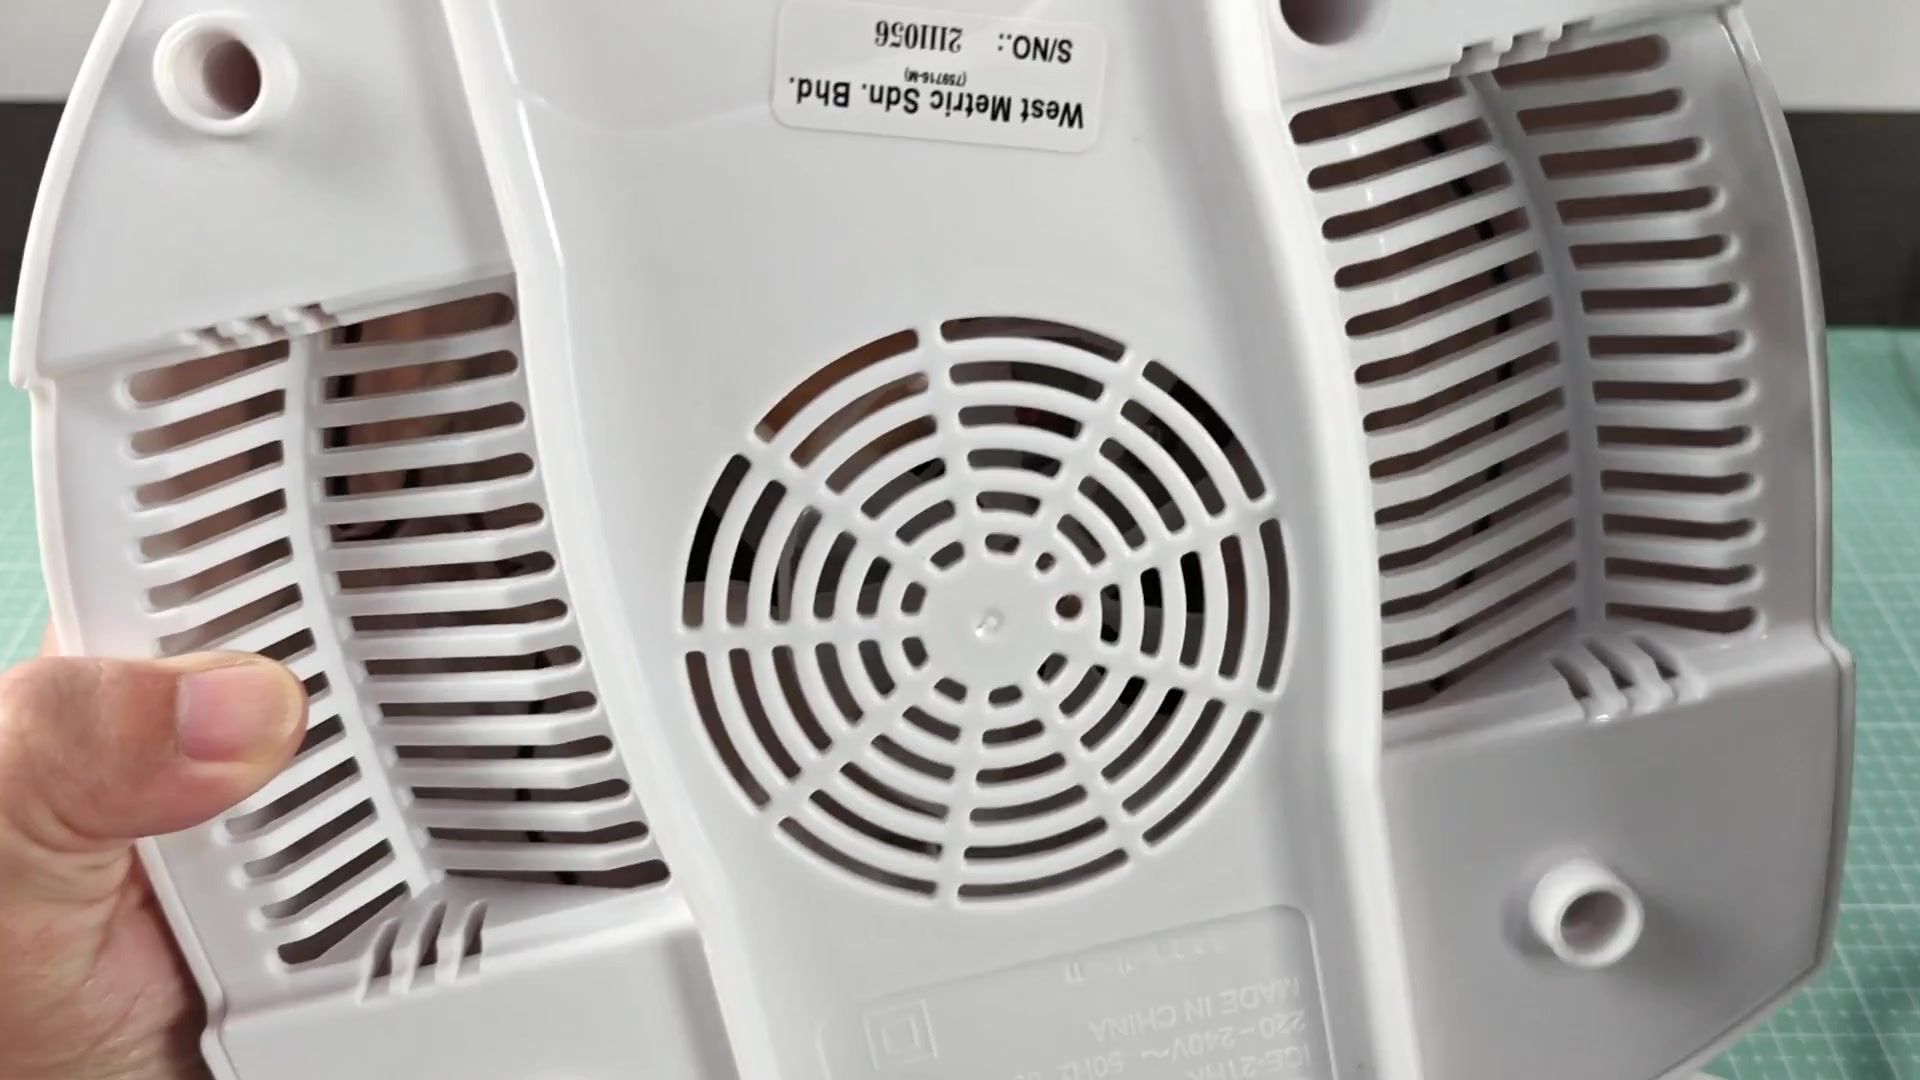
The bottom side is your starting point to find all the fasteners. The air flow vents has round grilles around the perimeter, and a little sticker with serial numbers and manufacturer info is right there as well.
Simple screws hold things in place; no more searching for any elusive clips like you used to do. Nothing snap or breaks at this step. There are no plastic tabs.
The only thing strange about this screw is there’s one you need a tool to get out of. That’s the only one you get out with your “U”-shaped screwdriver. The other three just pop out with your normal driver. Mixing tools is annoying, but you sometimes has to do it because that one special screw holds tension of the cover.
When armed with the proper bits, getting going is simple. Simply feed the driver through one of the regular holes and turn counter-clockwise, loose, right away. Because there’s no stripping of the head, the screw back out nicely. Then it just drops off onto your work surface alongside you.
Each fastener is set down at its own spot on the mat beside it. Organizing helps to not lose small parts when you need them later.
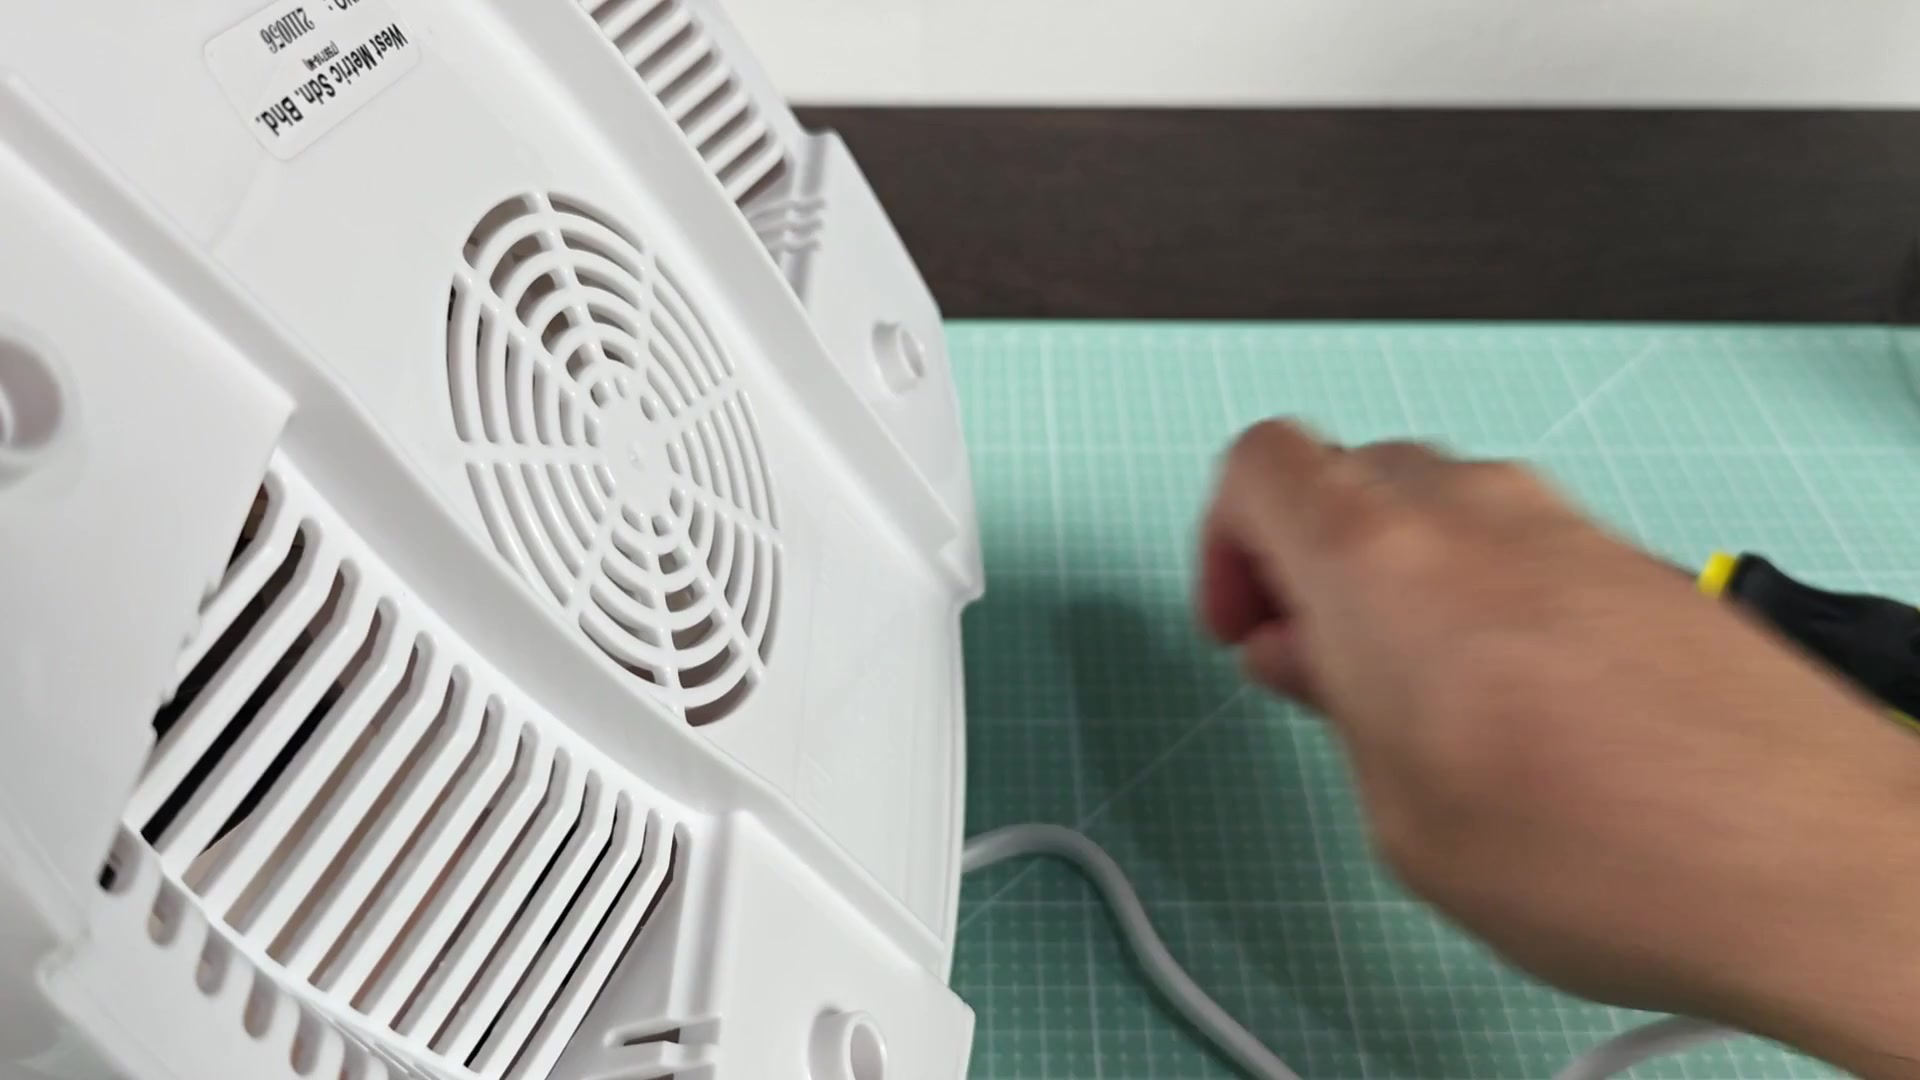
Your hands are moving rapidly around the corners as the white housing stay put. In no time flat three screws are gone. The last one require the odd-sized bit. Accuracy is more important then speed here.
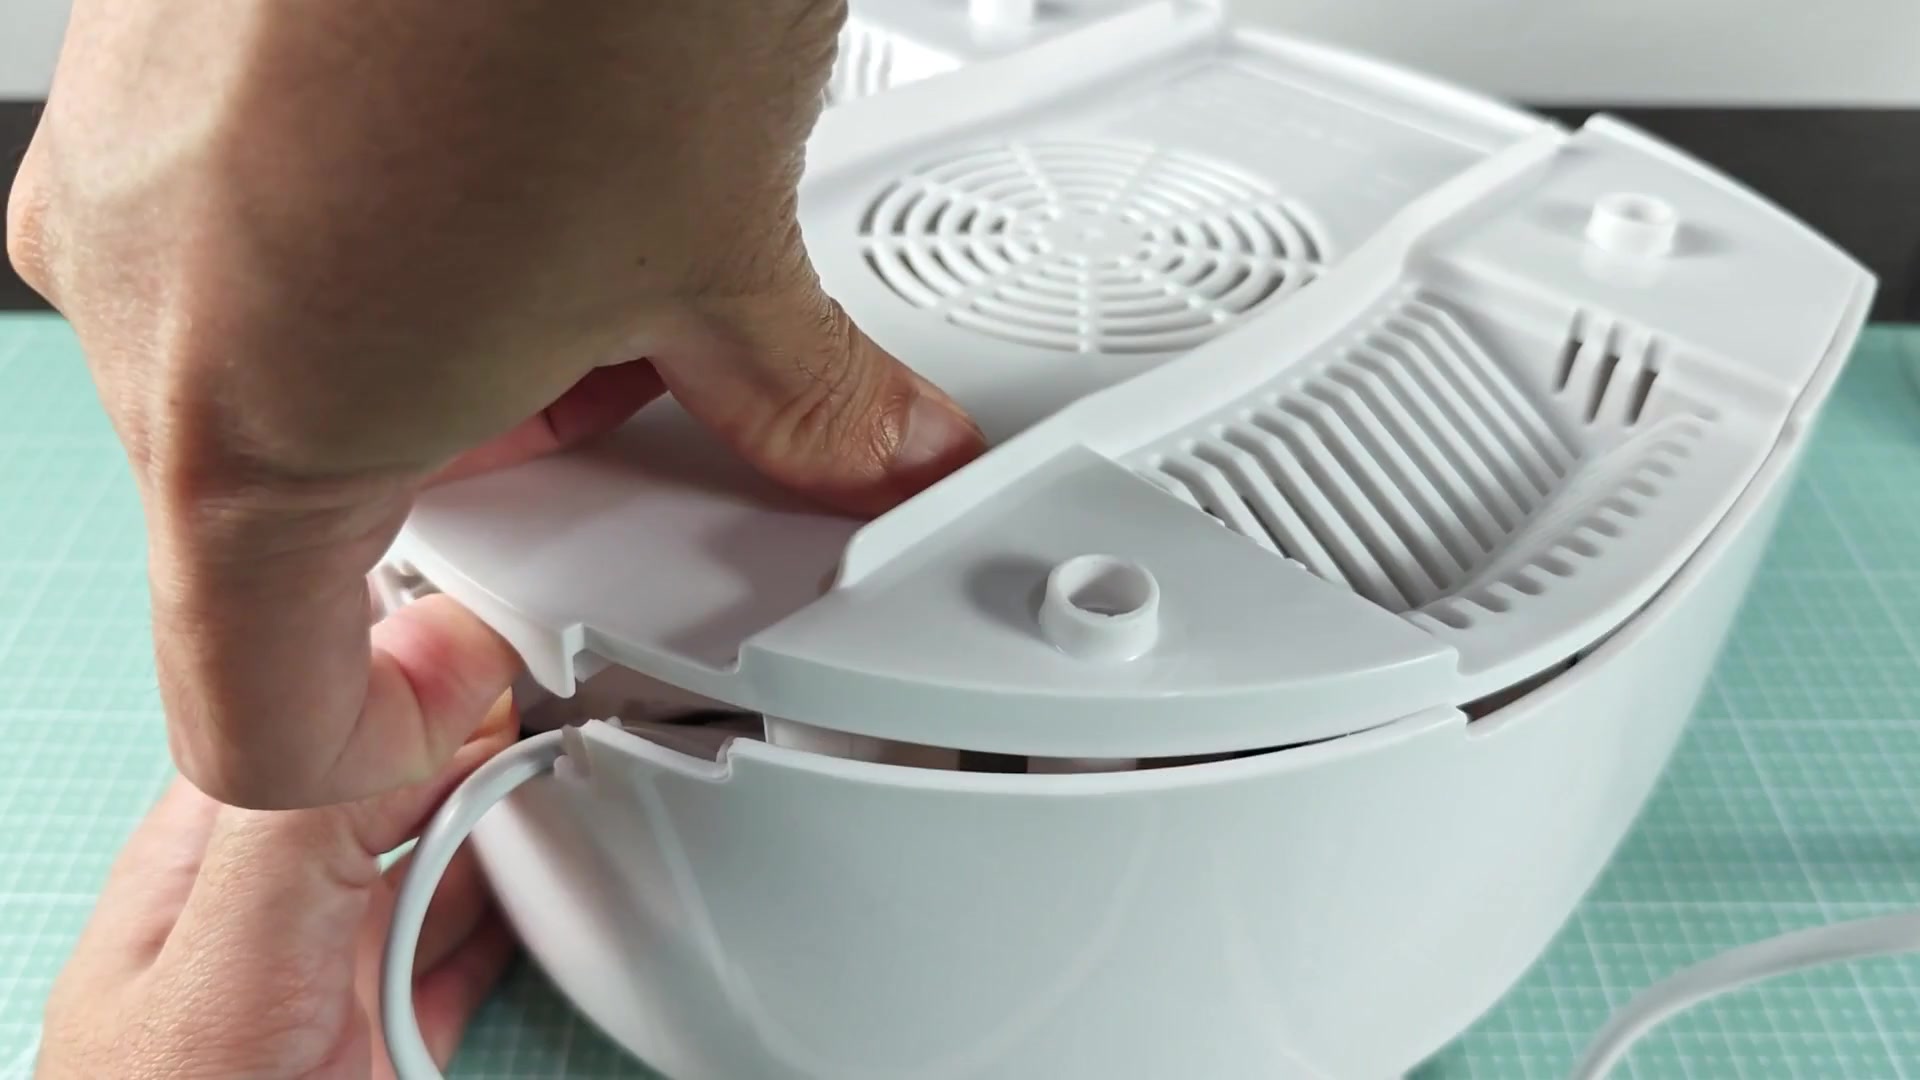
Without any fasteners holding it in place, however, it doesn’t simply fall away. There is a bit of grip holding the panels snugly together.
With some gentle prying and working your fingers down the seam at the point where the power cord enters, you’ll be able to raise the lip just far enough apart to get it free. It’s a matter of patience here (no need for force); because when that seal releases, the plastic will click quiet.
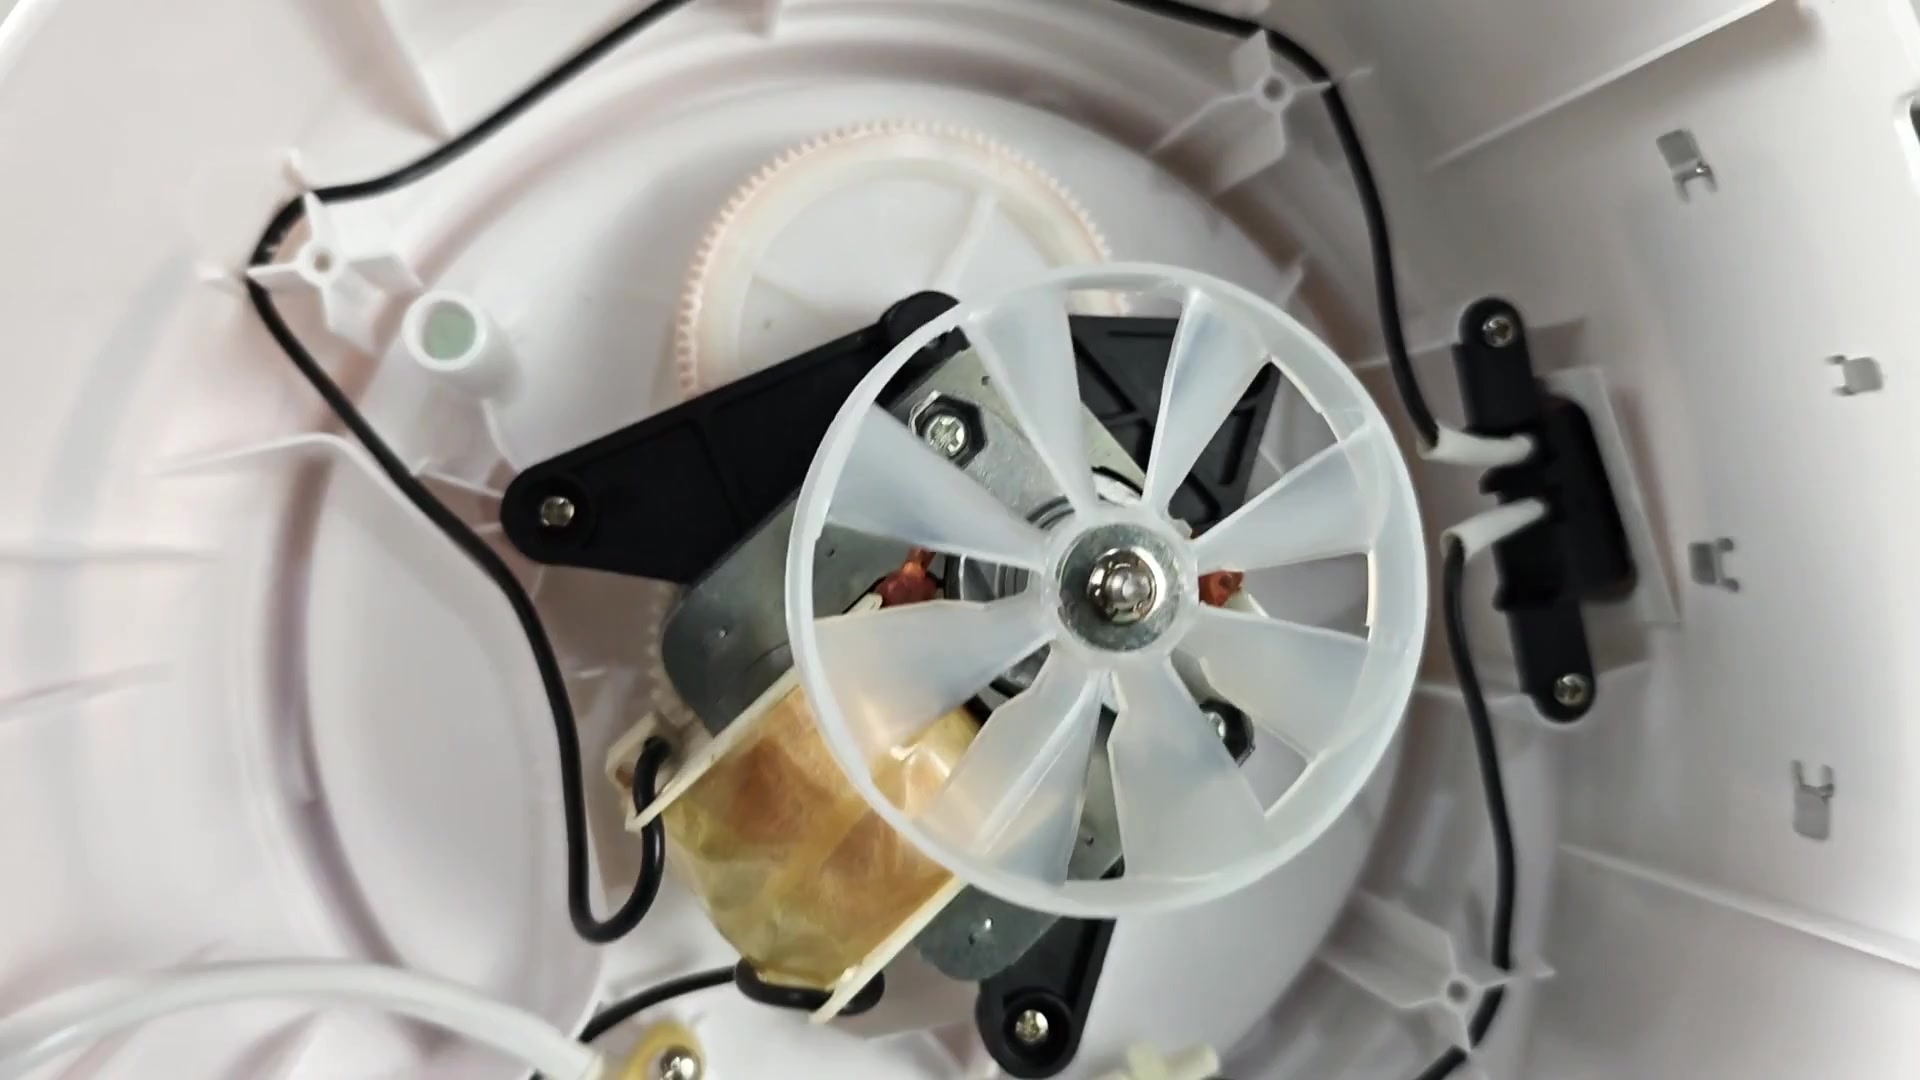
Once you lift that panel back, it exposes the entire interior for you to inspect. As you can see the motor assembly are mounted directly in the middle of the base. Everything is held securely with black mounting brackets. You will also notice all electrical connections is visible.
You don’t have to guess where the possible failure spots might be anymore, so you can get down to inspecting what needs to be inspected.
But what’s the deal? The interior is actualy quite tidy. You can see a large white impeller wheel secured right to the motor shaft up top. Connectors appear tight and free from corrosion or other obvious signs of damage. All wires are routed cleanly around outer edge of housing.
At first glance everything appears in its place; so you grasp the housing firmly and take it all in more slowly.
Up close you can see just how tight the design is. The motor sits below the fan blade with minimal intrusion. No wire run through the middle. Everything routes out to the sides away from any rotating components. Strong mounting brackets also holds the device down during rotation.
It’s nice that they routed all the wiring cleanly too so you know where to go if something needs repair or adding power.
Right away you notice a white ring gear on top. It probably transmits torque to the churning device up top. Beneath the main assembly is the motor that is mounted tightly in place. Screws securing it look solid, not disturbed.
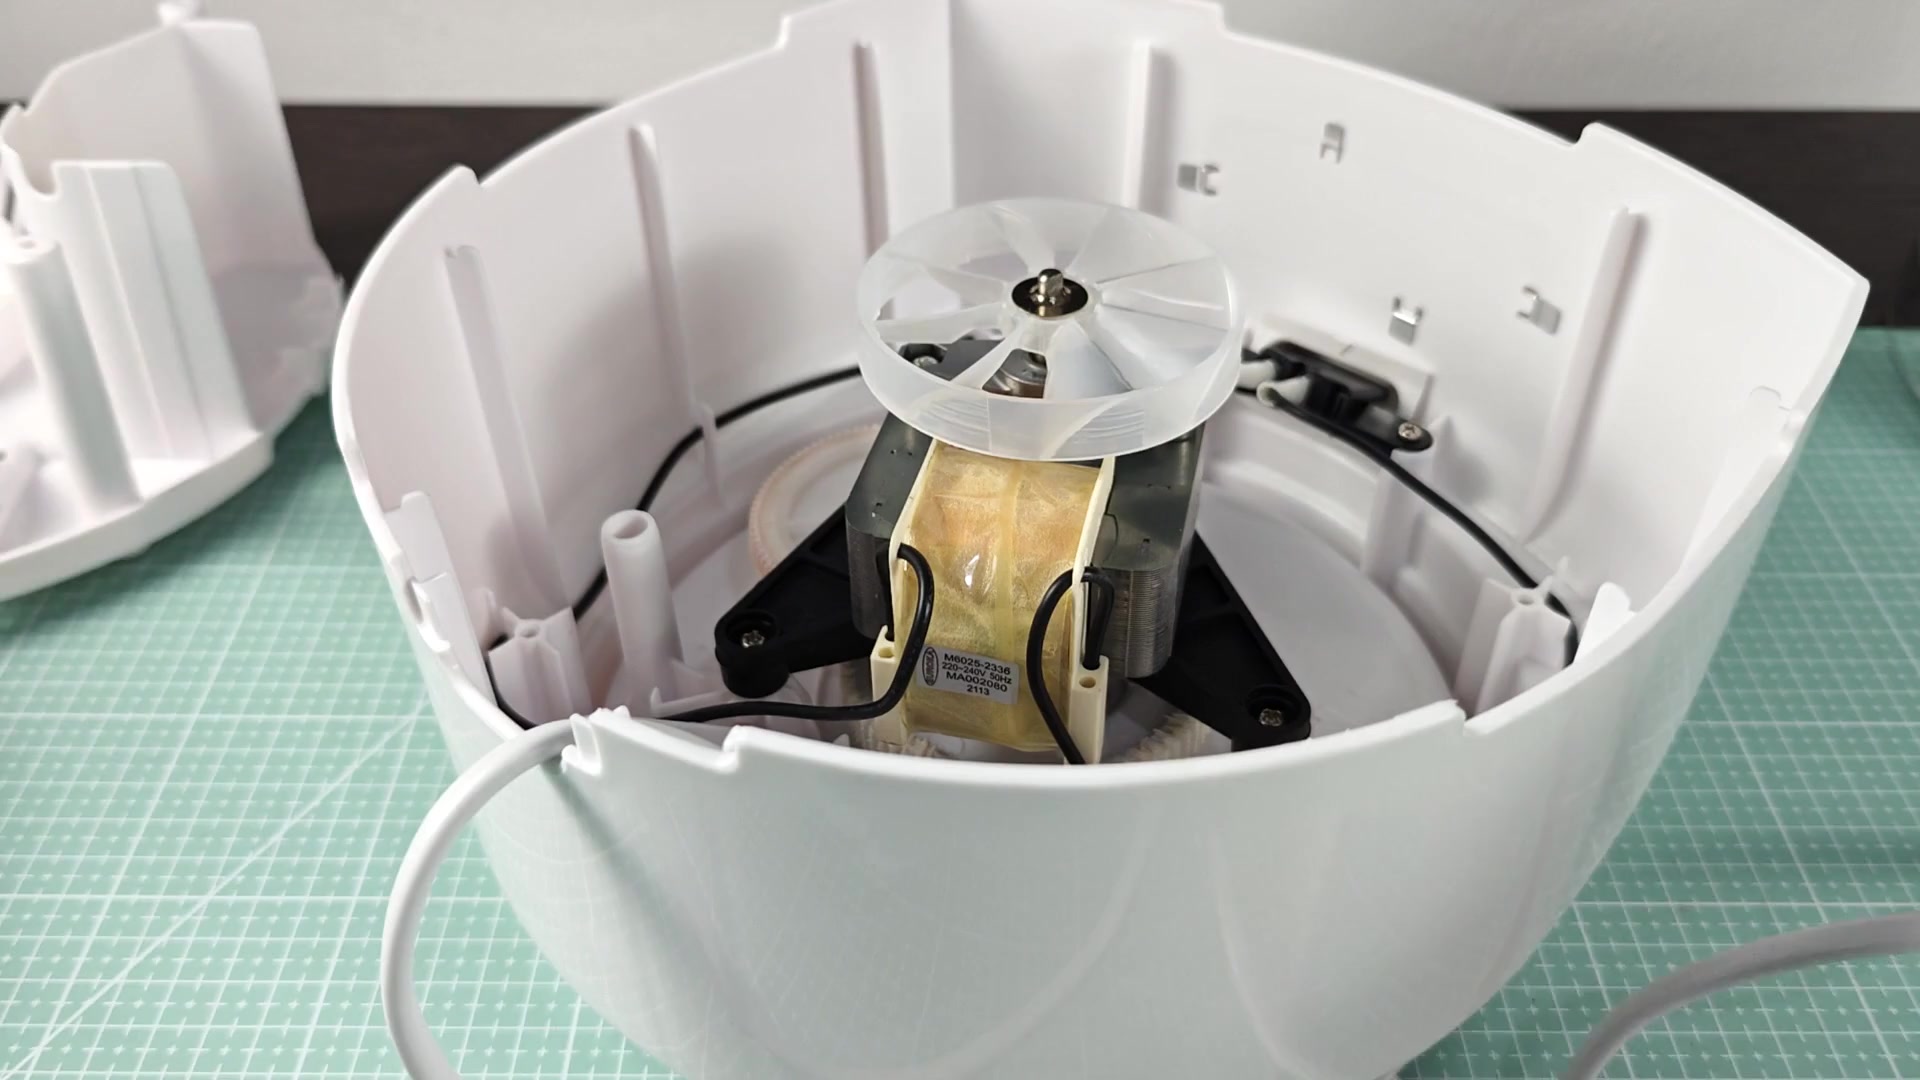
Before I touch anything, I mentaly trace all the wires, hoping to avoid an accidental short circuit by knowing where things connect.
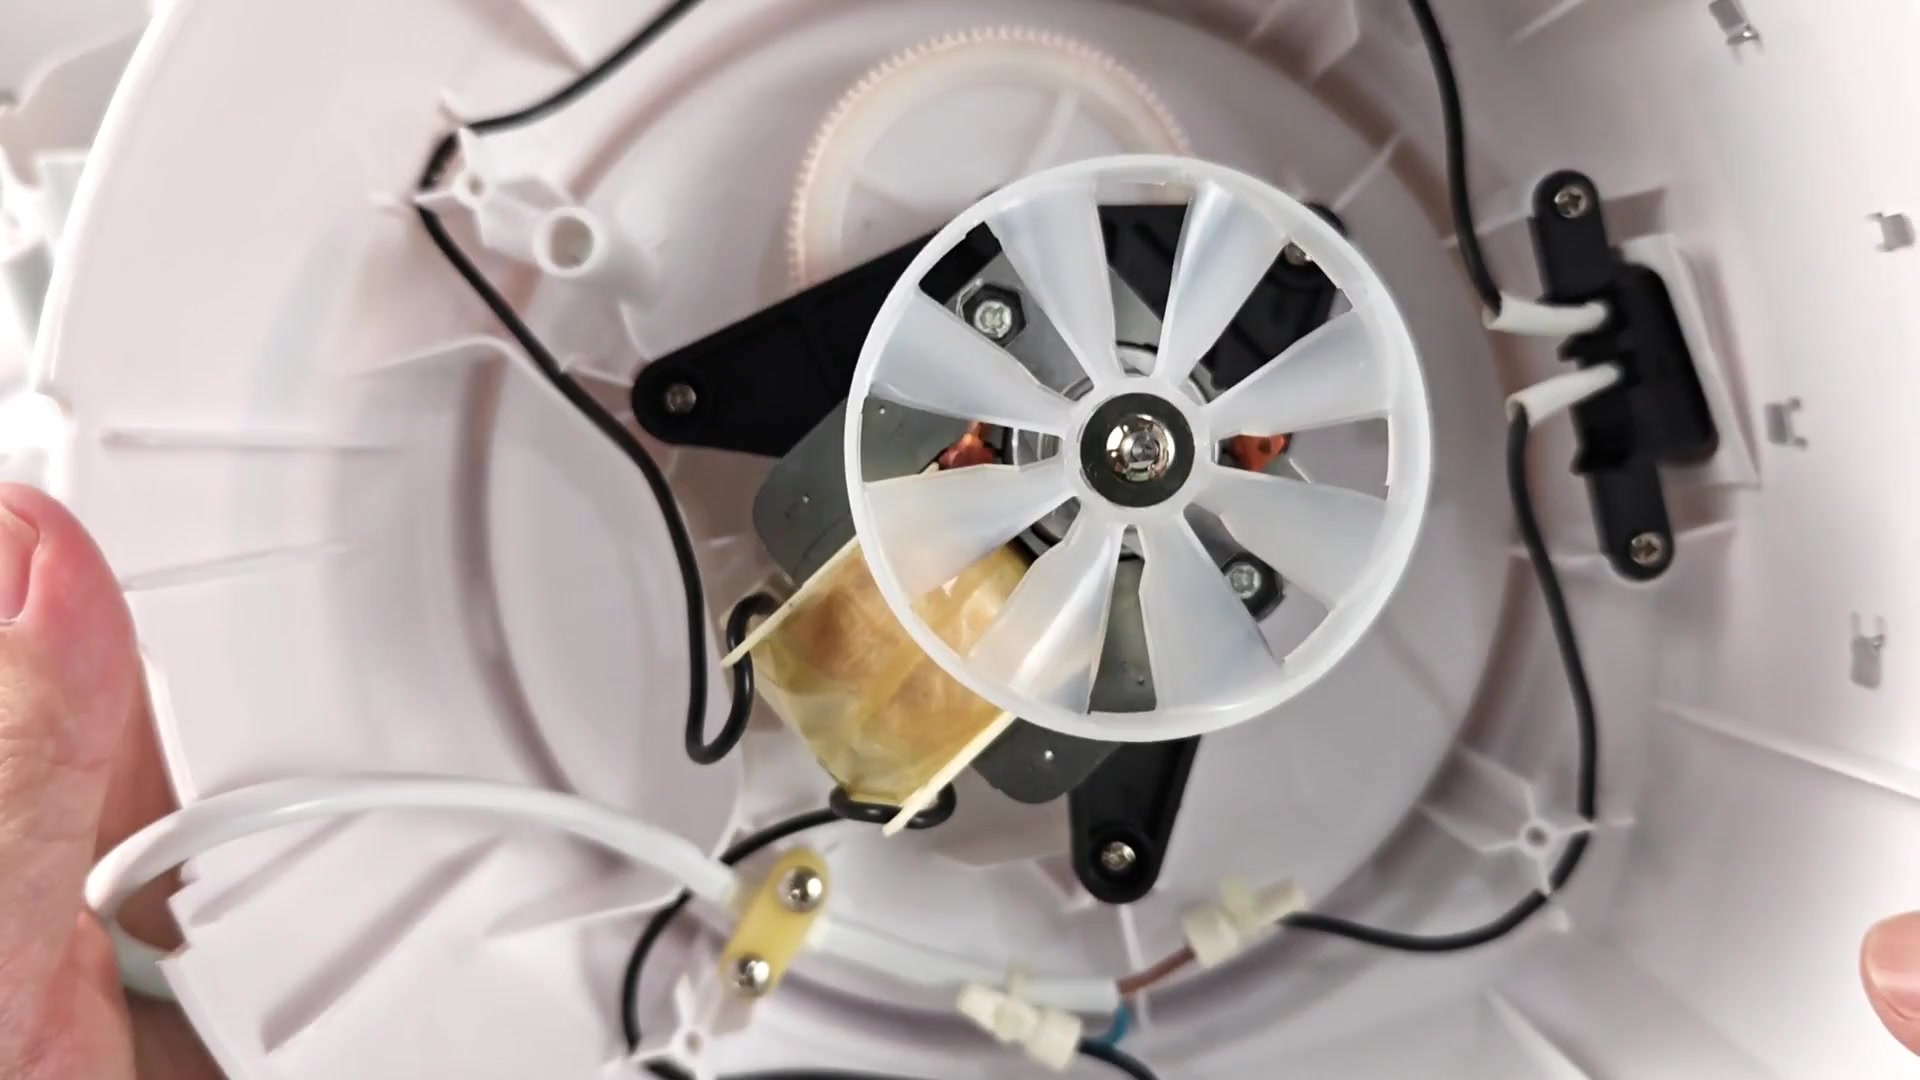
The engineering decisions on the bracket seem strong too. It secures the motor well to prevent vibration in use. There is no flexing or rattling and nothing feel loose.

While checking all angles, your hands keep the unit stable. Your first concerns over shoddy building quickly dissapears as it appears to be solid at this price point.