One morning, you wake up and your Bear cooker doesn’t turn on. What’s going on? You might assume it is a simple issue rather than a total failure. There are no lights. It does not beep. There is nothing.
You plug it in. Press the button. Still nothing. Frustrating! Breakfast time is approaching. Before you jump to conclusions, does this seem like an easy fix or total failure? First off, remove power right away. Because of all the electricity in the base, safety should of be your number one concern.
Testing The Fuse With A Multimeter
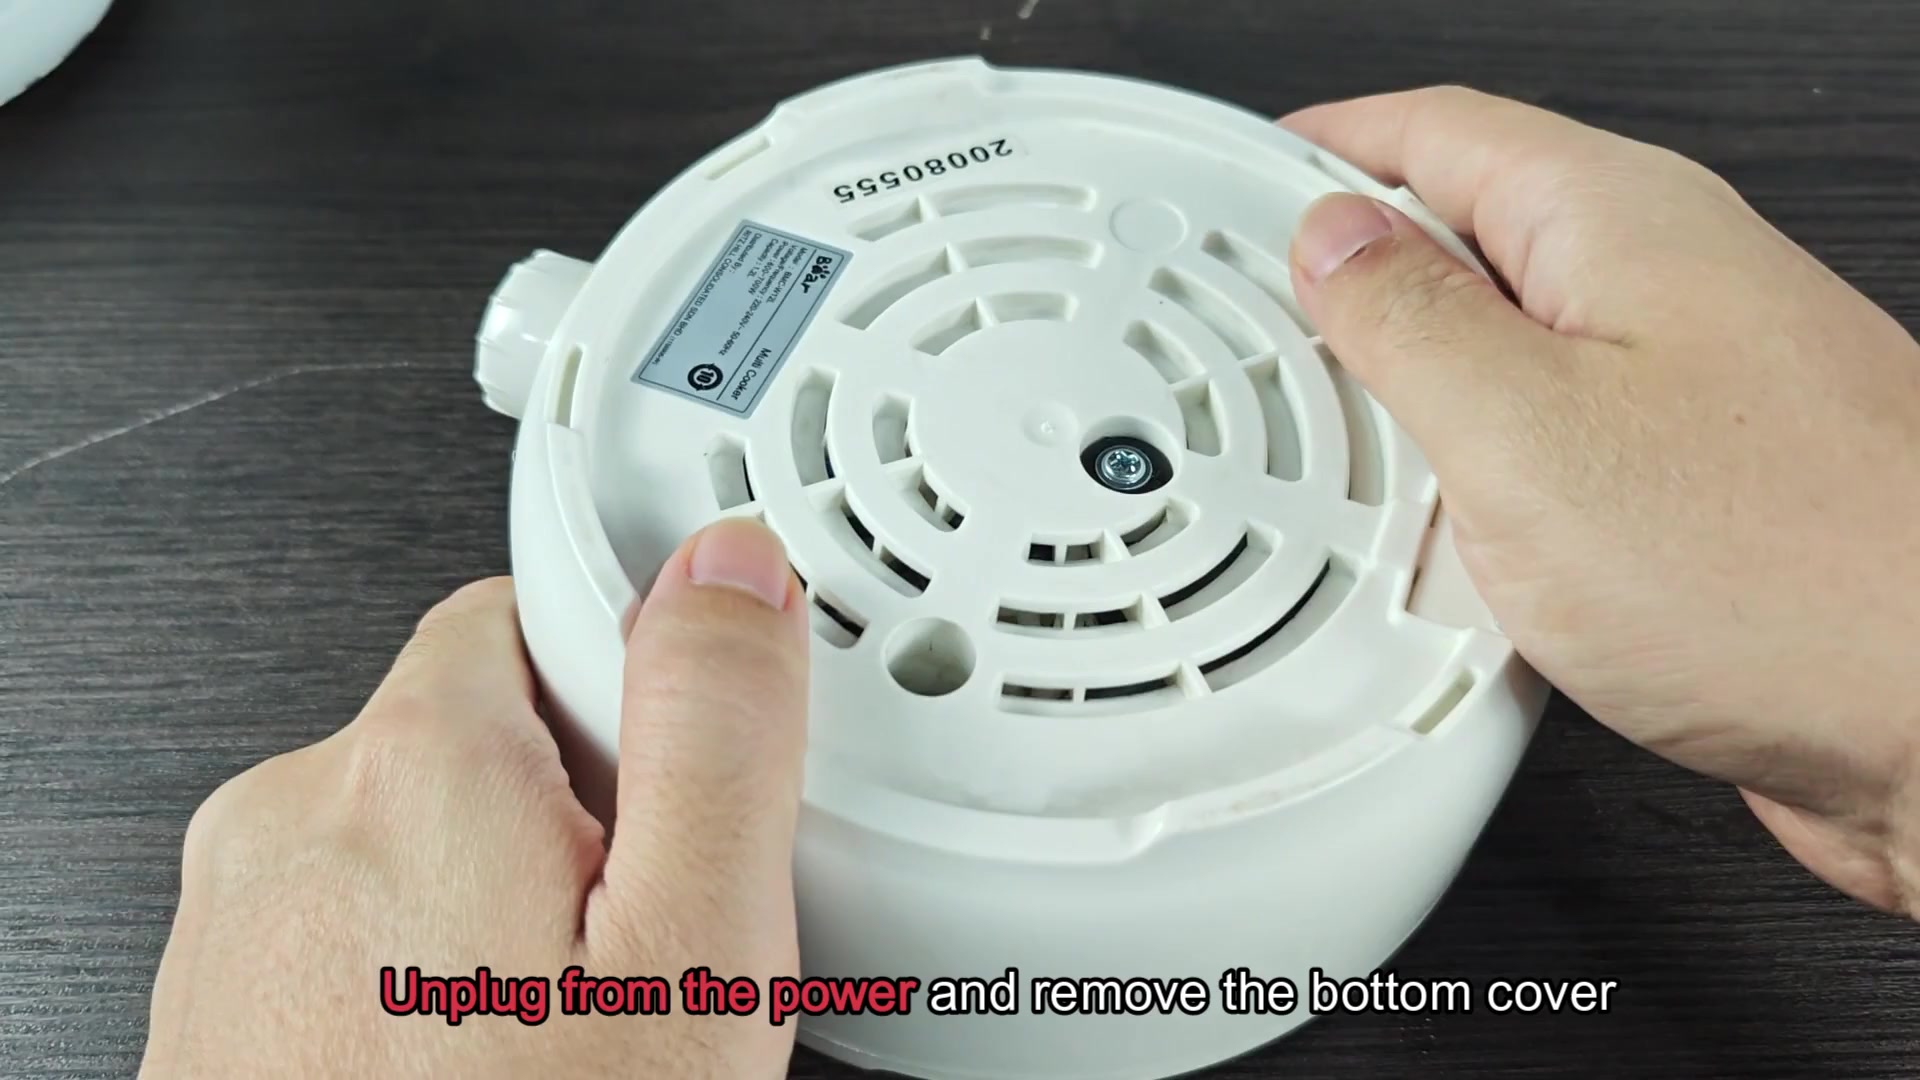
Flip the unit over and locate the screws that secure the bottom plate. Once they’re removed, you can access the wiring. This is where you find a mess of white, blue and red wires running to different terminals. At a quick glance, it look very confusing. Find the fuse fast. Where do I look? It’s not like it’s painted on the wall or anything.
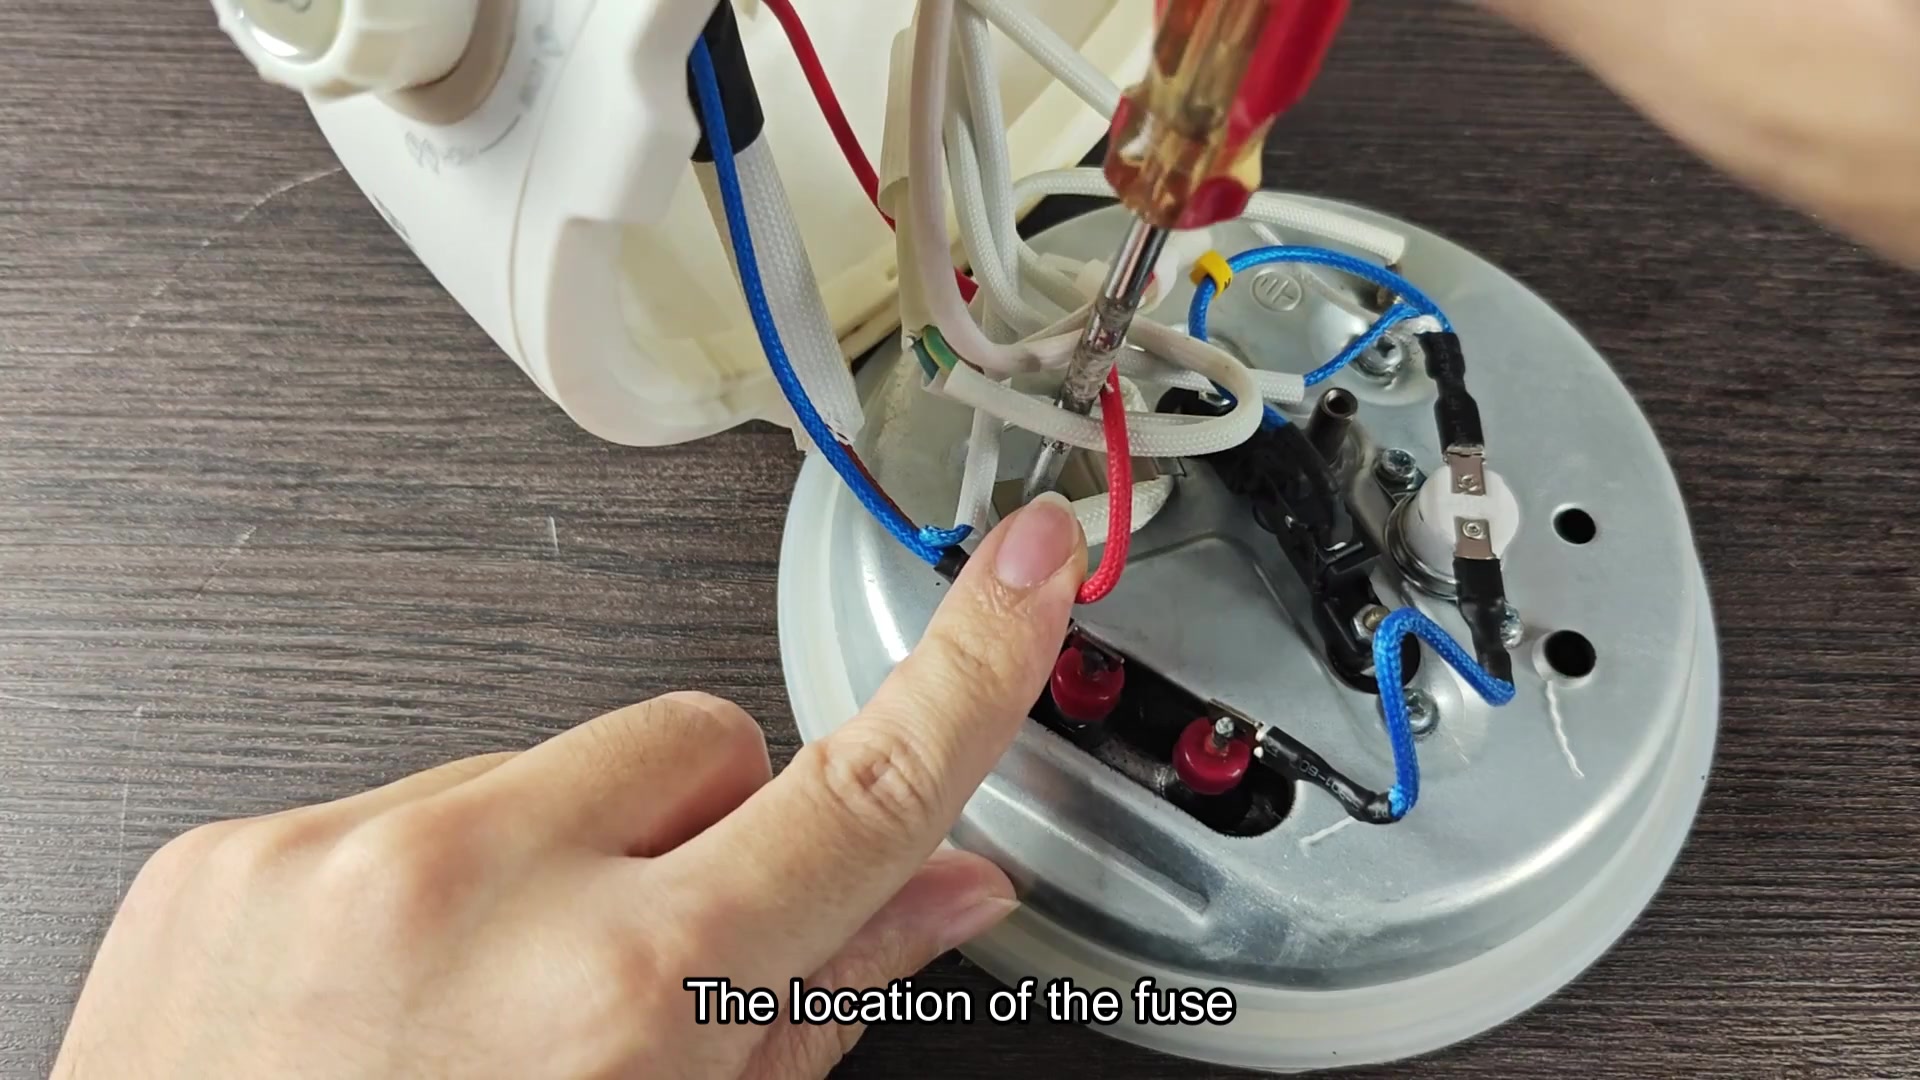
Upon closer inspection of the circuit board, you notice that little cylinder-shaped part that guards the circuit. It is right next to where all the primary power come into the board. Half the battle is figuring out what it is. Next up, you must determine if it is actualy blown.
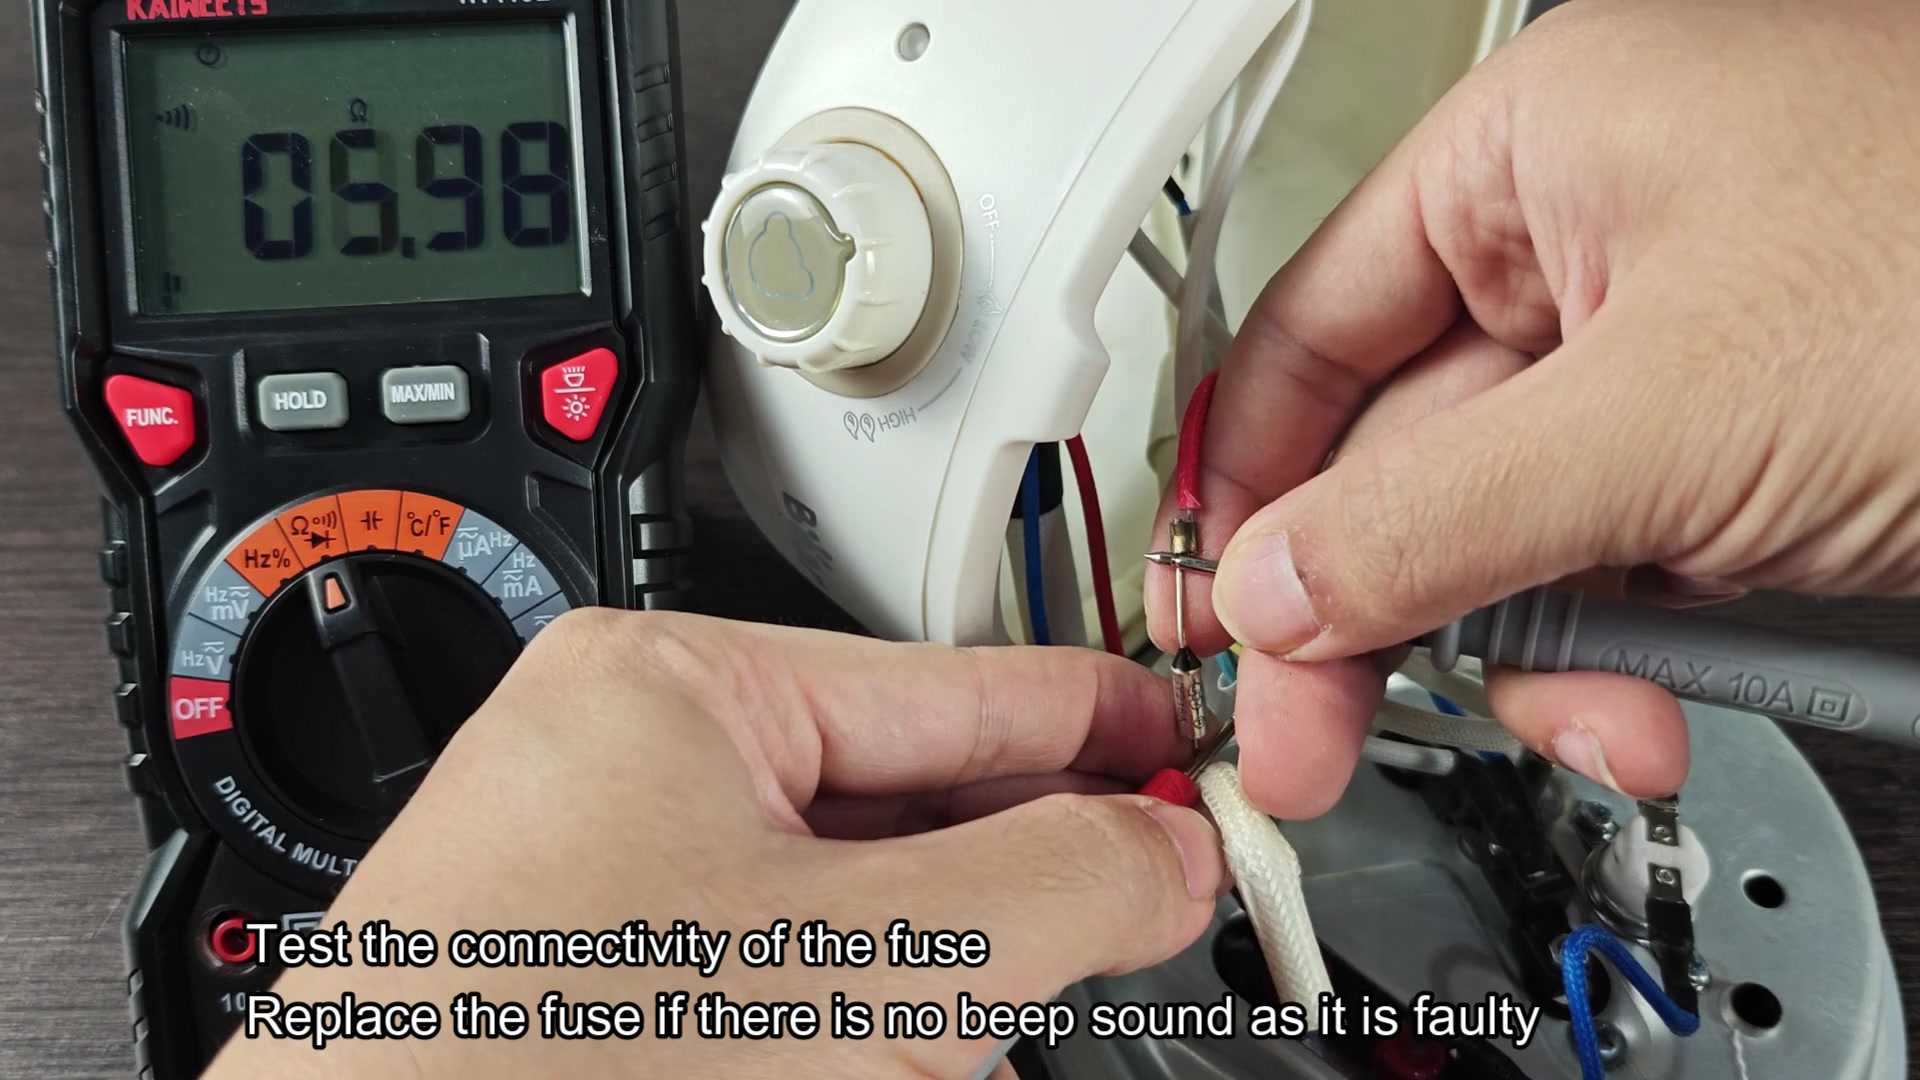
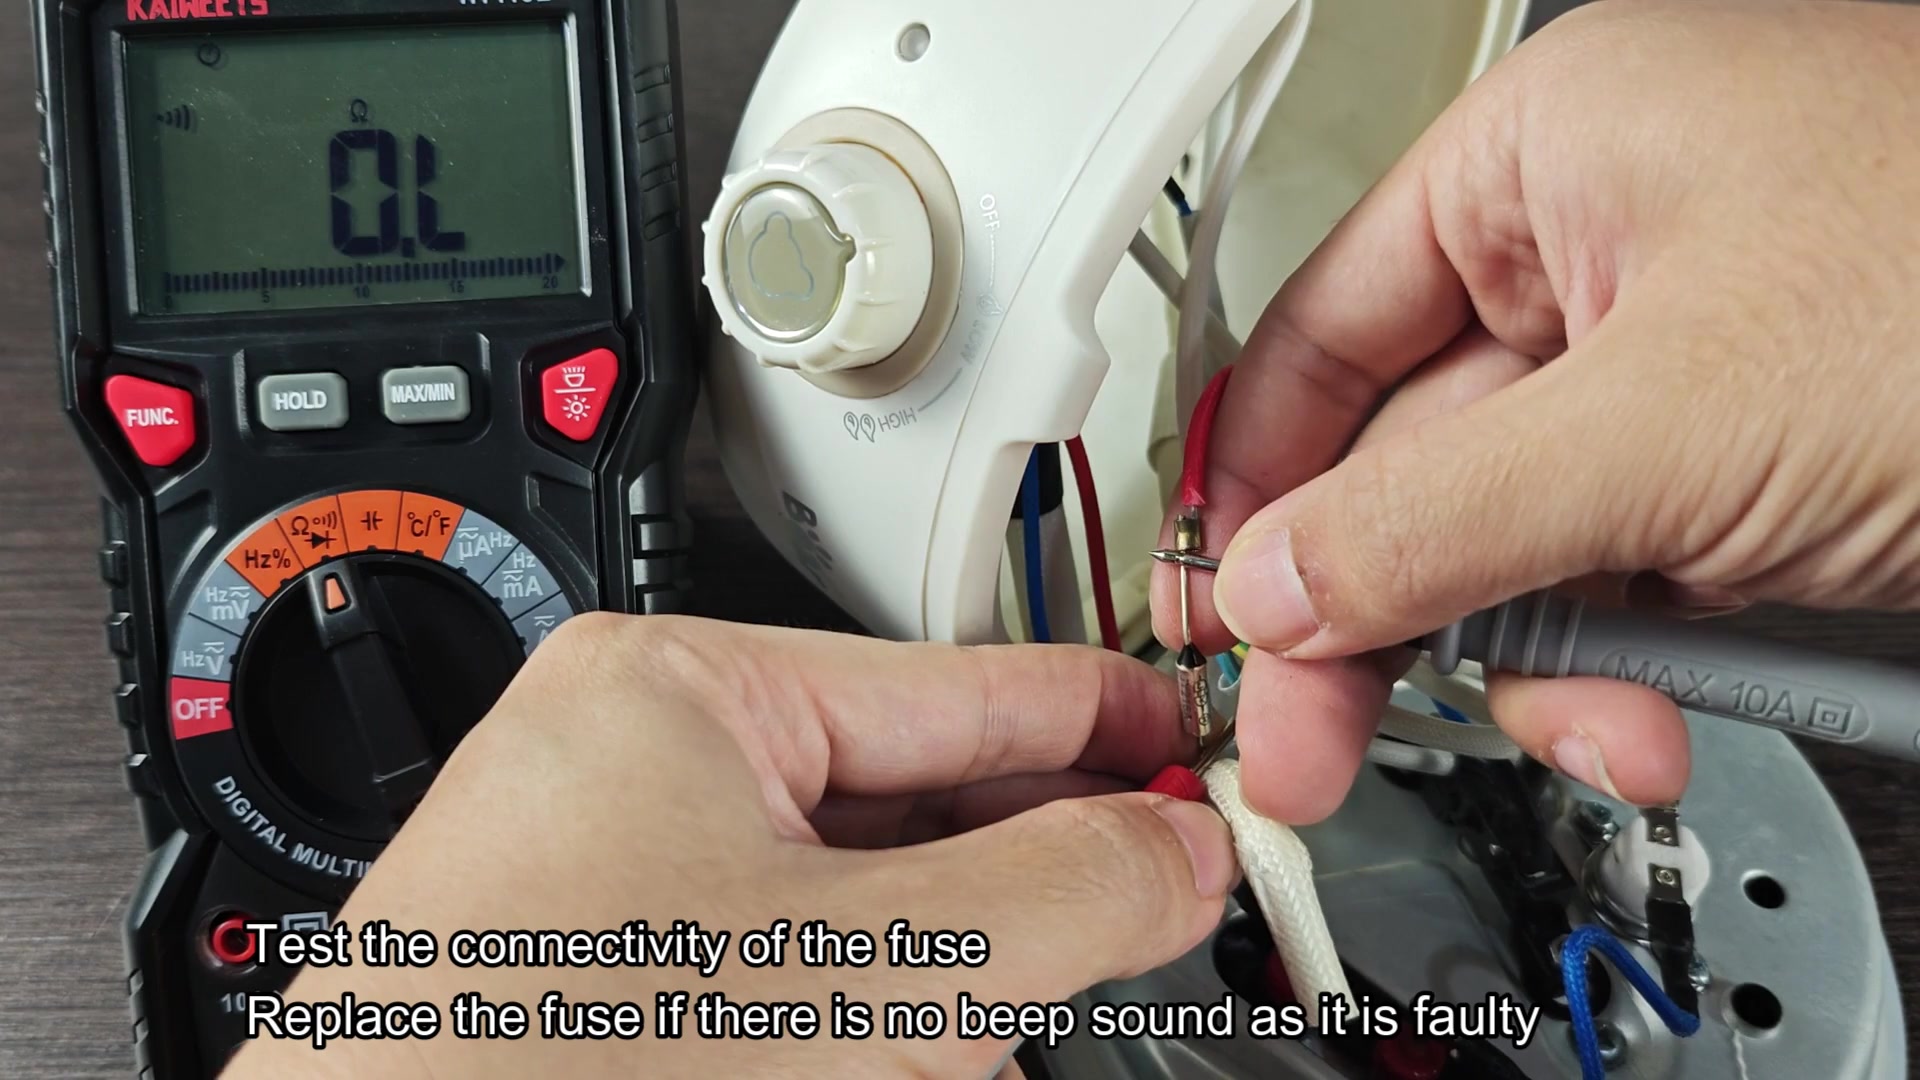
From the tool drawer, you pull out a digital multimeter. A digital multimeter are used to measure resistance accurately, as well as find out if there is electrical continuity or not.
Setting the dial, you slide it over to the continuity test mode so the display reads open circuit.
Randomly testing different wires won’t be of any use either. Your goal here is to remain strict to the fuse itself. So how does it tell you when it’s found a path? A multimeter beeps a certain tone when there is a connection and shows a low resistance value on the screen.
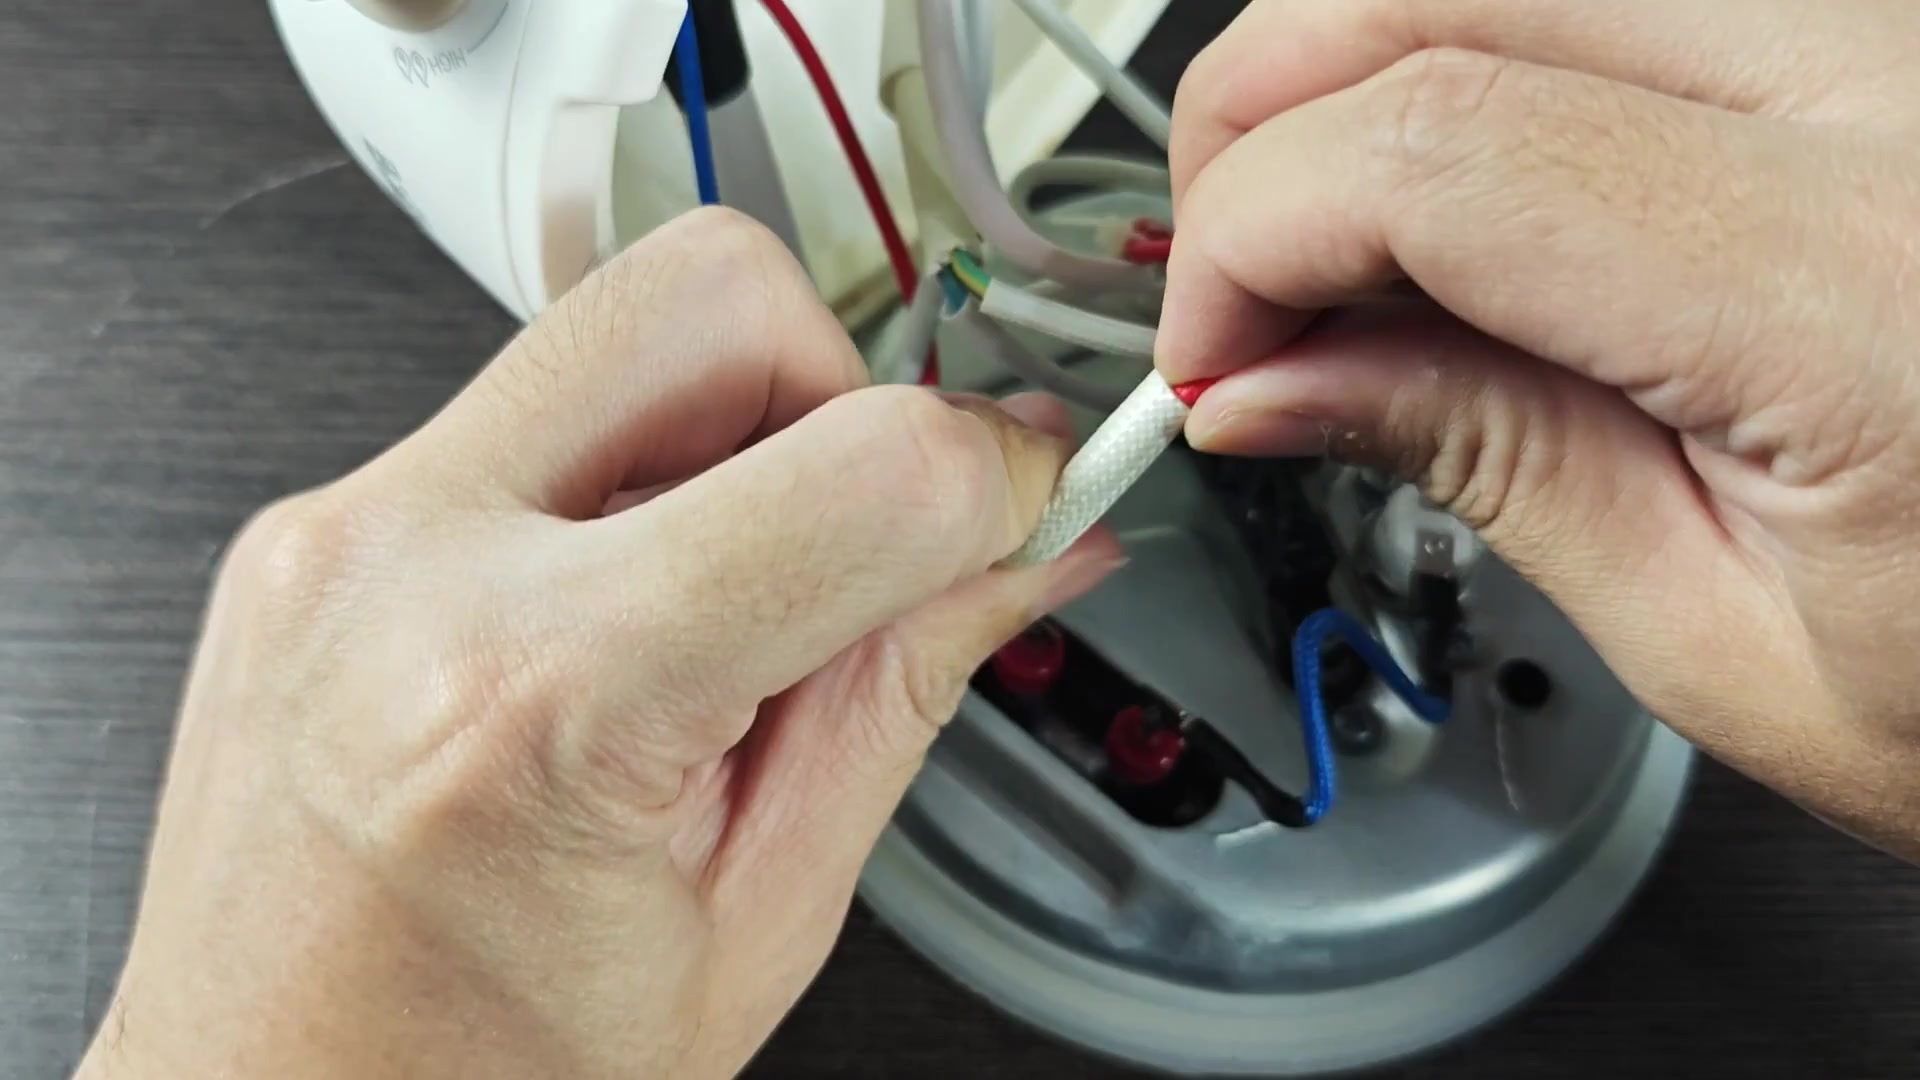
In the case that there is an open or broken circuit, the meter will display OL (over limit). Being able to understand this feedback greatly simplifies the diagnostic process. You do not have to guess whether the part is good or bad. Touch the probe tips at each end of the little fuse. Nothing happens, there’s just silence from the meter with a reading that says, “OL” on its display.
This indicates no continuity passing through it. Most likely the internal filament in the thing has burnt out from age or some sort of power surge. The lack of a beeping sound confirm your hunch immediately. Yep, it’s bad. Time for a new one. On occasion, you test and it’s like getting mixed signals. The display shows one brief reading and then goes back to zero. You reposition your probes to make sure they’re making good contact against the metal ends.
The trick with testing is consistency. If you’re going to buy a new part, you want to be sure. Guessing wastes both time and money. A second test run results in a reading of twenty point eight four on the display. Sounds like that’s opposite the open circuit result?
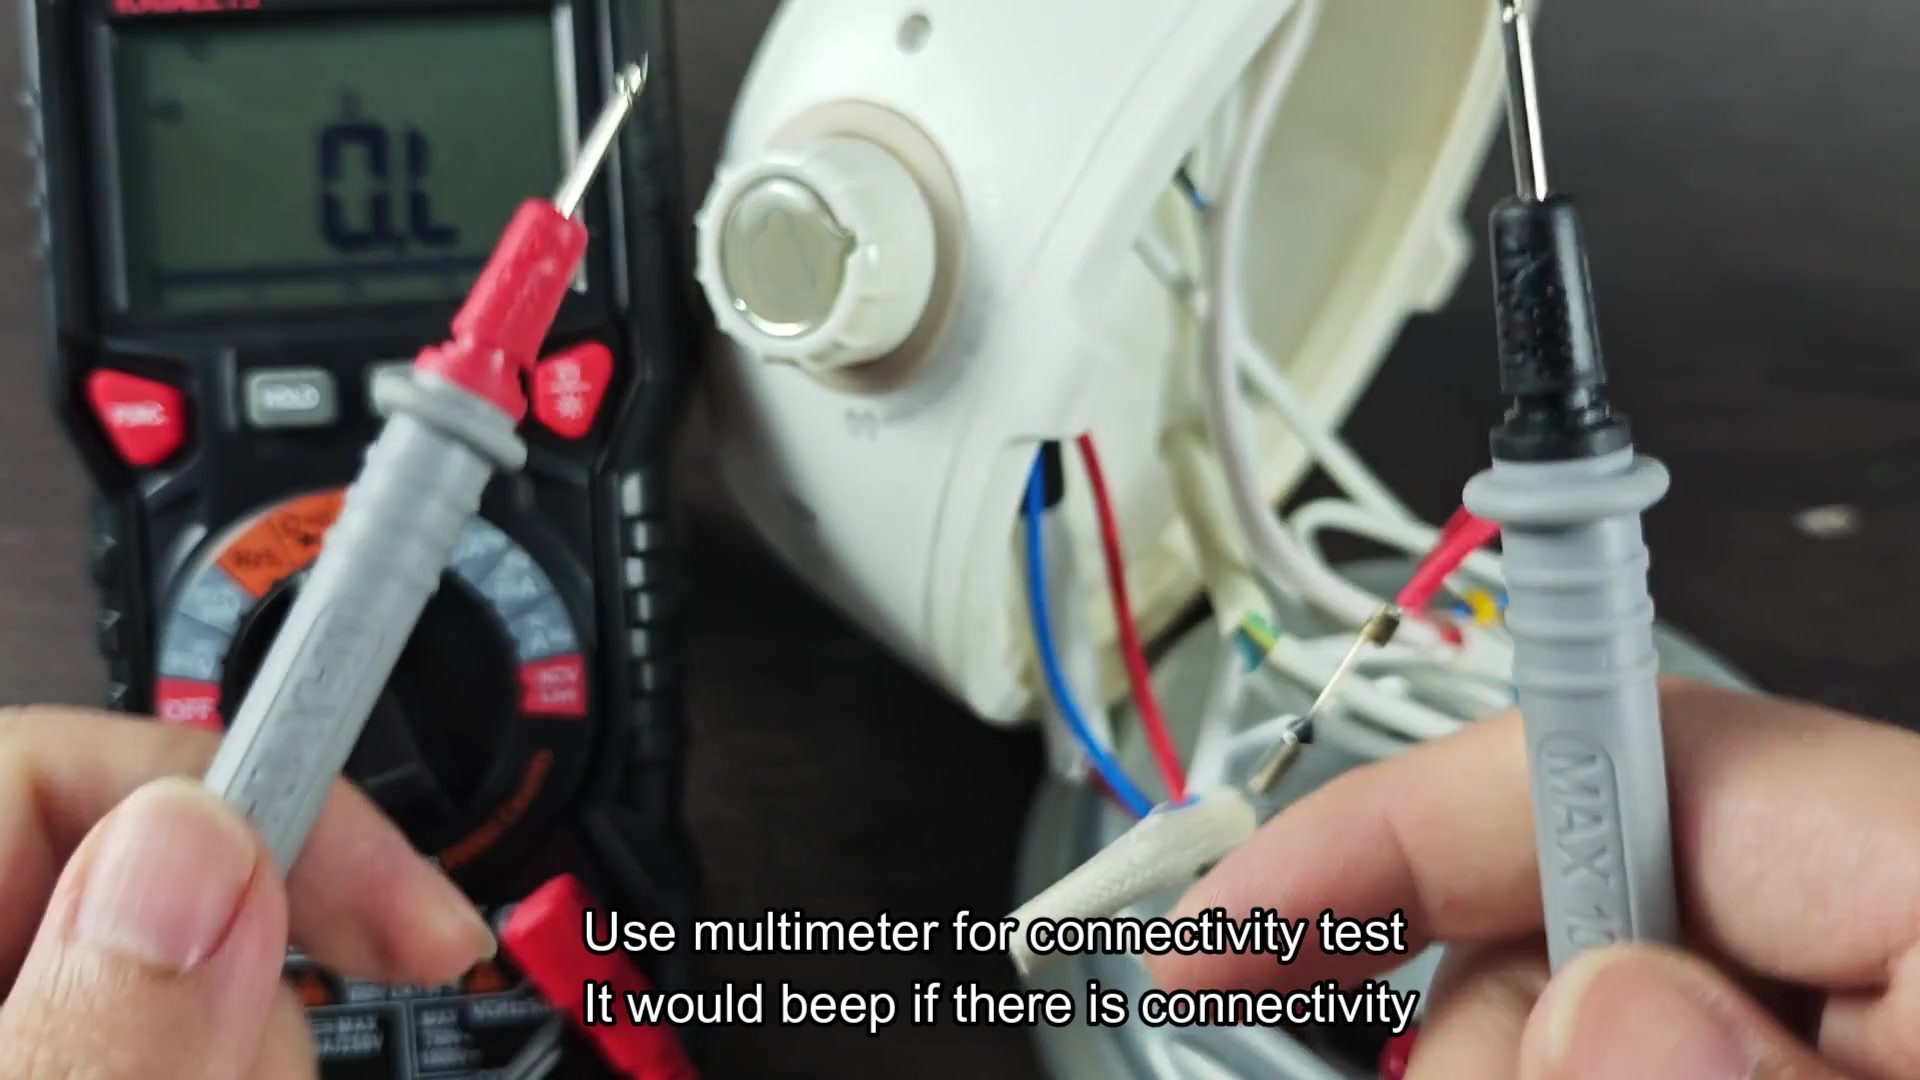
Re-position the probes a bit, looking for new contact spots on the oxide layer. Sometimes the resistance will be higher if you don’t press the probes hard enough onto the metal. A good low number means it’s closed up well. Anything that say OL or a high number means it’s broken. Then, you keep checking just to make sure it wasn’t some anomaly with the faulty fuse. For another piece of the circuit, your meter reads out ten point two nine for a good continuity check.
You go back to the very same fuse you were checking before, though and still nothing. It did not beep and there was no conductivity whatsoever. That lack of consistency; good wire to bad fuse, show exactly what the issue is. The issue is narrowed down to just that one piece.
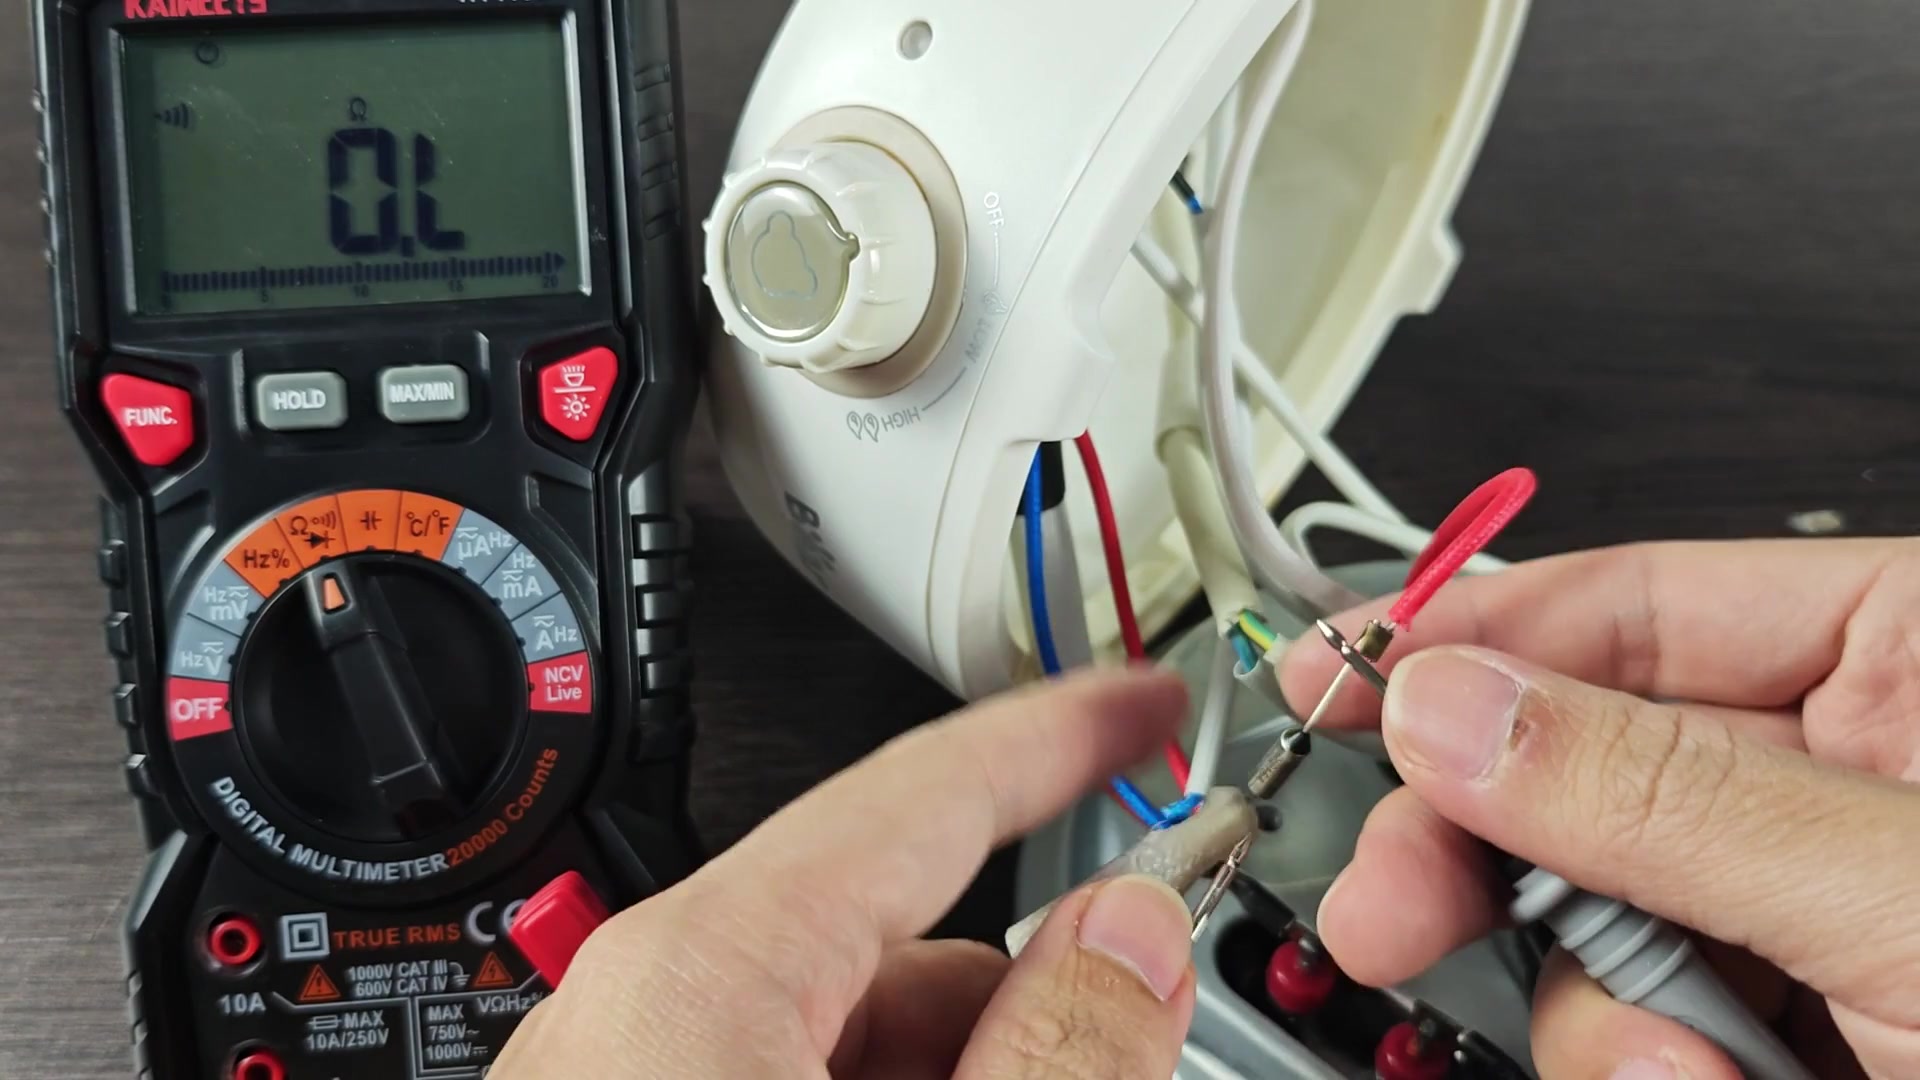
Final confirmation comes when the multimeter stubbornly displays “OL” again.
And finally, if it continues to stubbornly say “OL” on the multimeter then you know for certain that the fuse is broken. It has totally opened up and can’t carry current at all.
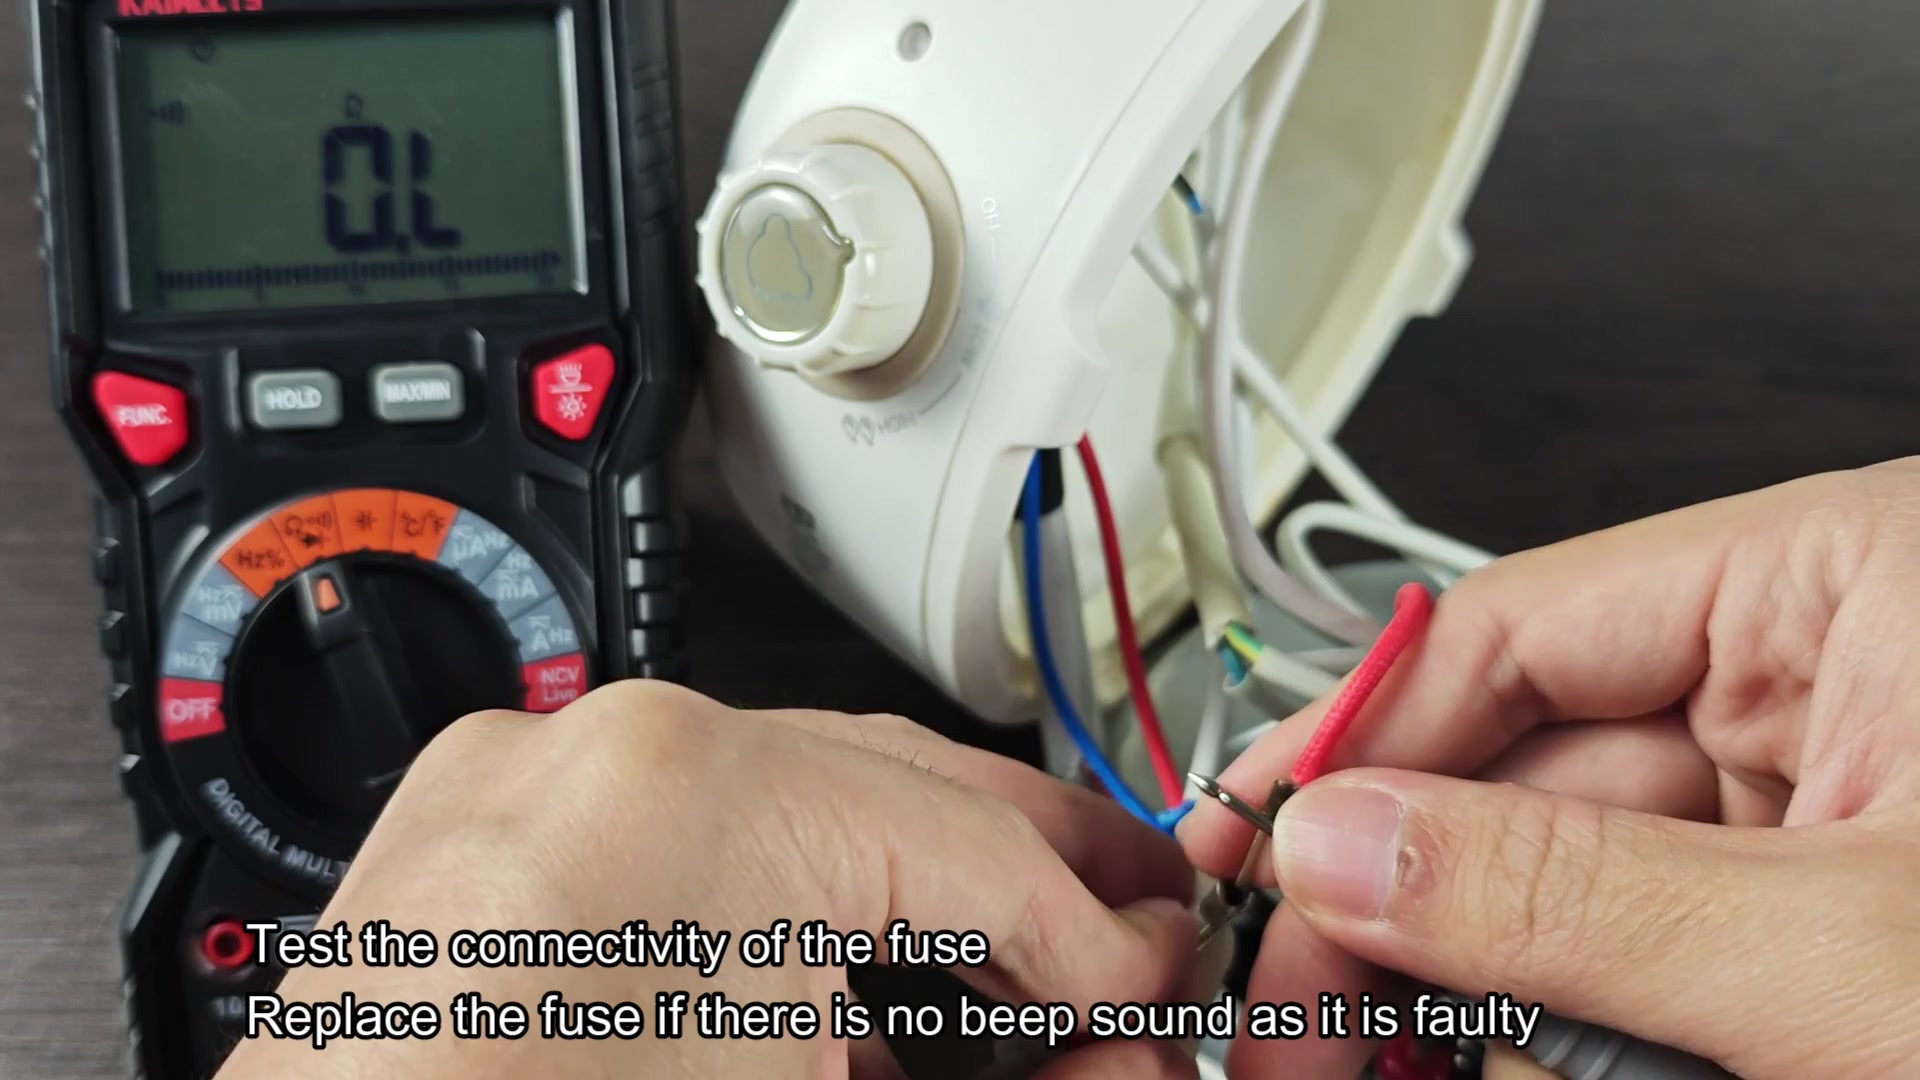
No more guessing about the diagnosis; now you know exactly what the next step is during your repair. Obviously, replacing the fuse are the answer here.
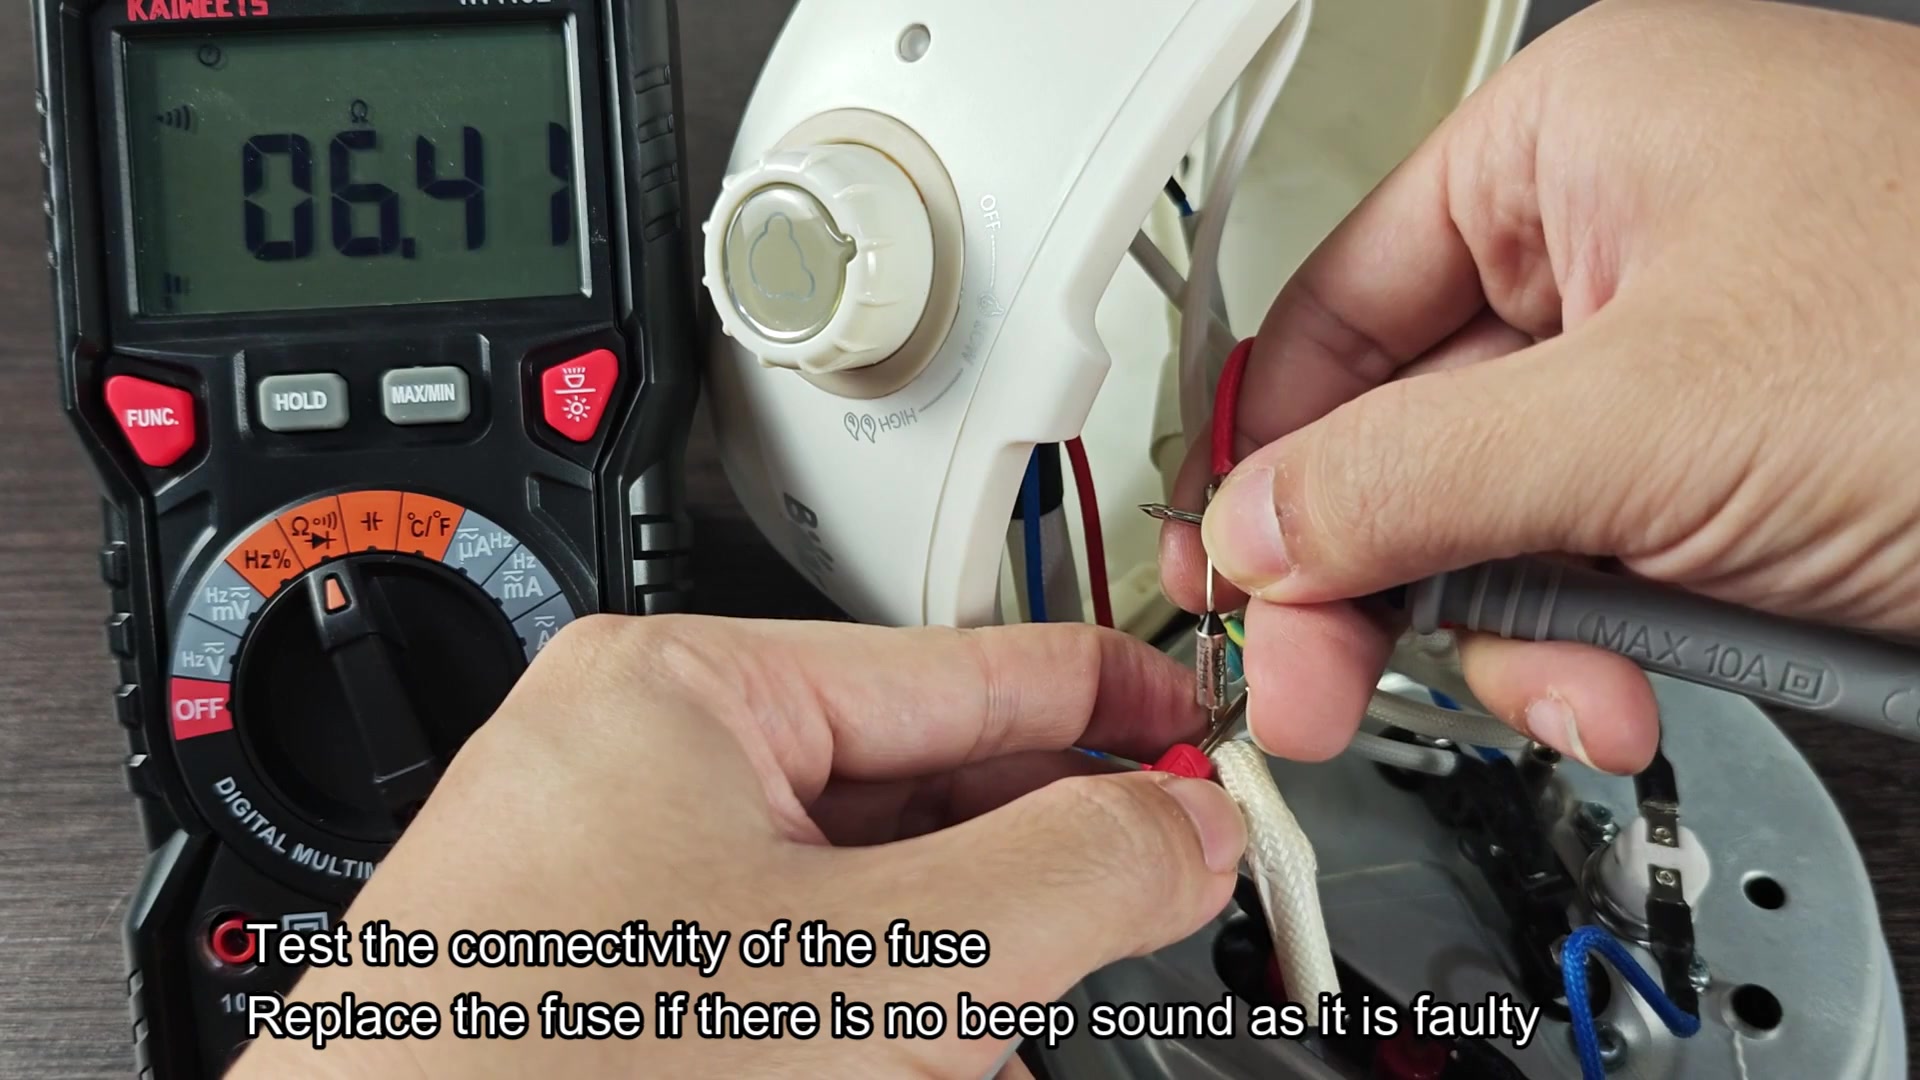
Getting another fuse of equal specs is simple enough. No sense fiddling around with different voltages. After your new one arrives, just put it in where the old one was.
Re-secure the bottom cover. Carefully screw it down. Plug your cooker back in and cross your fingers. And there she is, suddenly alive again. Turns on fine too. Nice to know that’s all it took. Easy fix. Well worth it. Done.