Dough Proofing Time Calculator
Estimate first rise, second proof, total proofing time, target rise, and the best poke-test window from bread type, yeast type, dough temperature, room temperature, enrichment, hydration, and dough weight.
🍞 Dough Proofing Presets
Choose a real dough scenario, then adjust the temperature, yeast, hydration, dough weight, proof stage, and target rise.
🌡 Dough Conditions
Proofing Window Ready
Use the estimated window as a planning tool, then confirm with volume, feel, and the poke test.
Timing Breakdown
Dough Factors
Poke-Test And Rise Plan
📌 Quick Proof Targets
🌡 Dough Temperature Timing Table
| Dough Temperature | First Rise Behavior | Second Proof Behavior | Best Use |
|---|---|---|---|
| 60-64 F | Slow, often 3-5 hours for lean dough | Slow spring, strong flavor | Cool kitchen or overnight scheduling |
| 65-69 F | Moderate, often 2-3 hours | Reliable but not fast | Pizza, lean loaves, longer flavor |
| 70-74 F | Balanced, often 1.5-2.5 hours | Easy to monitor | Everyday pan loaves and rolls |
| 75-78 F | Active, often 1-2 hours | Strong oven-spring potential | Most yeasted bread formulas |
| 79-84 F | Fast, check early and often | Short poke-test window | Rich dough or quick same-day bakes |
Temperature estimates assume healthy yeast and dough that is covered to prevent skinning.
⚖ Yeast Type And Percentage Table
| Yeast Type | Typical Baker's % | Timing Effect | Notes |
|---|---|---|---|
| Instant yeast | 0.7-1.5% | Baseline timing | Mixes directly into flour and starts quickly. |
| Active dry yeast | 0.8-1.8% | About 10-15% slower | Best when fully hydrated before mixing. |
| Fresh yeast | 2.0-4.5% | Fast when fresh | Use about 3 times instant yeast by weight. |
| Osmotolerant yeast | 0.8-2.0% | Better in sweet dough | Helps rich dough rise without harsh over-yeasting. |
| Sourdough starter | 10-25% | Much slower | Depends on starter strength and dough temperature. |
🍞 Bread Type Proofing Targets
| Bread Type | First Rise Target | Second Proof Target | Poke-Test Cue |
|---|---|---|---|
| Sandwich loaf | 90-110% rise | Pan is nearly crowned | Dent fills slowly, not instantly. |
| Baguette or batard | 60-85% rise | Light and airy, not fragile | Dent springs back halfway. |
| Pizza dough | 80-120% rise | Usually ball proof, relaxed edges | Dough stretches without snapping. |
| Brioche or challah | 80-100% rise | Puffy but still elastic | Dent returns slowly because fat softens dough. |
| Dinner rolls | 80-100% rise | Rolls touch and feel light | Dent lingers briefly, then softens. |
💧 Hydration And Enrichment Effects
| Factor | Lower Range | Higher Range | How To Read The Dough |
|---|---|---|---|
| Hydration | 55-62% feels firm and rises neatly | 78-90% spreads and bubbles early | Judge expansion and bubbles, not height alone. |
| Fat | Lean dough rises with obvious lift | Butter and oil soften the gluten network | Expect a slower but silkier final proof. |
| Sugar | Under 5% has little slowdown | Over 12% competes for water | Give sweet dough more time or osmotolerant yeast. |
| Dough weight | Small dough cools and warms quickly | Large dough holds internal warmth | Measure dough temp in the center of the mass. |
🔍 Proofing Comparison Grid
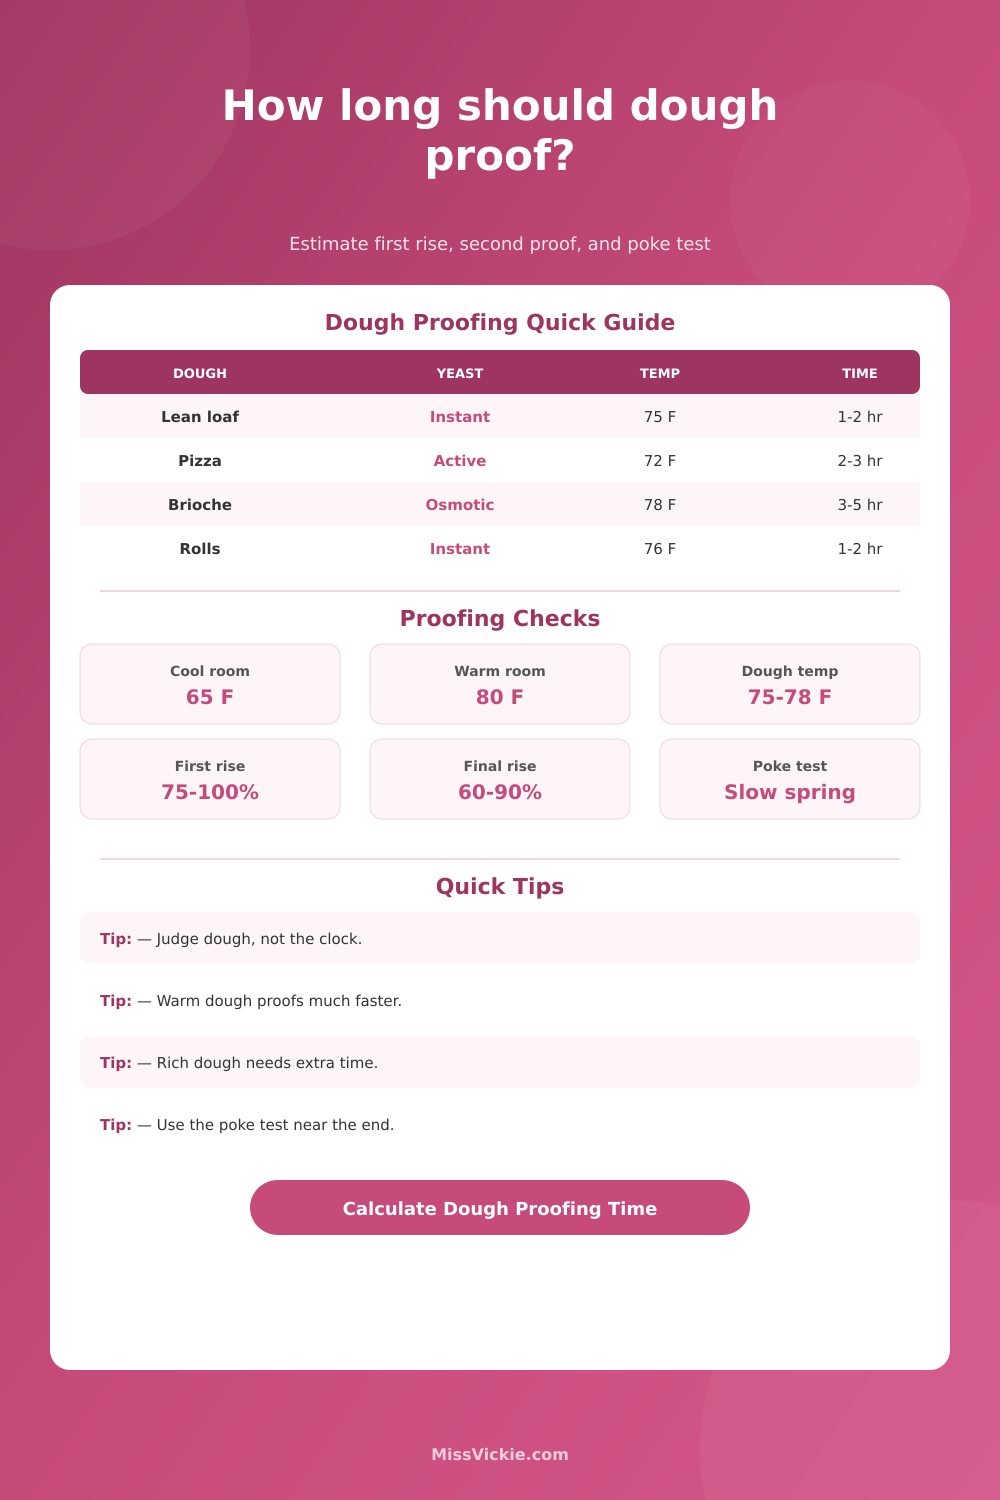
At 65 F, expect a gentler rise and a wider poke-test window.
At 80 F, yeast moves quickly and shaped dough can overproof fast.
Butter, eggs, milk, and sugar can add 25-100% more proofing time.
High hydration dough may look wide and bubbly before it looks tall.
💡 Proofing Tips
The thing is: Proofing is something most home bakers approach as they would an oven timer. Set it and you wait, hoping for the best. But dough doesn’t function mechanically; its alive. What proved well today may fall over tomorrow if you changed brands of flour, or if your room warmed up by two degrees. Using instinct alone means a lot of dense-in-the-center loaves and flat breads.
You want to know exactly when the yeast is active so you can plan around it. All this boils down to a number (pun intended), right? The calculator above use yeast type, hydration, and dough temp to create one estimate. This estimate covers both your initial rise and your final proof, taking the guesswork out of it all.
How to Know When Your Dough Is Ready
Know what? That doesn’t matter as much. Knowing why these inputs impact the form and structure of your dough does. Yeast works together with temperature, yes, but don’t forget: enrichment throws a wrench in the gears. Sugar, butter, eggs will slows fermentation because they compete for water and interfere with gluten formation.
A lean baguette can double in two hours; a rich brioche? It takes five hours. It is not because it’s better; that’s just physics.
Dough temperature vs. Room Temperature: A lot of bakers concentrate their attention on room temp, while overlooking the dough temp. They are not the same thing. You can be in a warm room and work with cold water and ice that keeps mass of the dough cold. What matters to yeast isn’t the ambient air temp, it’s what’s in the bowl.
Cool dough will proof slowly. It develops more complex flavor, but it also takes longer. Warm dough will spring up quickly. It will have a lighter texture, but it risks collapsing if you look away.
Have no idea what your dough temp is? Knowing that will give you a tighter window different than checking the thermometer. Water is another tricky one when it comes to visual clues. A highly hydrated dough like ciabatta or focaccia spreads out instead of rising up. This makes it appear puffy and stretched even at lower volumes compared to a stiff dough. You’ll overproof if you measure them solely by height. Instead, pay attention for bubble formation on the crust and loss of surface tension.
The tool adjust your expectations based off the water content you entered. Gas retention, not volume, is the most accurate way to check readiness manually. Poke the ready dough with your finger. Does it hold an impression? Has the gluten stretched fully without breaking? It will leave a slight indent which will slowly bounce out of shape.
Springing back right away indicates it’s still too firm and requires further aging. If the dent remains or the dough feels fragile, the gluten has weakened from over-fermentation. The gluten have been beaten too long; the network is weakening. You’ll know by touch what the timer won’t tell you.
This way of planning avoids potential pitfalls like starting everything at once, which results in the bread being finished just as dinner is coming out of oven. If you estimate a window for both final proof and bulk fermentation, you can stagger the process, mixing in the morning, shaping in the afternoon, and baking in the evening. That makes baking flexible to fit your real life rather than being a rigid schedule.
Eliminate any angst from the timing. It’s precise and you’re working on a window. It is not about seeing if you got it yet. You know what the window is because of your specific ingredients and environment. By sight and feel, the dough will tell you whether or not it’s finished.
Knowing when to expect this relieves pressure off of rushing it. Use the estimates as a sign but not a rule. Let the dough be the final verdict.