If you enjoy coffee, a coffee maker is a must-have. Home coffee makers are straightforward and need little to no work to operate. Several manufacturers are on the market when choosing the most refined coffee maker.
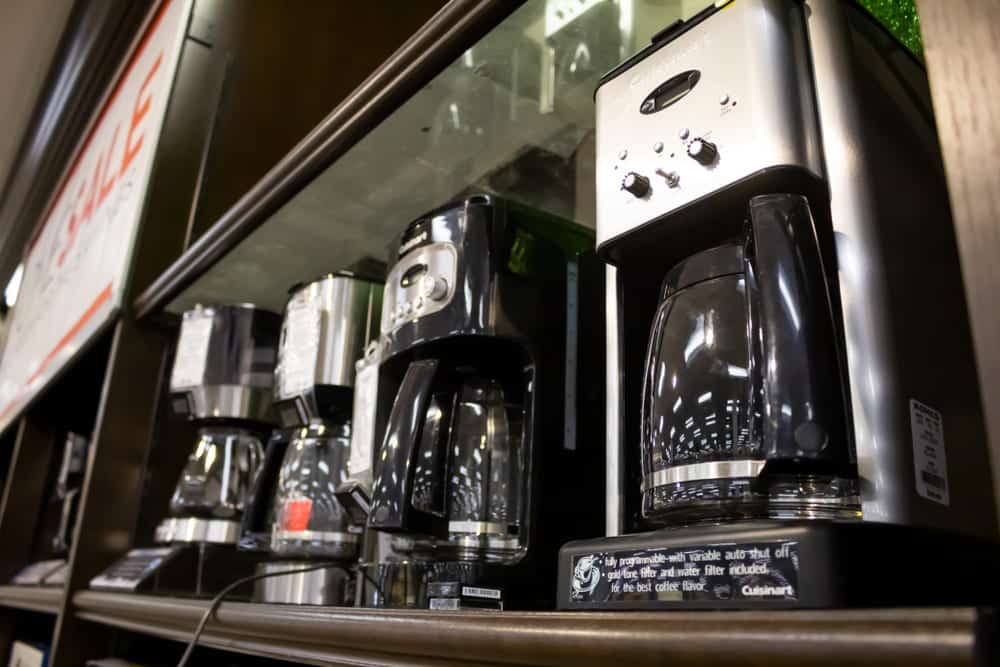
One of the most renowned coffee makers is Cuisinart, which comes highly recommended by customers.
Cuisinart Coffee Maker Leaks From Bottom
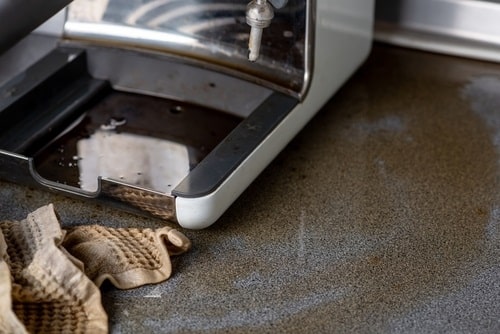
Despite that, it is a very reliable appliance and seldom has problems with the Cuisinart coffee maker; on the other hand, if you’re not cautious about certain things, it tends to leak from the bottom.
This article will cover a few reasons why your Cuisinart coffee maker may be leaking at the bottom and fixes for the issue. Let’s get straight into it!
- Check For Cloggings
If you don’t want to ingest potentially dangerous chemicals, cleaning your coffee maker every other month is recommended. The rate at which this problem develops is mainly determined by the source water used to make the coffee and the water quality in your area.
To make coffee, hot water is circulated through the coffee grinds of your choice and then poured into the pot. Sediment, which forms due to this process, can clog pipes and lead to leaks if allowed to accumulate over a long enough period.
So, if you haven’t cleaned your appliance in a while, that’s usually what’s wrong with it.
Clearing The Clog
Luckily, there is an easy solution; you only need a little water and some vinegar. Both should be mixed in equal amounts and poured into the coffee maker’s water tank to dissolve any sediment that may have settled there. After that is complete, you can run a standard brewing cycle.
The time it requires for water to reach the pot might vary significantly from instantaneously to twenty to thirty minutes, depending on the level of the obstruction. The process of eliminating scale is called descaling.
Vinegar can help you clean your coffee maker by dissolving any residue left behind by coffee grounds, sugar, creamer, or other undesired substances.
If you find that your coffee has taken on a vinegary flavor following this procedure, add the required water to the tank and brew for a few more cycles.
- Malfunctioning Pump Valve
Valves and pumps for coffee makers are often housed in their respective hoses. This handy little gadget maintains a constant supply of water throughout the brewing procedure. Occasionally, the pump valve will not work correctly, preventing the water level from increasing.
Water leakage from the bottom may result from the valve’s inability to work as a pump. The valve will need to be examined to make sure it is free of any leftover coffee grounds in such an instance.
A valve pump’s efficiency can degrade if it becomes clogged with debris like coffee grounds or sediment. This may also be the cause of the leaks you’re experiencing.
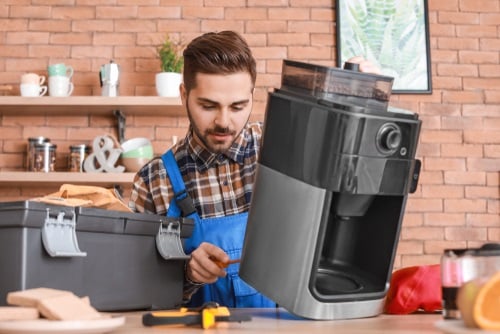
Because you have already taken apart your coffee machine and exposed its inner workings, finding a solution should be easy.
Find the valve inside the hose, remove it, and clean it with a toothbrush to remove any debris piled up. If your valve is damaged, you should replace it immediately.
- Fixing The Lid Properly
Ensure that the top lid is securely fastened. A leak can frequently result from a lid that has not been repaired. To stop leaks, the water reservoir needs to be adequately sealed.
- Check for Cracks in the Coffee Maker
Many reasons can cause a coffee maker to crack and begin leaking at the bottom, the most obvious of them being accidents.
Intense and unexpected temperature swings rank high among the most common climatic extremes. Your coffee maker’s cracks may not be apparent to the naked eye.
Although it may seem obvious, coffee maker cracks can sometimes go unnoticed. Even a tiny crack can let water out of your coffee maker if you leave it alone for long periods, so don’t assume it is broken just because you haven’t used it in a while.
Even though your coffee maker’s tempered glass makes it relatively durable, it can still be damaged by exposure to very high temperatures or a sudden, intense amount of pressure. It’s essential to keep an eye on your coffee maker since steam can build up dangerous pressure levels.
Having this can have disastrous results. However, the most suitable solution would be to buy a new coffee maker, but if you’re sentimental about your current one or can’t bring yourself to shell out the cash right now, you have choices.
5-minute epoxy, which can be used to repair the cracks in a matter of minutes and is resistant to water and temperature, has been recommended for this purpose. To use it, apply it to the areas you believe have cracks and leave it alone for a while.
- Adding Too Much Water
Avoid filling the water tank to the brim, even if you need to brew a lot of coffee at once. Most water tanks clearly indicate the water level in the tank. Make sure not to overfill the tank or go beyond the indication.
It will immediately begin to leak from the bottom if you add more water than is necessary. There is a chance that you have not properly closed the brew basket on the Cuisinart, which may be the cause of the coffee spilling out of the basket and onto the counter.
When you turn on your coffee maker, this is one of the primary contributors to the overflow of coffee or water in the machine.
- Adding Too Much Coffee
As far as we know, coffee can never be consumed in excess. However, there is when it comes to putting pre-ground coffee in the coffee maker. If you add more than 16 scoops of coffee, you will overload the coffee maker, which may cause leakage.
The Bottom Line
For a long time, the Cuisinart Coffee Maker has been considered the best option available by a significant percentage of coffee lovers.
Despite its widespread adoration, it is not without flaws; the most annoying is the persistent leaking from the coffee maker machine. The issue is straightforward to resolve, and the steps to do so are detailed in this article.


