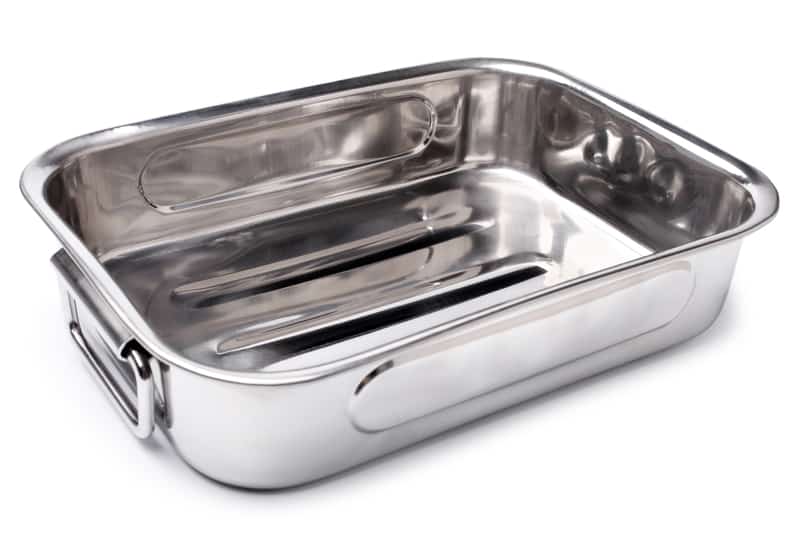
The roasting pans are commonly used in kitchens, particularly where people are fond of roasting meat and vegetables. However, with constant use, the holes appear in the roasting pans, which adversely influences the entire roasting process. So, if you want to fix the leaky pan, this article includes all the important information!
How To Fix A Hole In A Roasting Pan?
In the majority of cases, the roasting pans are made from aluminum since it’s a versatile material. For the most part, these pans have higher resistance to corrosion, which makes them a promising choice. However, over the course of time, the aluminum roasting pans start to wear down, which is usually characterized by holes on the bottom of the pans. Keep in mind that these holes don’t make the pans useless as they can be easily fixed.
1. Patching The Roasting Pan
It is needless to say that holes are hard to fix, and many people don’t even know the right method. For the most part, people use welding, but you can also opt for patching and using different materials. To patch the roasting pans, there are different types of materials that you can try, such as;
- Epoxy Tape/Resin – these materials are perfect for following the DIY technique of fixing the hole and are particularly needed for patching the steel and aluminum material. Using epoxy is a long-term solution, but you need to focus on the quality and severity of the damage. For instance, when you apply epoxy to the hole, you need to let it dry down and apply primer on the top to prevent the formation of holes
- Filling Agent – there are various filling agents available for patching the holes in a roasting pan. The filling agents are suitable for fixing the large holes and tears which cannot be fixed by epoxy. In the majority of cases, you can use molten metal as it results in a stiff base. Once you pour the molten metal, it will become stiff within a few minutes. Then, just use sandpaper for smoothening the surface
- UV Repair Patch – the last material that you can try includes the UV repair patch. This is one of the most permanent and long-term solutions because it offers a quick fix, particularly when you have to fix the rust damage and smaller holes. To use the UV repair patch, just apply it to the holes and let the sunrays actuate the patch in place (the sunlight will harden up the patch, or you could use a UV light-emitting lamp). The best thing about using the patch is that it’s made from supple materials, allowing it to create a permanent bond
2. Repairing The Holes
Now that we have shared the suitable materials for filling in the holes in a roasting pan, we are sharing the step-by-step instructions to repair the holes;
- Begin by cleaning the roasting pan with the help of a sponge (you can soak this sponge in liquid detergent and warm water). When you clean the pan, rinse it properly with water. In case there are some flaps, you need to press them in a downward direction to make sure the hole is covered properly. However, if the flaps are uneven, you need to cut them with the sharp cutting tools
- If the hole is small, opt for epoxy and cover the hole as much as you can. Once the epoxy is evenly applied, put it aside and let it dry down for an hour. In addition, make sure that there is no loose area
- When the putty has hardened up, or the patches are secured in place, you need to start using the sandpaper for smoothening the surface as it helps clear the dust and sand. Once it’s smoothened out, you can use rubbing alcohol to clean the area. After this, just spray everything with primer to let it harden up (spray the primer from six inches away)
These are the DIY steps that you can try to fix the holes in your roasting pan. Keep in mind that the material that you can use for filling the pans depends on the size of the holes, as we have already mentioned. However, if you are unable to handle the patching on your own, you can always take it to the welder or purchase a new roasting pan, as it’s pretty affordable!