
The Panasonic microwave has a programmable feature that lets you set specific times to gain more control rather than relying on the pre-set buttons. Three functions require memorization: Delay Start, Standing Time, and Simple Timer. These each has their own button sequence. It’s not intuitive how to get into the menus from the front panel until you try it a couple times.
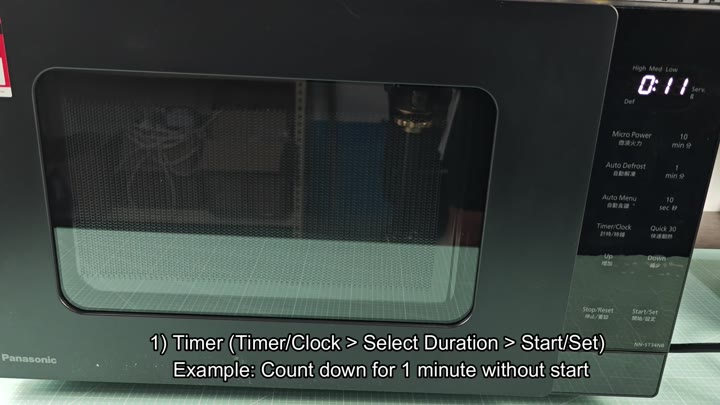
The simple timer function just counts down from wherever you start it without even firing the cooking element. How do you set it? Hit the Timer/Clock button. Next pick how long you’d like it to count down. Let’s say you want to set it for one minute. Last, hit Set/Start and the clock will start counting down.
The screen displays the countdown of your time left. You could set it for brewing coffee or taking a bath, all without needing to power on the microwave.
Understanding Standing Time Feature
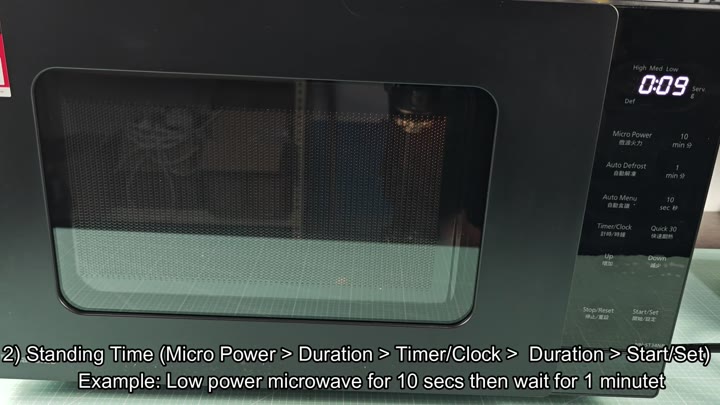
More confusing is the stand time feature. It gives the food some time to finish cooking (or thaw) and then waits longer. The idea here is that it lets everything get up to temp and wait so things can rest or defrost evenly.
To begin, push the Micro Power button to enter your cooking settings. Maybe a low power level for ten seconds? Next, don’t push Start/Set, but rather push the Timer/Clock button. This will change from the cook delay to the delayed mode once the cooking time end.
You enter a duration of one minute for the standing period.
Then you go into standing time. You can set it for a duration like one minute.
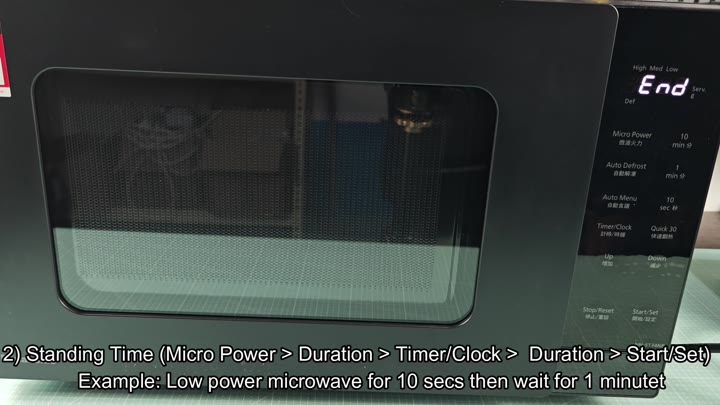
Pressing Start/Set sets the post-cook wait and then the microwave kick off with those ten seconds of low power heating. When it’s finished with that phase, it doesn’t just beep right away. Nope. Instead, it enters the standing time phase.
This is where it shows the time ticking by as you wait. This allows for even heating while waiting without overheating the edges. It handles the transition smoothly, no intervention is required between phases.
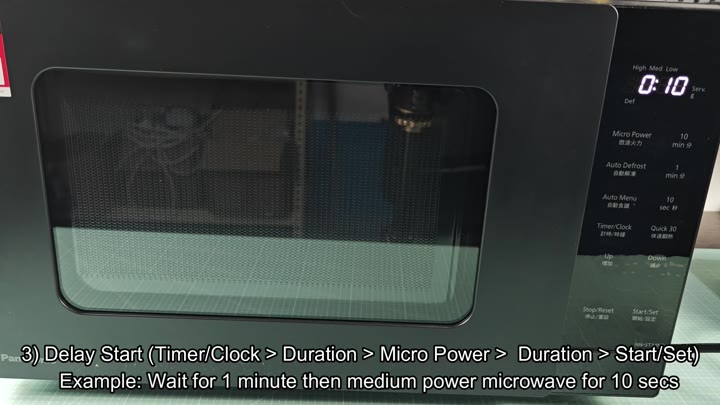
This feature lets the microwave wait before it begins cooking. That’s handy if you’d like food to be waiting at a certain time. Start by pressing the Timer/Clock button. Set how long you wish for it to wait (e.g., one minute).
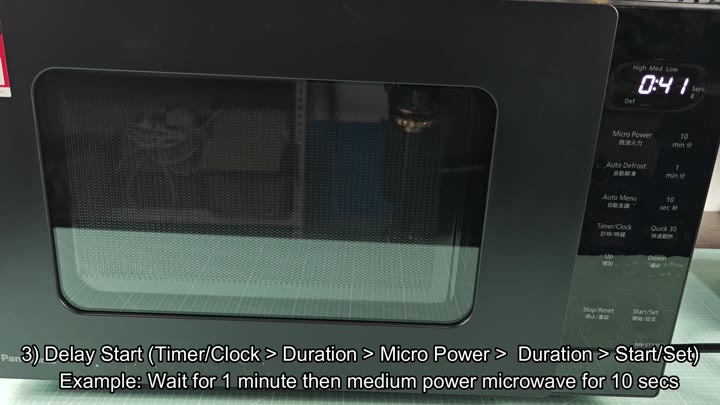
This is the before shot. This is before we add any heat.
Then once you set the delay length, you hit the Micro Power button. That’s where you program what actualy happens during the cook cycle. For example, maybe you want it to cook on low power for 10 seconds.
You’ll need to enter that in sequence. First enter the delay, next the cooking power level, and then how long it should cook at that level. Messing up the button order will result in either just getting a cook cycle or just a timer.
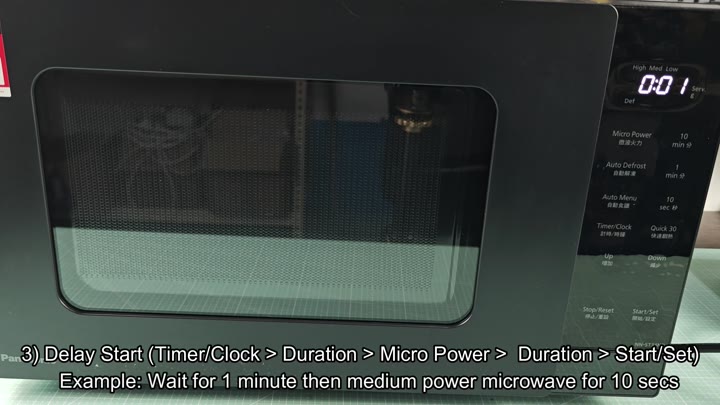
After that, just test it and you’ll know what order to follow.
After you enter in your cook time and delay, you press Set/Start. The microwave doesn’t start heating immediately. It just waits there, running the clock down until your delay has elapsed. Then it will switch over to the cooking mode and show how long you have left. And then when the minute runs out it will start heating at medium power for the ten seconds you set.
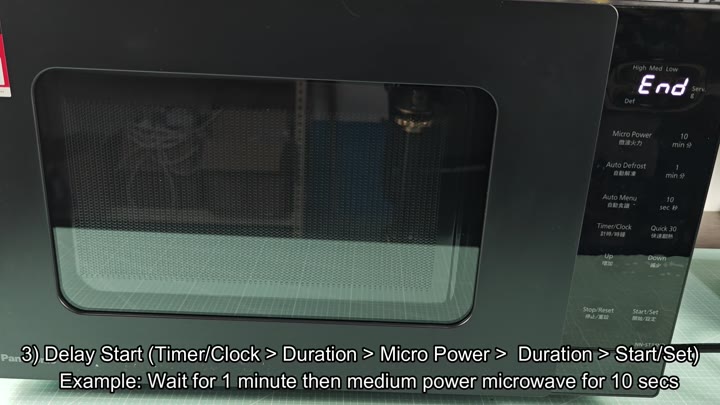
After the cooking is complete, it displays End. And from start to finish it’s all automatic, including that delay at the beginning.
It takes some getting used to, but the button sequence make sense after you get into the flow and logic of it. Order of operations. Timer/Clock is either the simple countdown or the delay. Micro Power is the heat set. Start/Set confirms the plan.
For example: If you have a morning routine, the delay start can be part of that. There is less rush in the mornings.