
Before you start taking apart your Hamilton Beach FlexBrew coffee maker, it’s good to turn off the power first. Nothing will happen if you touch the machine, and you’re just being safe.
There are three screws on the bottom of the thing, use a small screwdriver to pop those out.
Accessing Internal Components
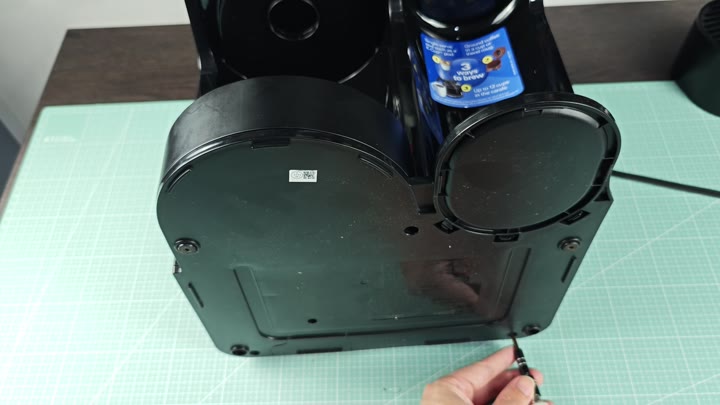
The screws can be easily removed with minimal effort; however, it’s vital that they don’t get lost! If you’re not careful, small hardware can dissapears quickly.
After removing the screws, however, you wouldn’t think that the case would pop off. It doesn’t. It’s all one piece, so it looks seamless but that makes it hard to get back off.
The only way to break the seal is by force, assisted by a screw driver to pry the cover off. Since there are some plastic clips in there, you don’t want to accidently snap them off.
Go slow, working your way around the edges. The plastic will give a little. Eventually, there will be a clear click as the two parts come apart. It’s satisfying as hell when they finally let go.
There’s not a lot of wiggle room in this thing; everything is jammed into place. Be gentle when working on it so you should of not mess up wiring and other connections.
Flipping the device around to look at the bottom side of the machine, you’ll notice some writing and a QR code label. This is probably more useful for servicing techs than regular users.
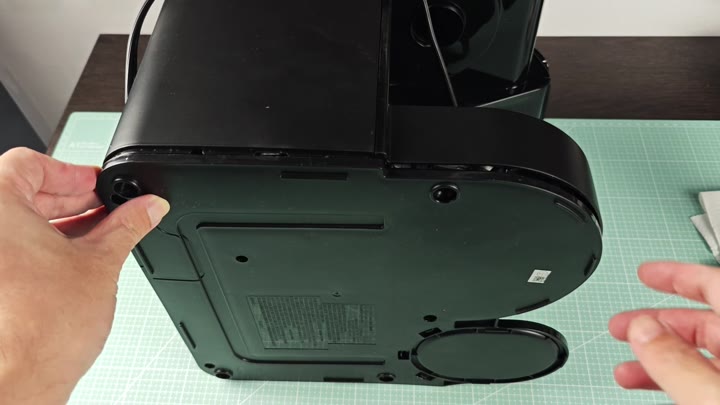
I guess the label isn’t placed where you’d expect for end-users. It probably directs to a manual, which would have nothing to do with what you’re doing right now.
After removing the bottom housing you are left with just the main body. It still has the base with a round well where the carafe goes, as well as a blue sticker that tells you to position the cup in the middle.
From here you can get an idea of how the heating element works, along with how the water makes its way through the internal workings. It’s not too bad for the price, and it’s realy compact in design.
When reassembling this thing, it’s hard work and I’d suggest taking some pictures to reference what was done.
This was pretty easy after I determined how to pop it apart. The most difficult part is prying the case apart… then everything else is relatively straightforward.
These machine weren’t really intended to be popped open frequently. They have been made to keep their clips closed. Next time, take more care but it does work out nicely for a quick peek inside.