
The DeLonghi La Specialista grinder require a complete emptying of the bean hopper prior to cleaning. Make sure no beans remain inside by pouring them all out.
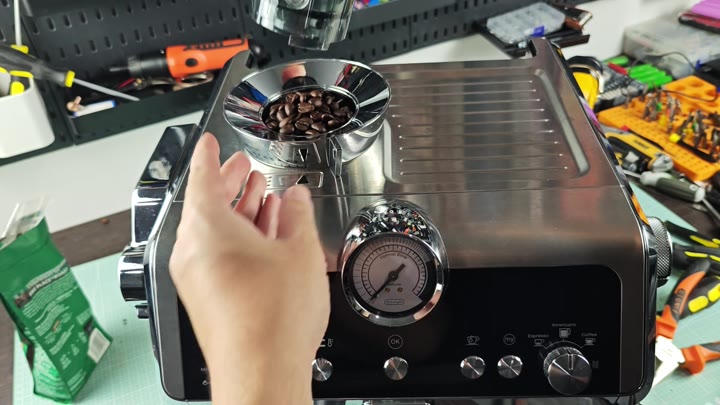
This part is important to enter this chamber.
Internal Component Inspection
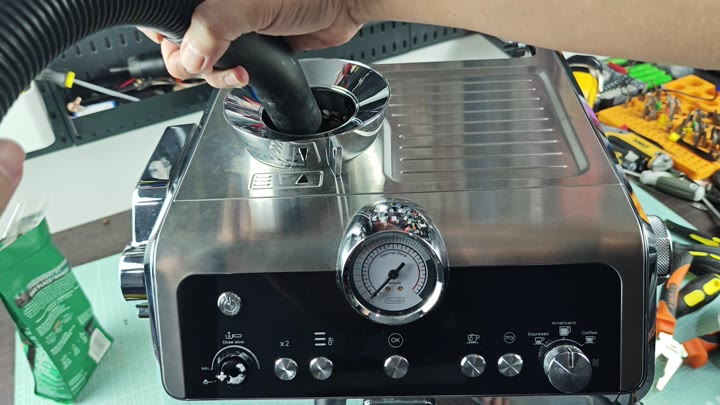
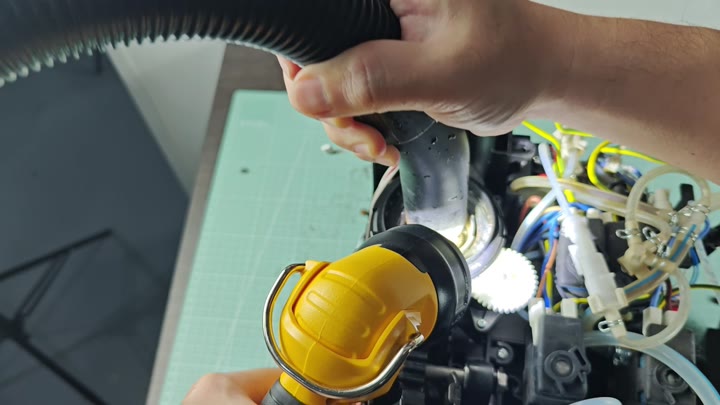
Then you just hold out your hand with the vacuum wand and suck out anything that’s left behind in the hopper. If you don’t clean it out periodically, dust and fine grounds will accumulate. So you kind of go around inside the hole where the ground comes through with the vacuum wand. This sucks out more than you might expect and clears things away.
This unit was designed with accessibility in mind. There are no special tools required to take off the grinder housing from the rest of the unit.
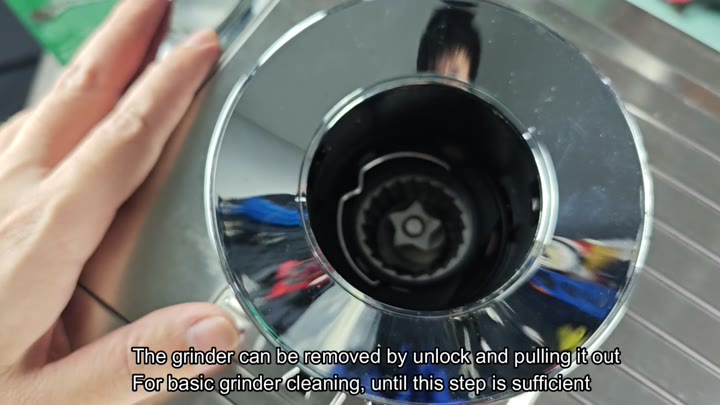
It slides out with gentle pressure, and this reveals the grinding mechanism clearly.
And there it is, sliding gently out of place. You can see clearly how the grinding mechanism works.
Removing the housing will usually do it for simple cleanings. But what if you’re curious to see it all? Well, you’ll be happy to know that the DeLonghi La Specialista come completely apart. And this allows you to realy get a look at the insides of the grinder. This makes it even easier to check out all the inner workings.
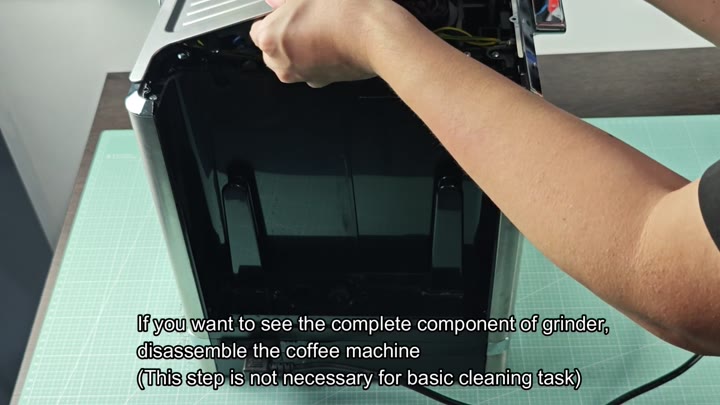
It’s easy to break down, but you must be careful.
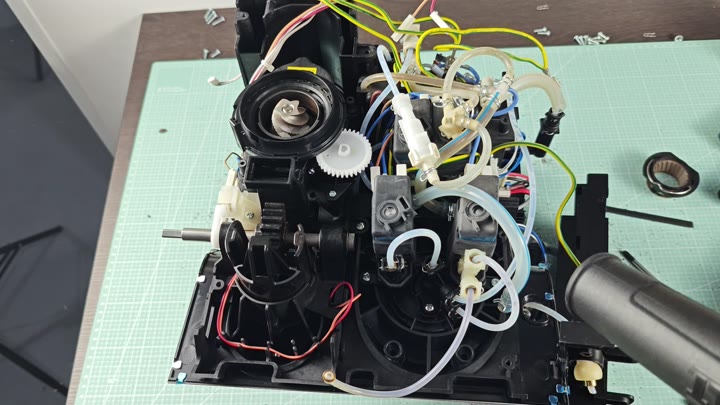
Now that the unit is completely torn down, we can see what makes it go. All the guts are laid bare (gears), wires, the main impeller. Lay them out on your workbench to help keep everything in view.
At first pass, it seems like there is a lot of pieces arranged in an odd way. How does this thing come together? Where does all this stuff go? It’s logical once you examine it more closely.
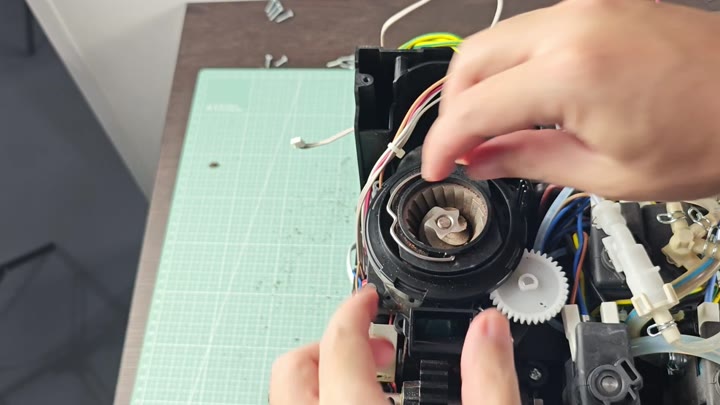
A lot of brown grounds reside inside the main grinding chamber. Fine dust has accumulated in the nooks and crannies. Loose screws is scattered nearby from the disassembly process.
A sea of colors among the metal, this is where those wires come into play. It’s gonna take some finesse to get everything clean. Expect to dig around in small spots.
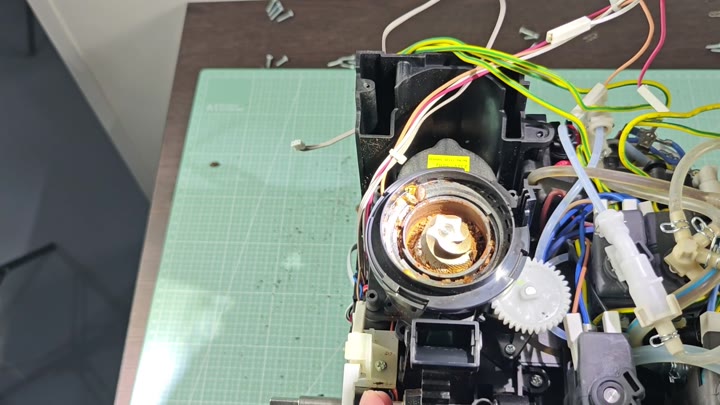
Next, you blow away any residual dust with a flexible hose. This allows the air pressure to blast away those stubborn specks of grit that can gets lodged in the gears. It’s a good way to reach into all those nooks and crannies within the mechanism.
Particular care go to the white gear within the unit itself. Grime collects here, but airflow easy cleans it away.
Once cleaned, the internal components look refreshed. All that tubing and motors is cleaned of any extra coffee grinds. It really makes a noticeable difference in how the grinder look.
And now we has to put it all back together. Time to reassemble the grinder.
The best way to keep your espresso machine functioning like new: take care of it. Keep the coffee oil from accumulating and you’ll enjoy more flavorful extractions down the road.
You’ll be thankful for the deep clean. It’s not hard, it just takes some time.