
With time, the Hamilton Beach can opener has become mechanically defective. It no longer locks into place; handle is stuck.
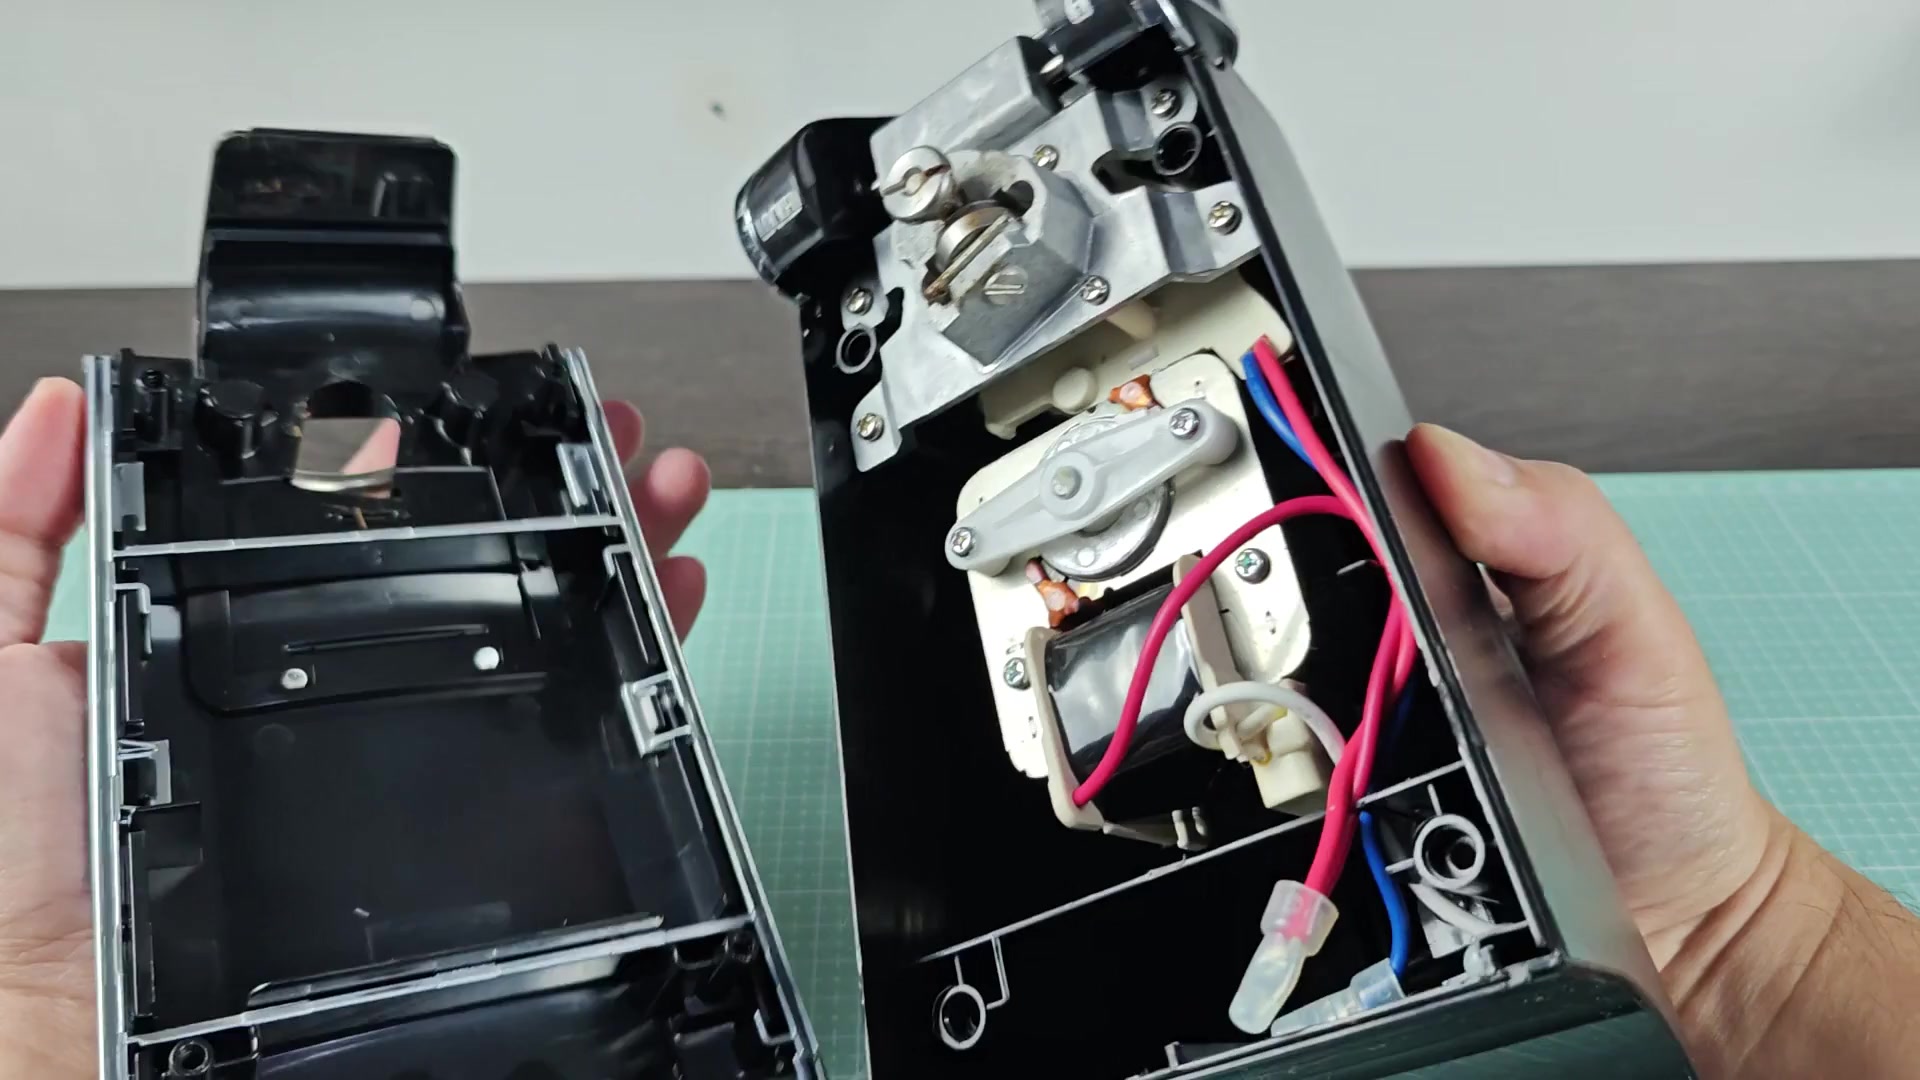
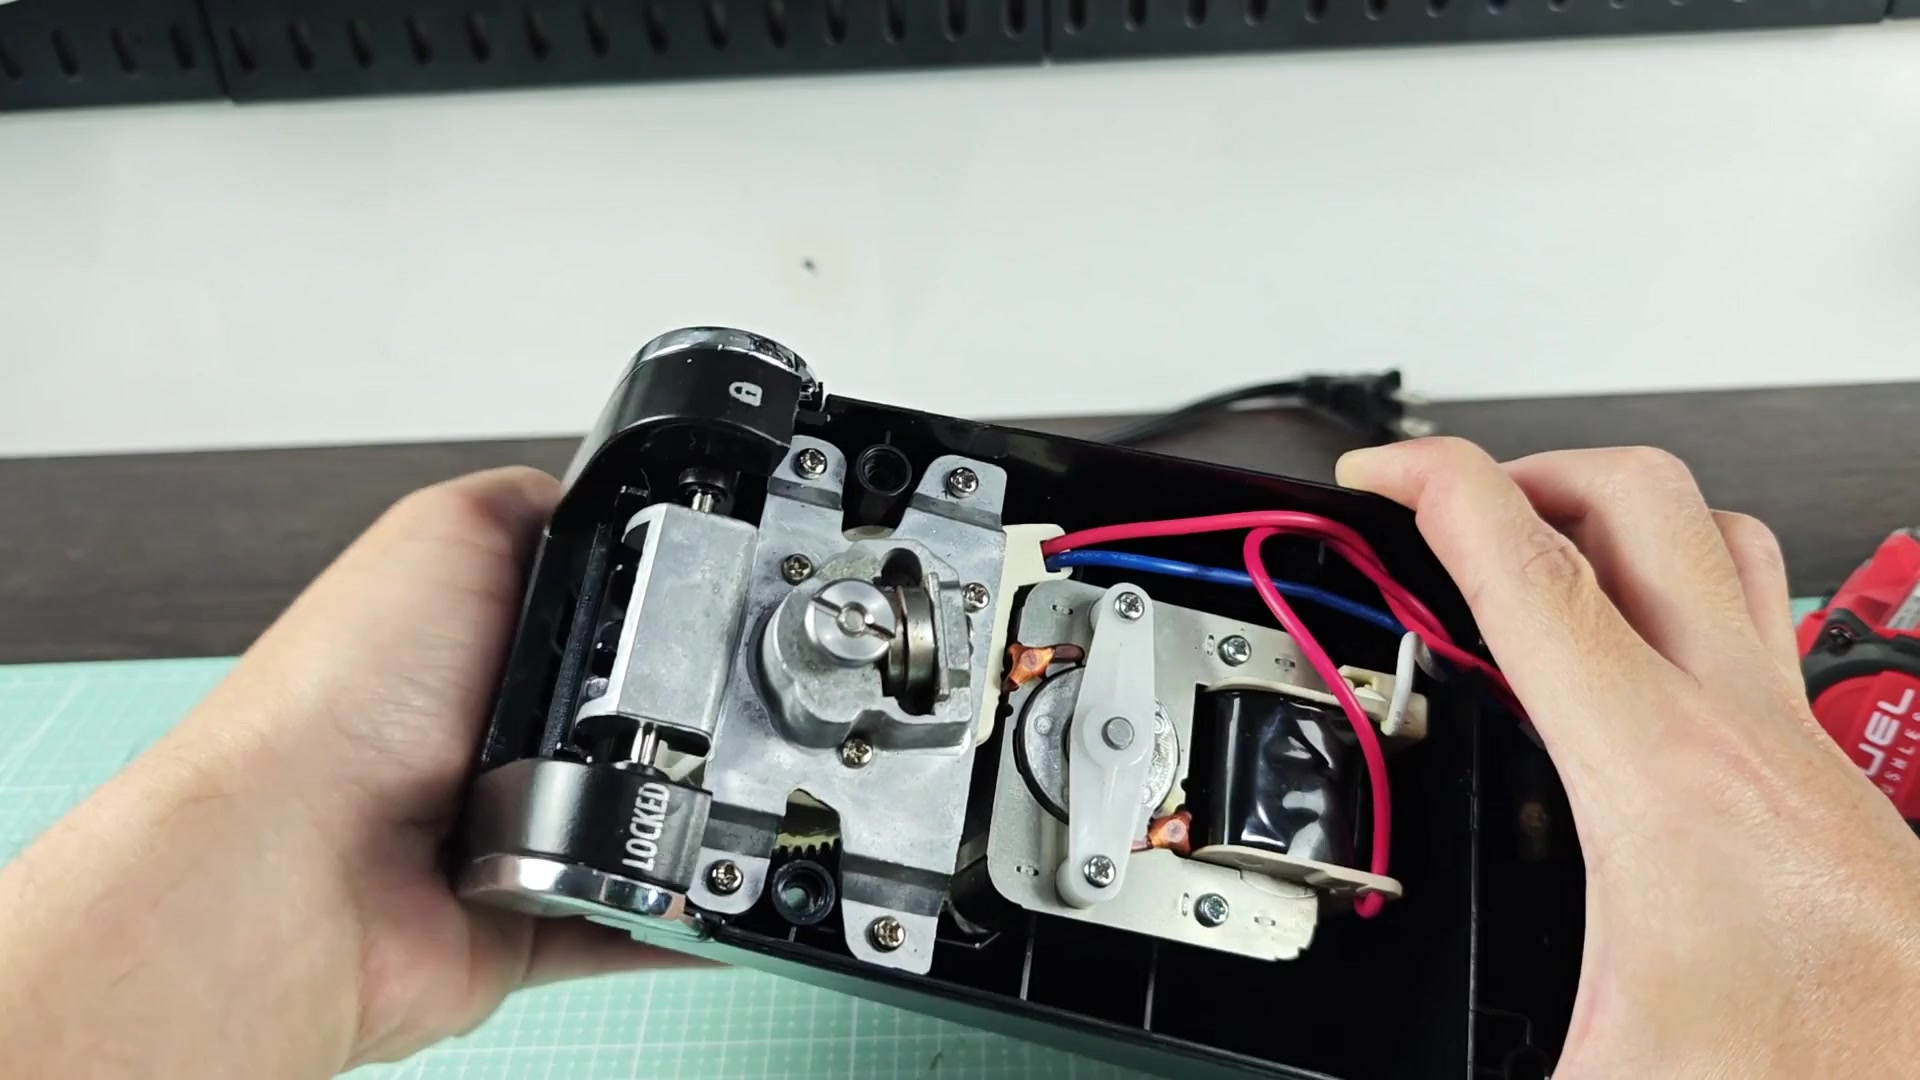
Fortunately, the outside appears okay, so this annoyance shouldn’t require replacing the appliance. It’s probably something that just needs fixing. Take it apart, find out what’s causing the resistance and check if there is an internal alignment issue. First take off the exterior plastic covering. Next you will see how it works inside. The wires and gears is packed very tightly together.
Reassembling and Testing the Unit
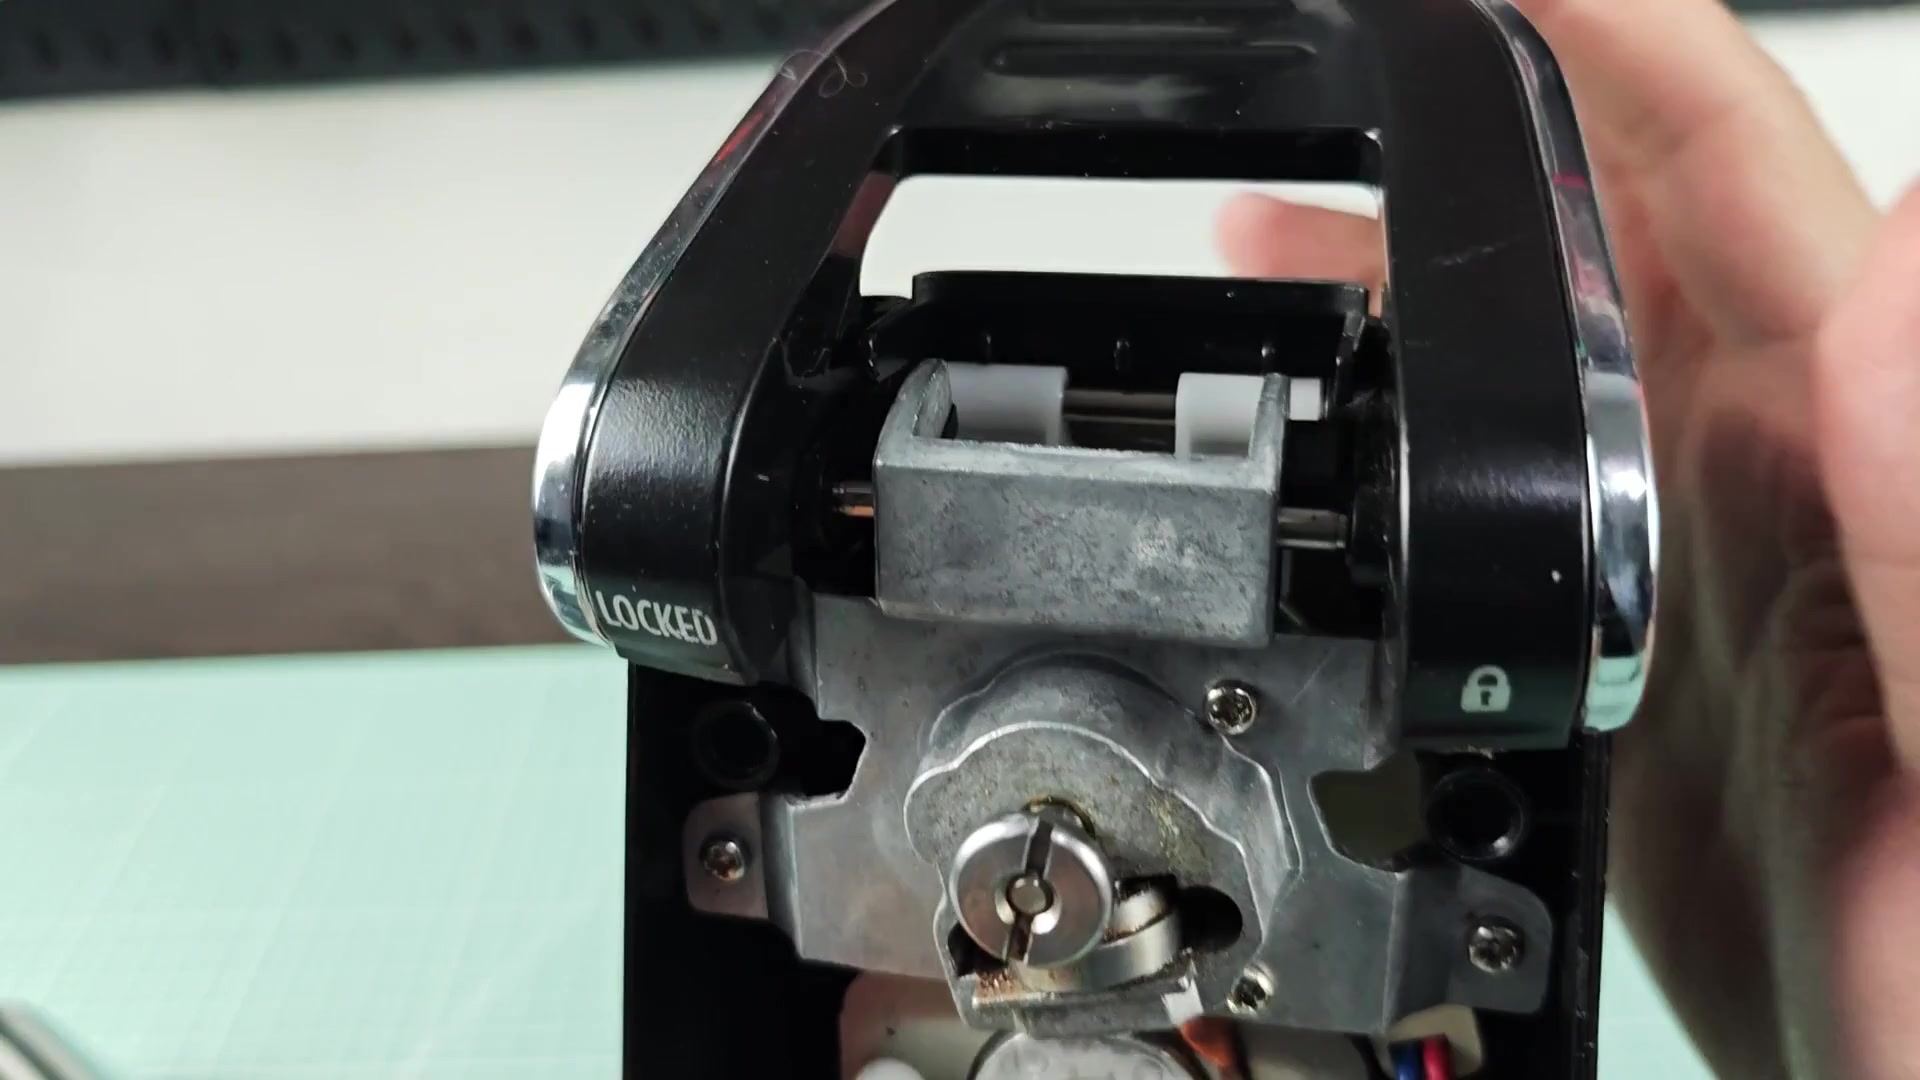
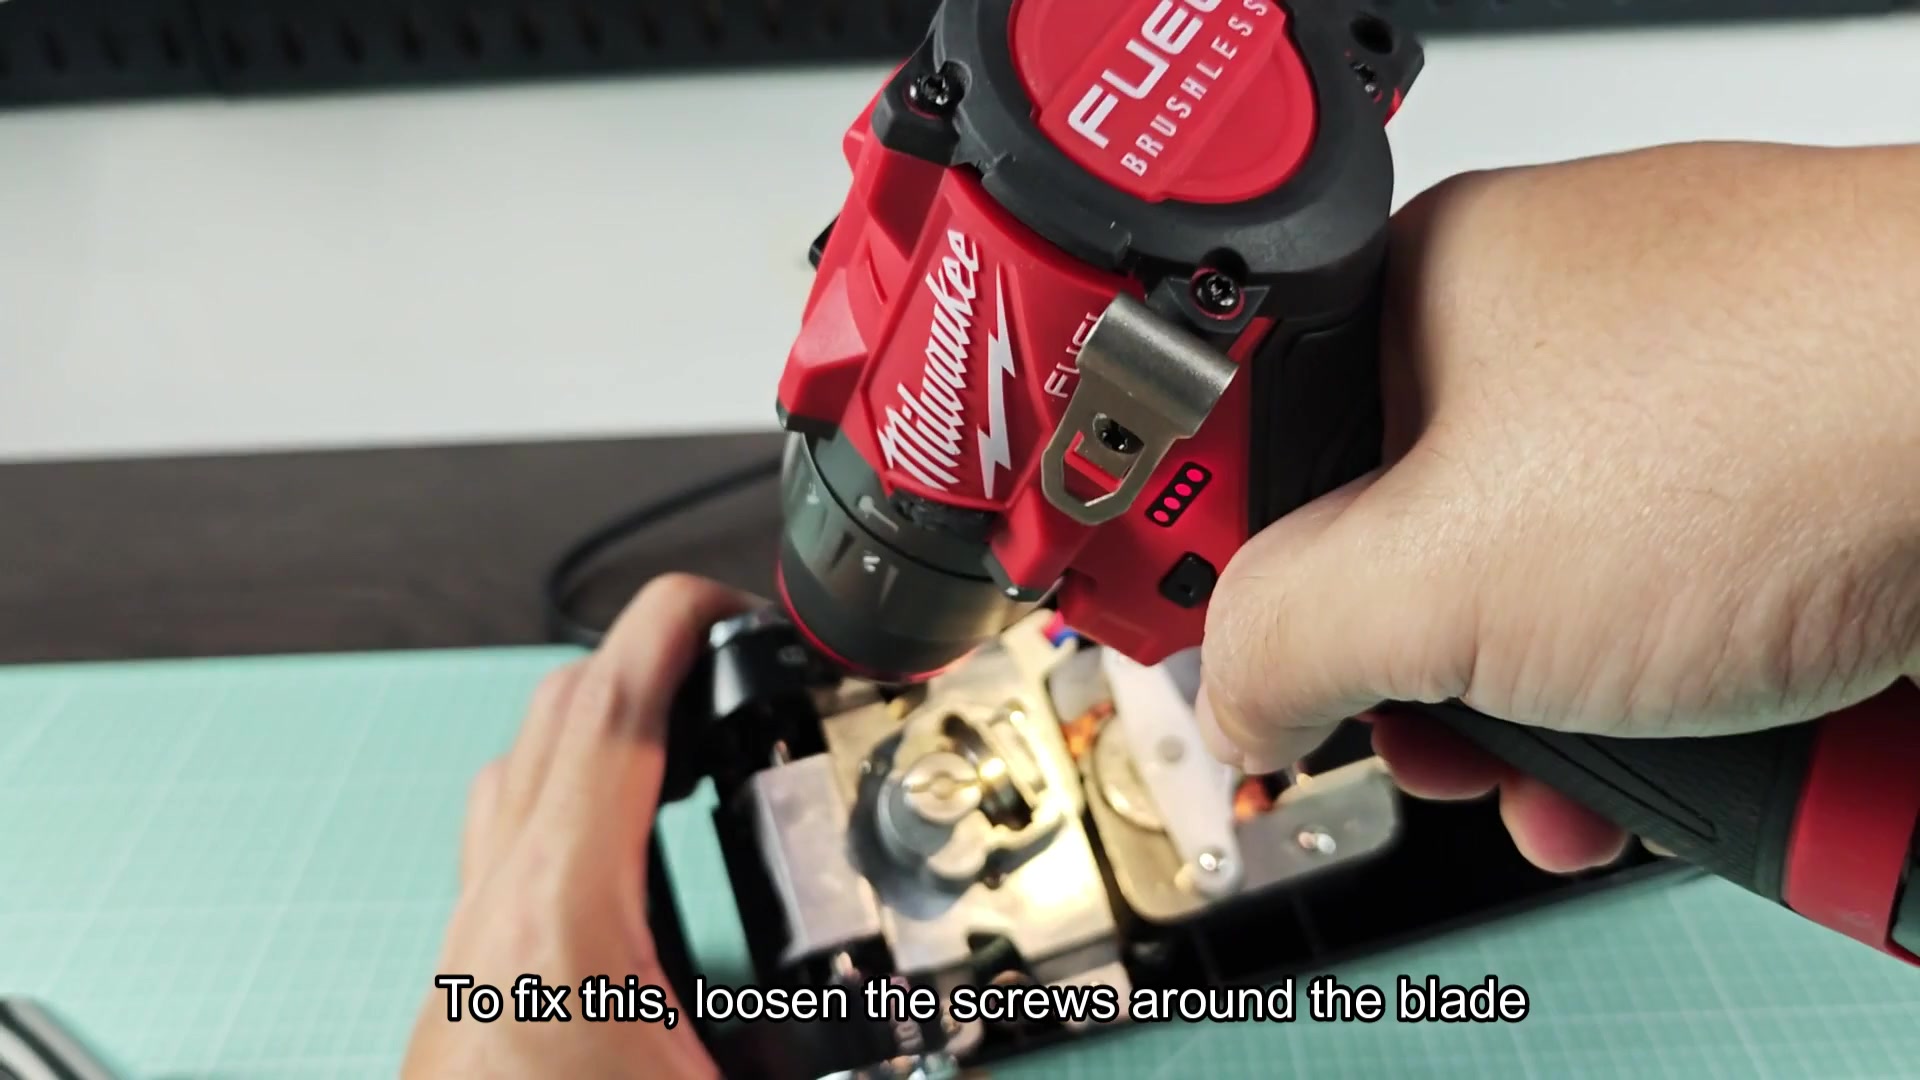
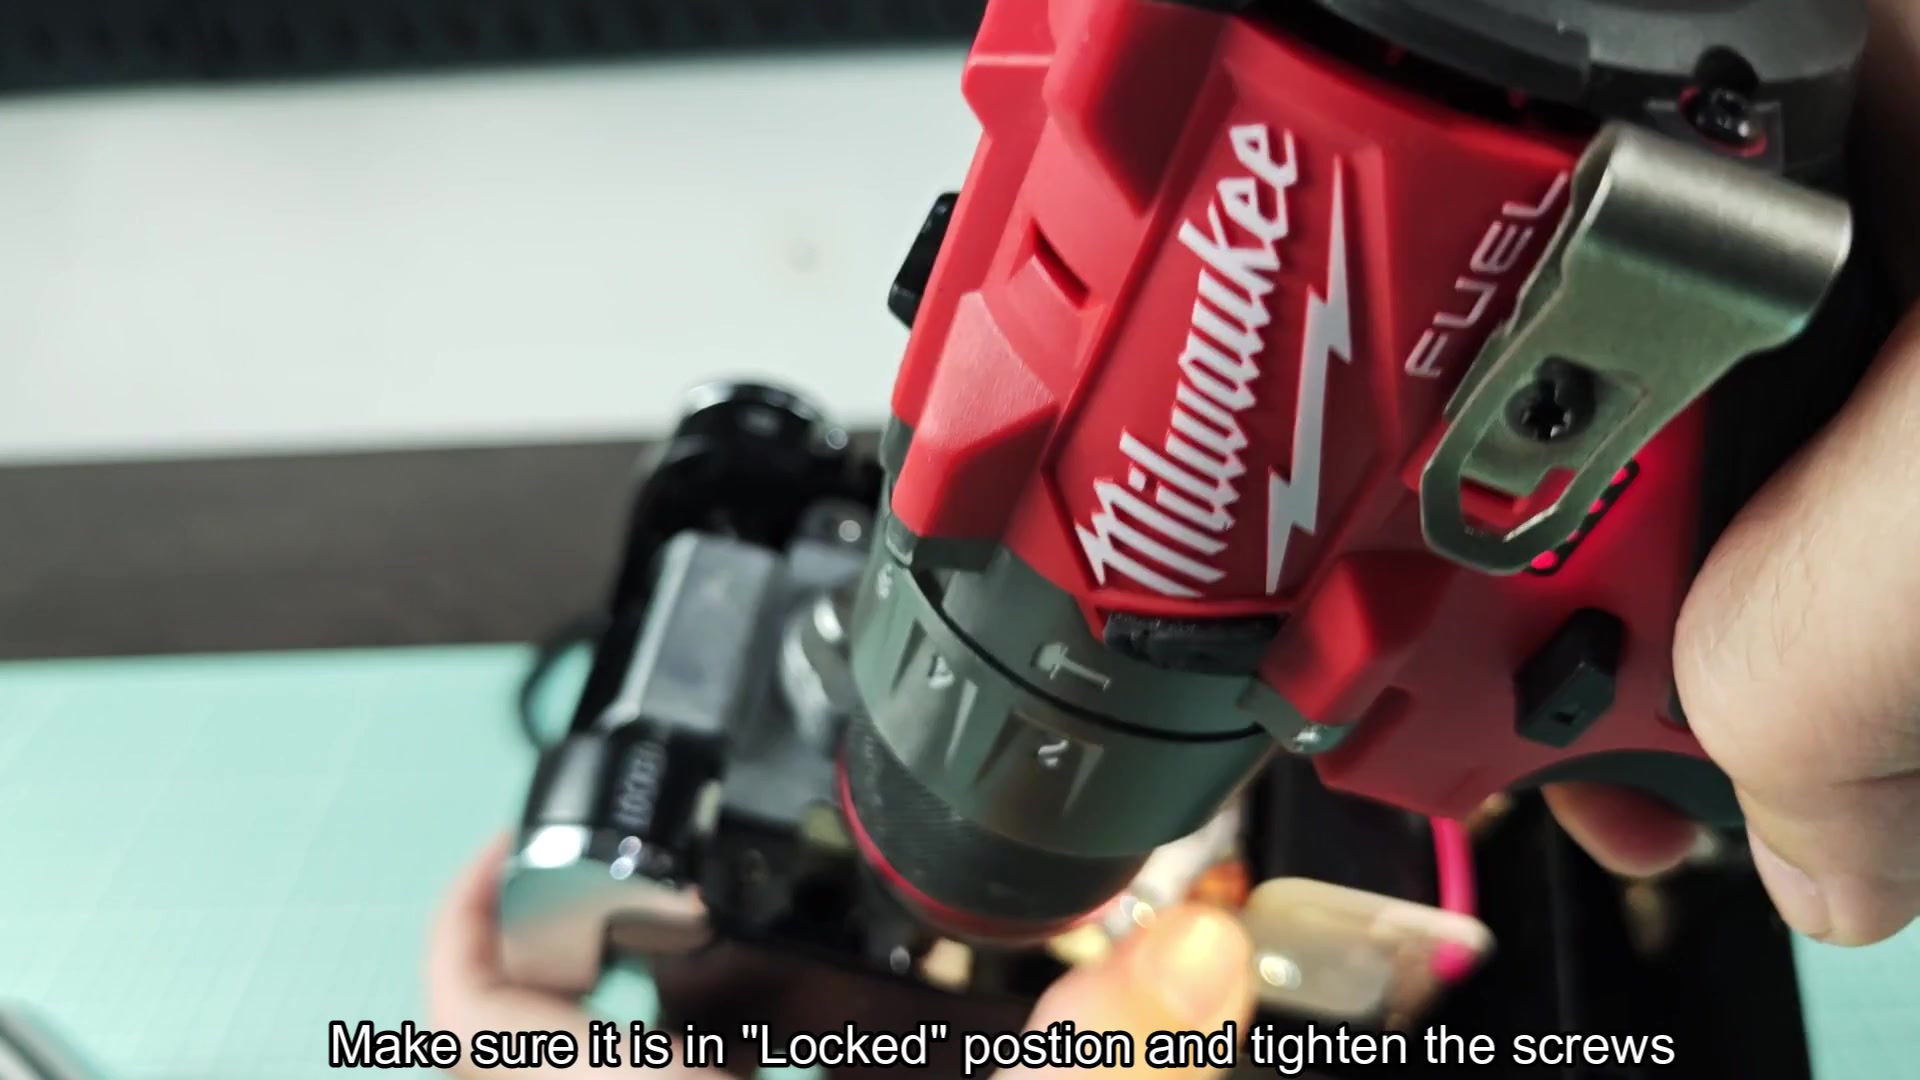
The locking mechanism is held by several tiny screws. They are what keep moving parts lined up as they move back and forth. Over time, if the screws becomes cross-threaded or too tight, the system binds up. You should of adjust the tension on moving parts. It doesn’t take long to loosen the screws that hold the lock mechanism using a cordless drill. There’s no need to fully remove the screws. Just back them off so there is some slack in the system.
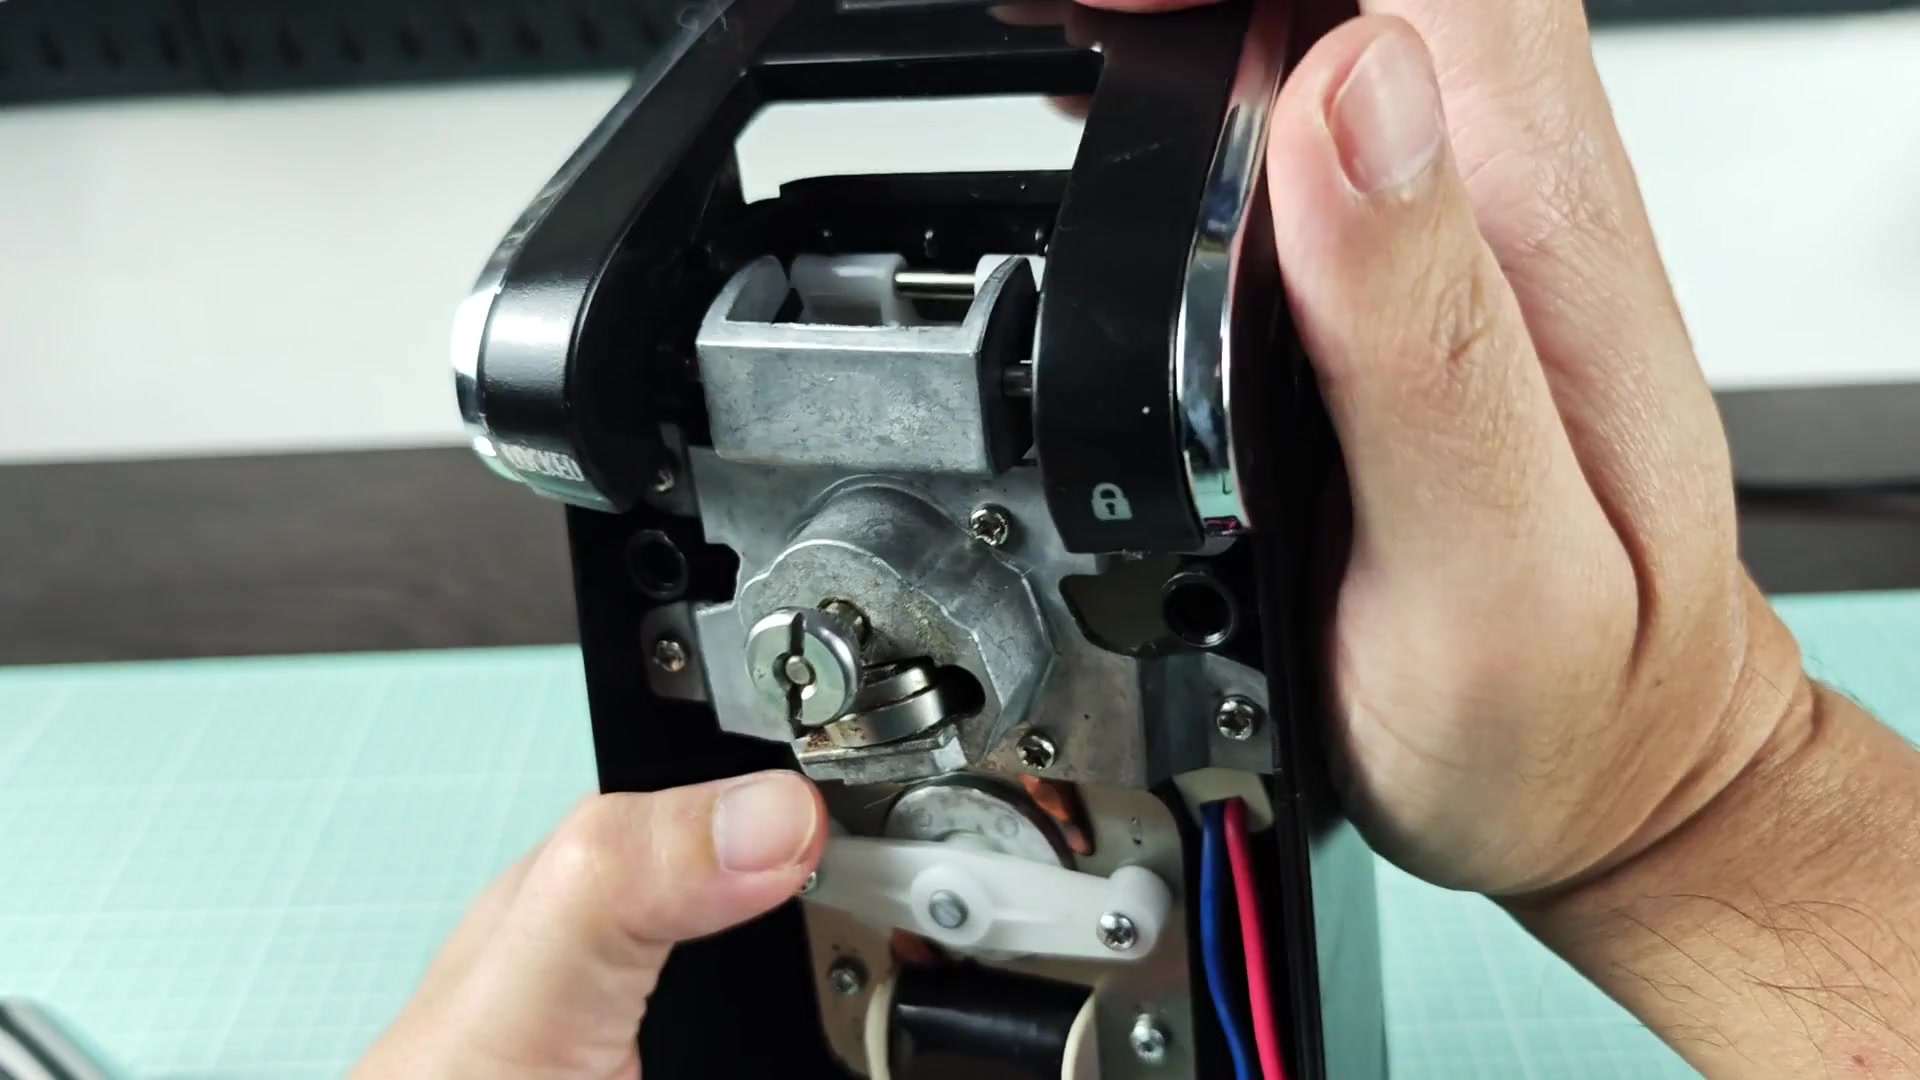
That’ll let everything inside move freely and not bind. Basically you’re resetting alignment of the locking slider. Because of tight manufacturing tolerances, this causes friction over years of use. Allowing mechanism to move freely solves the issue. The screws remain loose, so you can manually work the handle. Now it move freely. And it’s not held back by any sort of tension when you push down on lever. There’s no resistance from parts catching and holding each other in place. Everything slides where it needs to go.
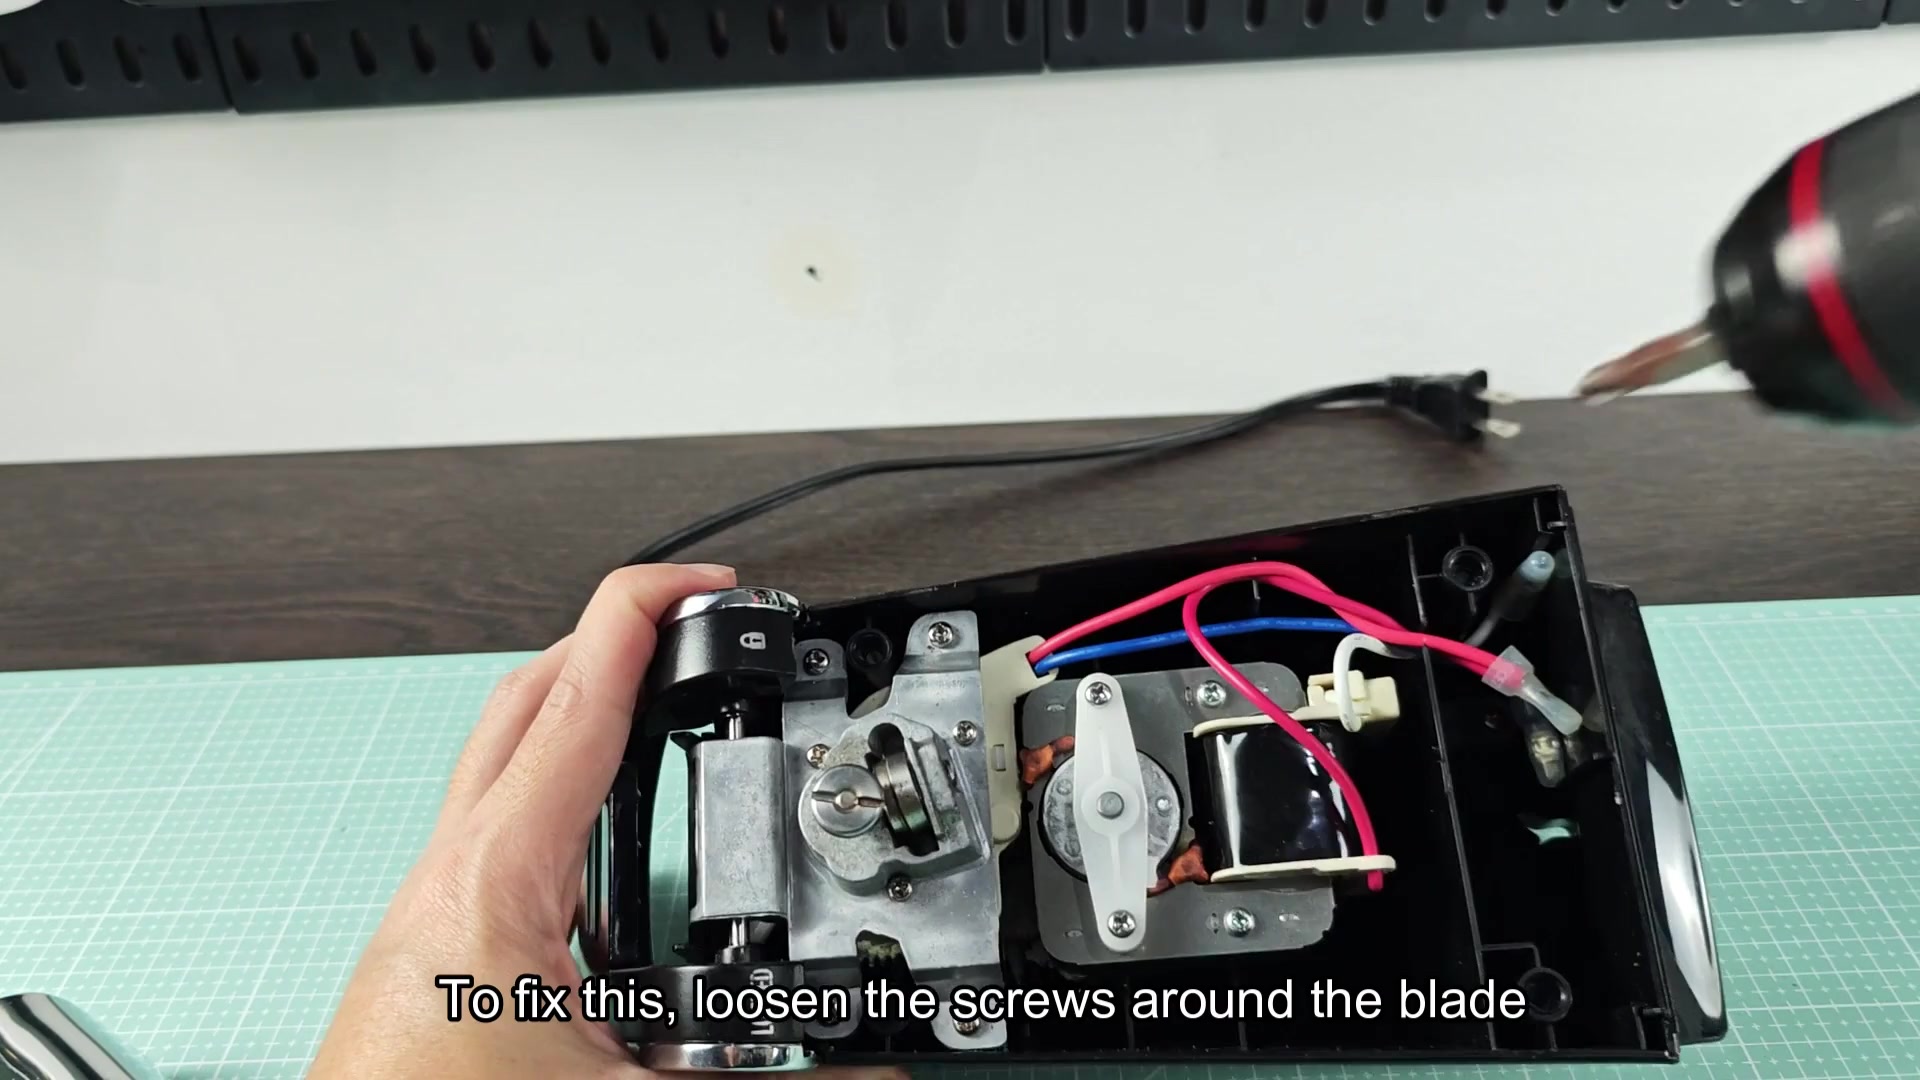
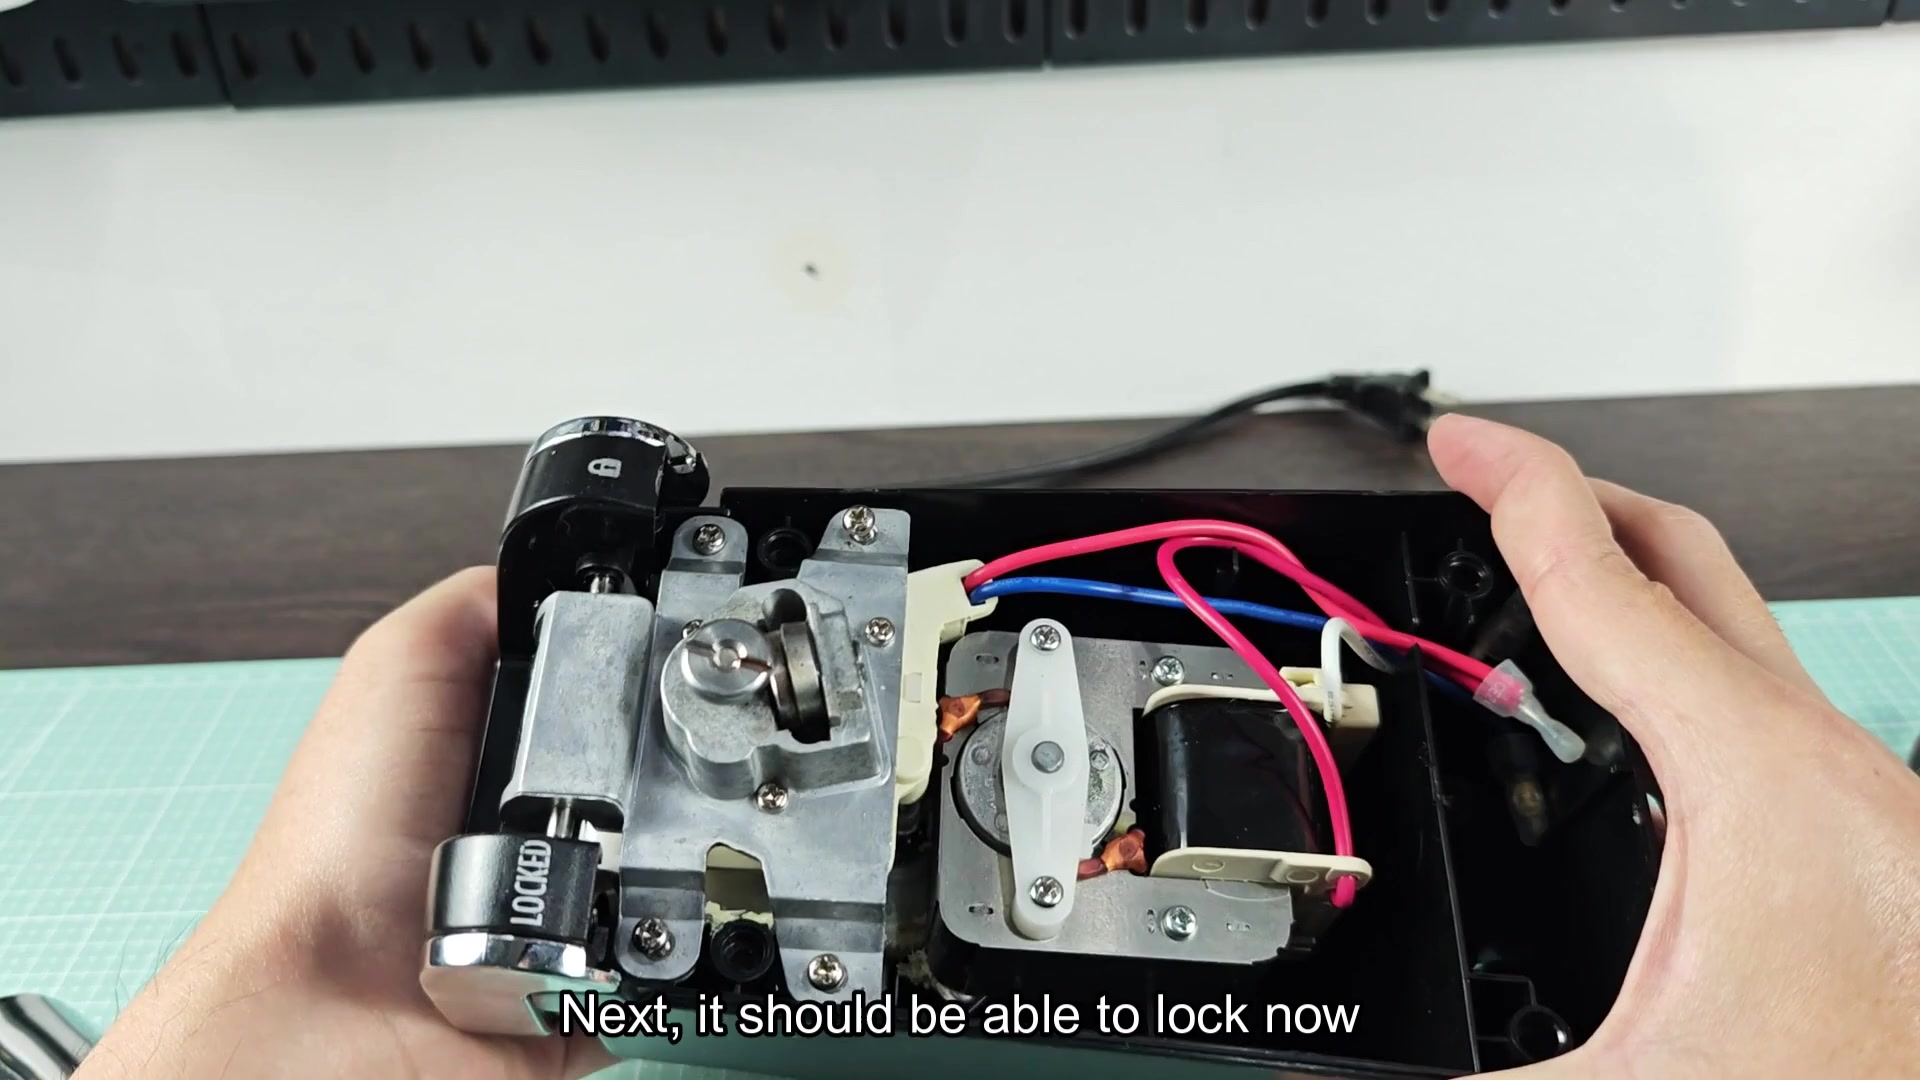
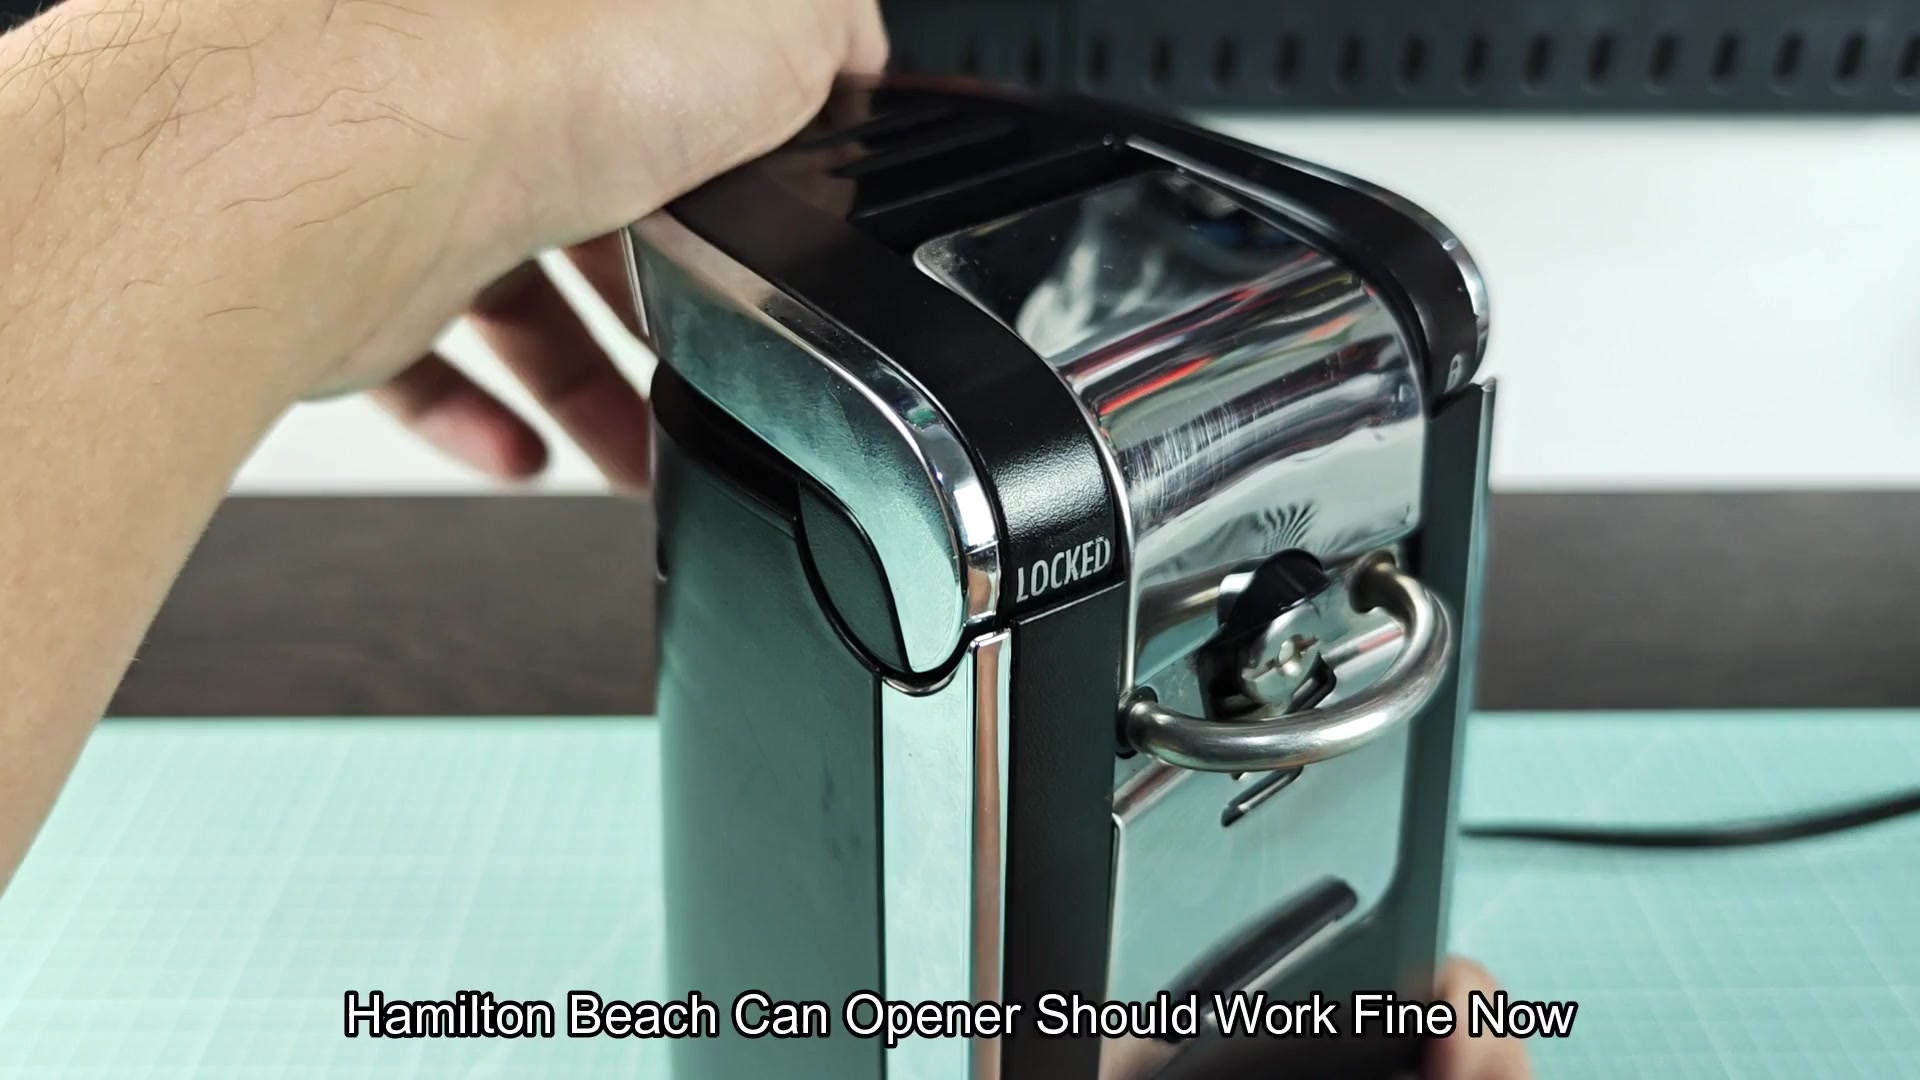
Go ahead and make sure your lock is seated properly. Yep…good to go. It locks right up into place like it’s supposed to do. It doesn’t feel creaky or stiff like before.
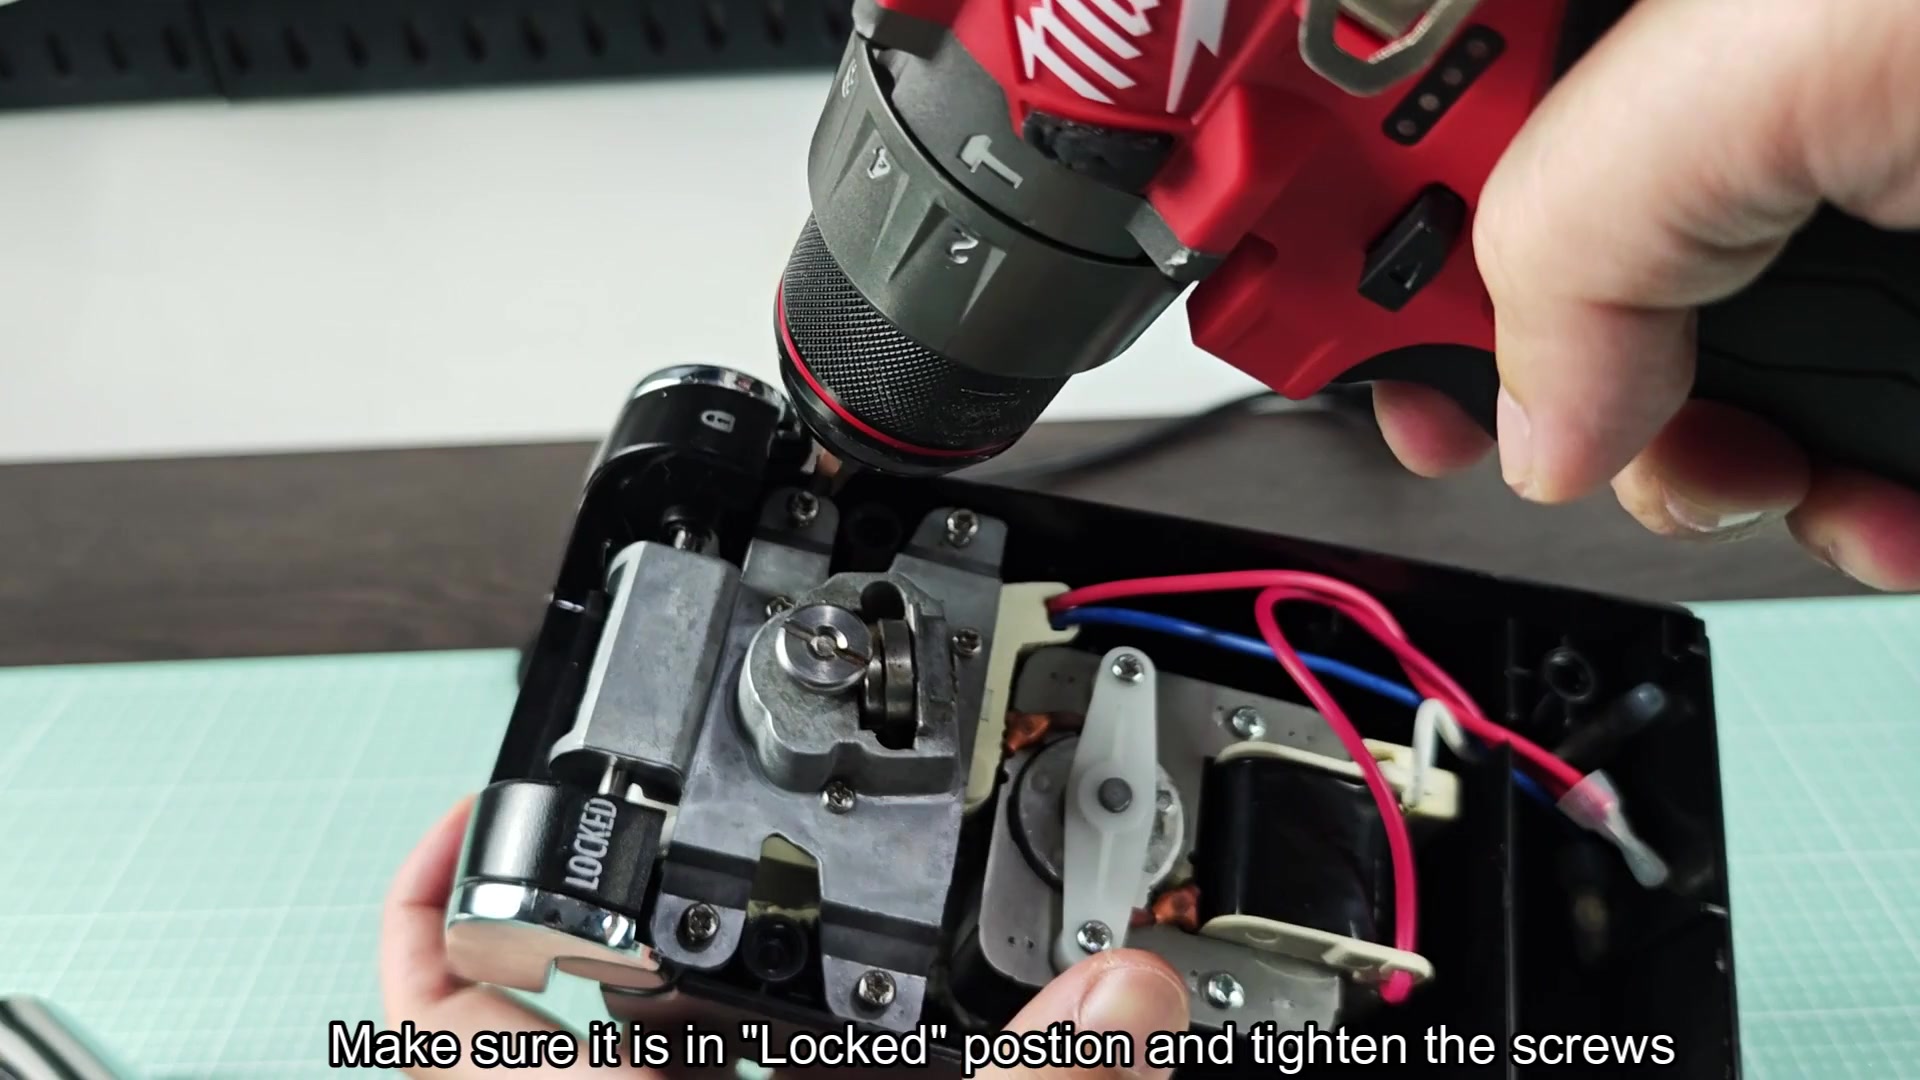
When putting it back together, pay close attention to lining everything up correctly when tightening the screws. If you have the lock positioned correctly then it won’t move as you’re tightening the screws.
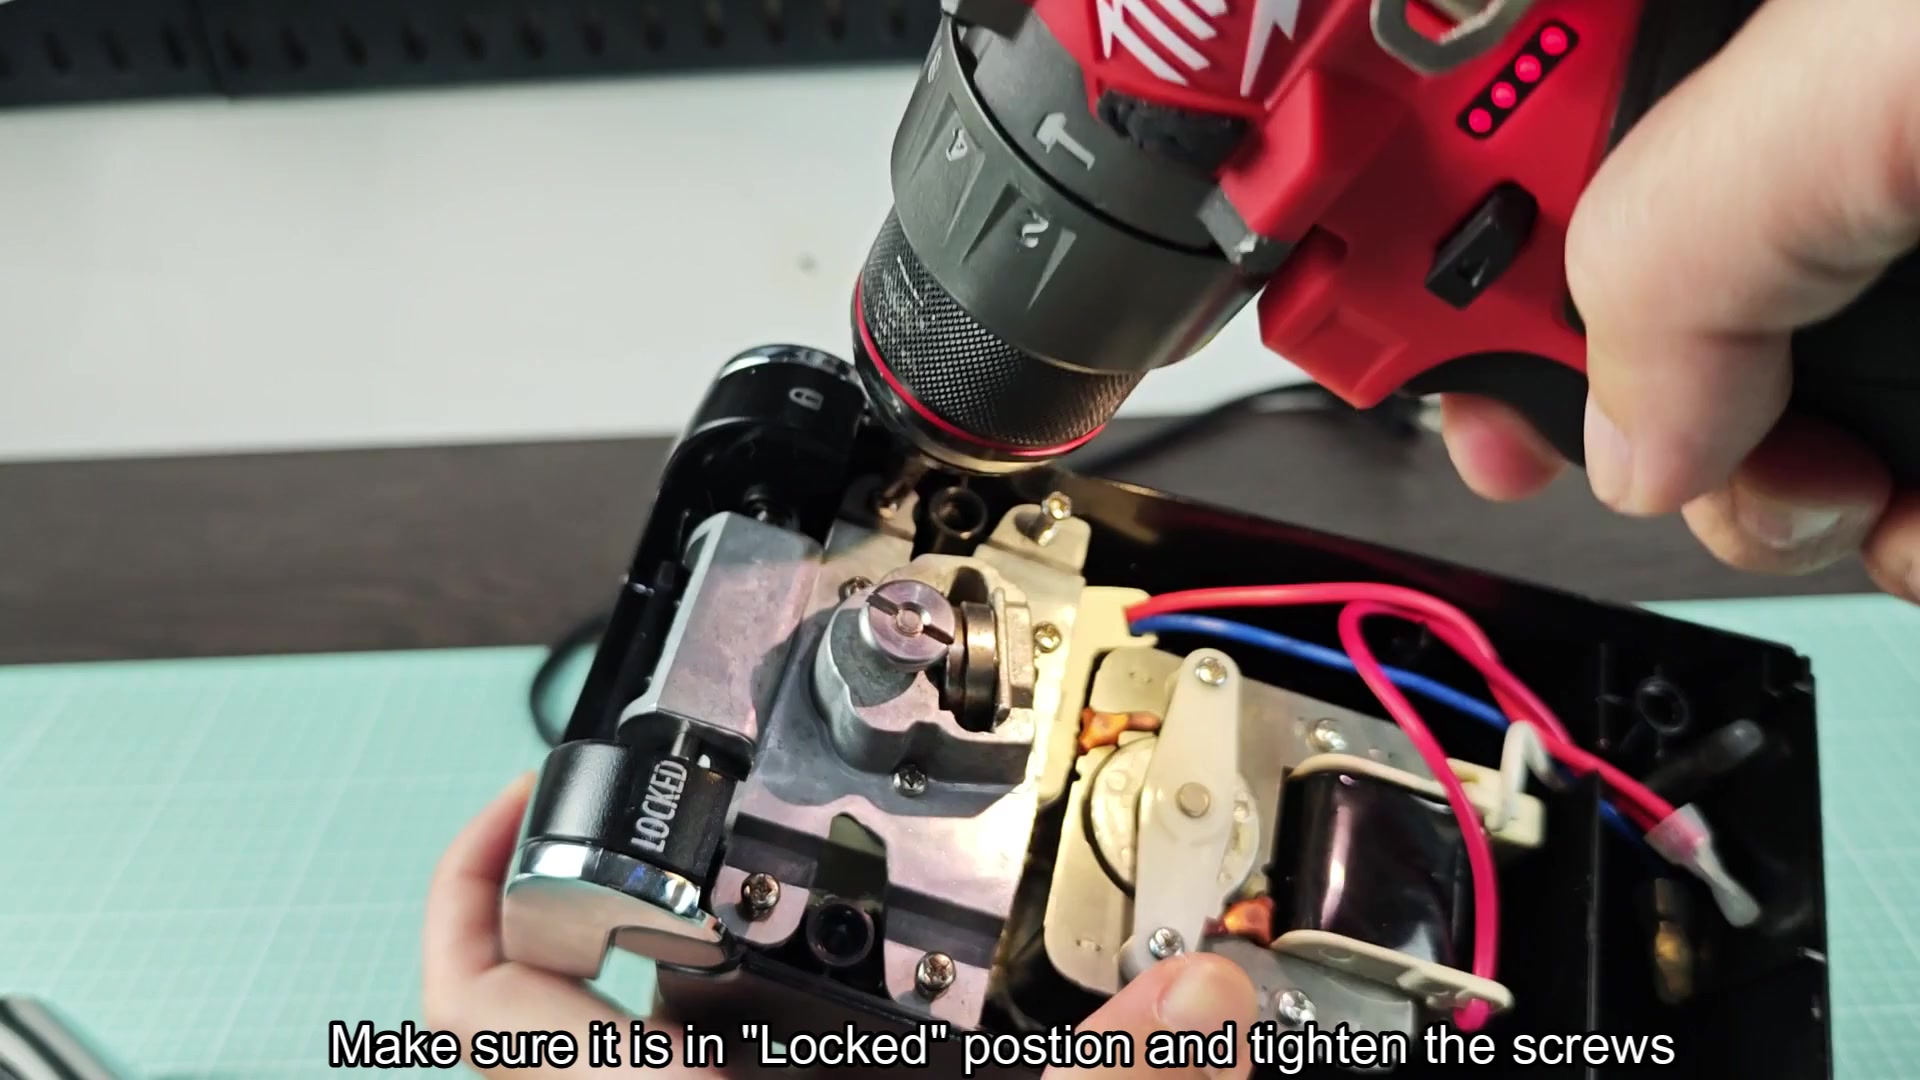
Tighten the fasteners down good but don’t go too tight or you will have binding issues. Binding issues… again! When it’s snug, it should moves freely without any binding. Sometimes that is the difference between being stuck than being loose. Back into place: You pop the screws into the holes with a drill. Do this carefully, because you don’t want anything to slip out of position while driving them home. The threads catch and metal housing aligns.
One at a time each screw goes back where it belongs. It’s a process that puts structure back in place. If not properly secured, the opener will fly apart under any kind of heavy use. Getting it off was only half the battle; getting it back on matter too. After tightening the last screw you test it for handle movement. Pressing down, the locking mechanism engage with crisp action. No more sticking or hesitation.
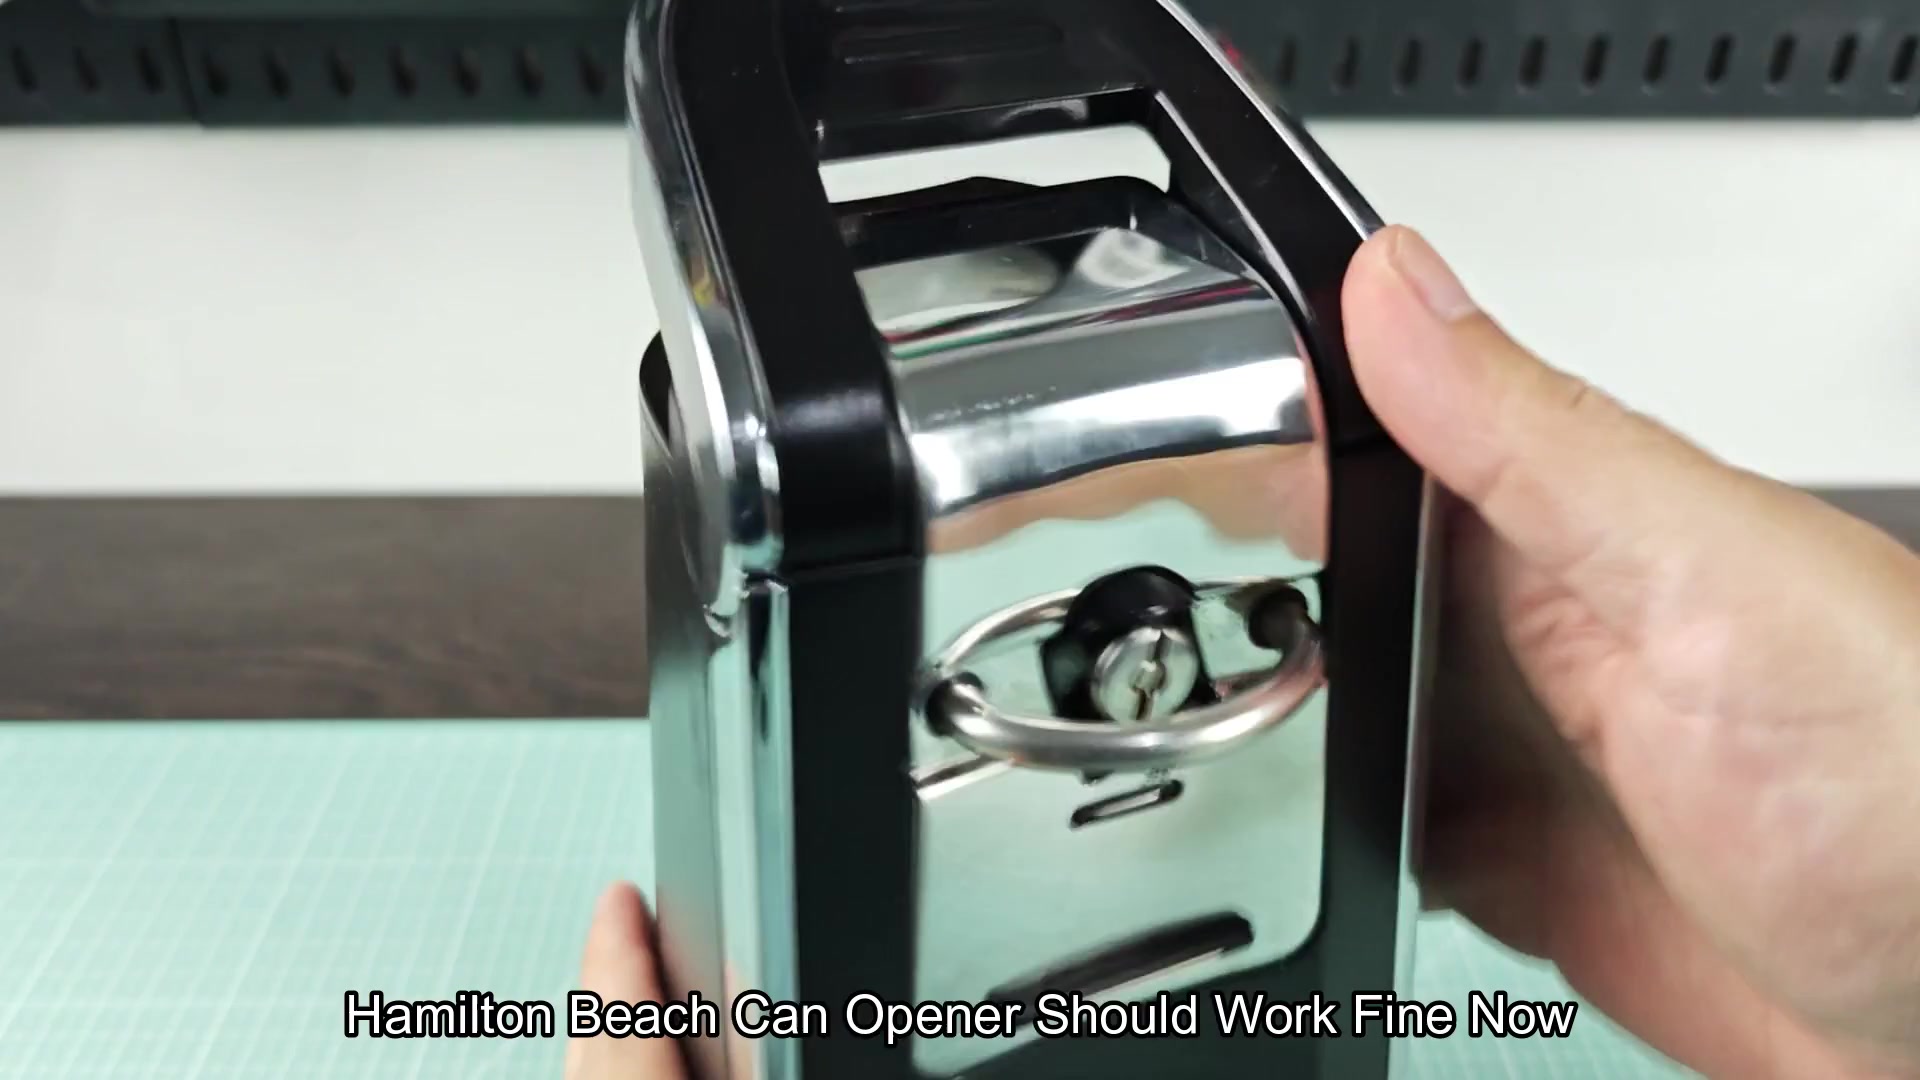
This kitchen tool is back in smooth operating condition. Money has been saved by repairing appliance instead of replacing. Often simple adjustments can turn a frustrating appliance right side up again and make it work as it should. Reassemble it into your housing, then test it out on a regular ol’ tin can. It spins the blade properly and slices right through the top of the can just fine. When you cut the handle clicks into place firmly. Jam city? Nope. This time.
If you know how mechanism works inside, fixing it’s pretty simple. A small tweak to the system solve a big problem. Now the unit works like it should out of the box. It’s that much more likely you can fix little kitchen appliances yourself. You’ll know how to pop open the back, fiddle around with parts inside, and save your own time.
Simple mechanical quirks aren’t something to panic over; they’re just another thing you have to tinker with sometimes. It’s empowering. That’s routine maintenance, not a disaster. You can’t even tell it was repaired once you’re done. It looks brand new outside and functions like it should. Everything goes right back into place. You notice an instant increase in performance.
Your goal was met; it’s working properly. When it comes to mechanical wear, simple repairs are the ones that works out best. Not all problems need to be replaced. Sometimes you just loosen something and tighten it back up again. And in this case you can do it on the fly without any special tools.
That says something about craftsmanship that goes into making these every day items. It’s built to be fixed. It is not always apparent from the start.
Knowing more about them helps make owning one easier.