The problem is that you went to turn on your Tefal cooker and when you pushed the power button nothing happened, no light appeared on the screen.
You wondered if the touch panel wasn’t working so pushed the button again… still nothing. Panicked you realised you only have minutes to get dinner ready and now this appliance has failed you! What could be wrong?
Testing the internal fuse

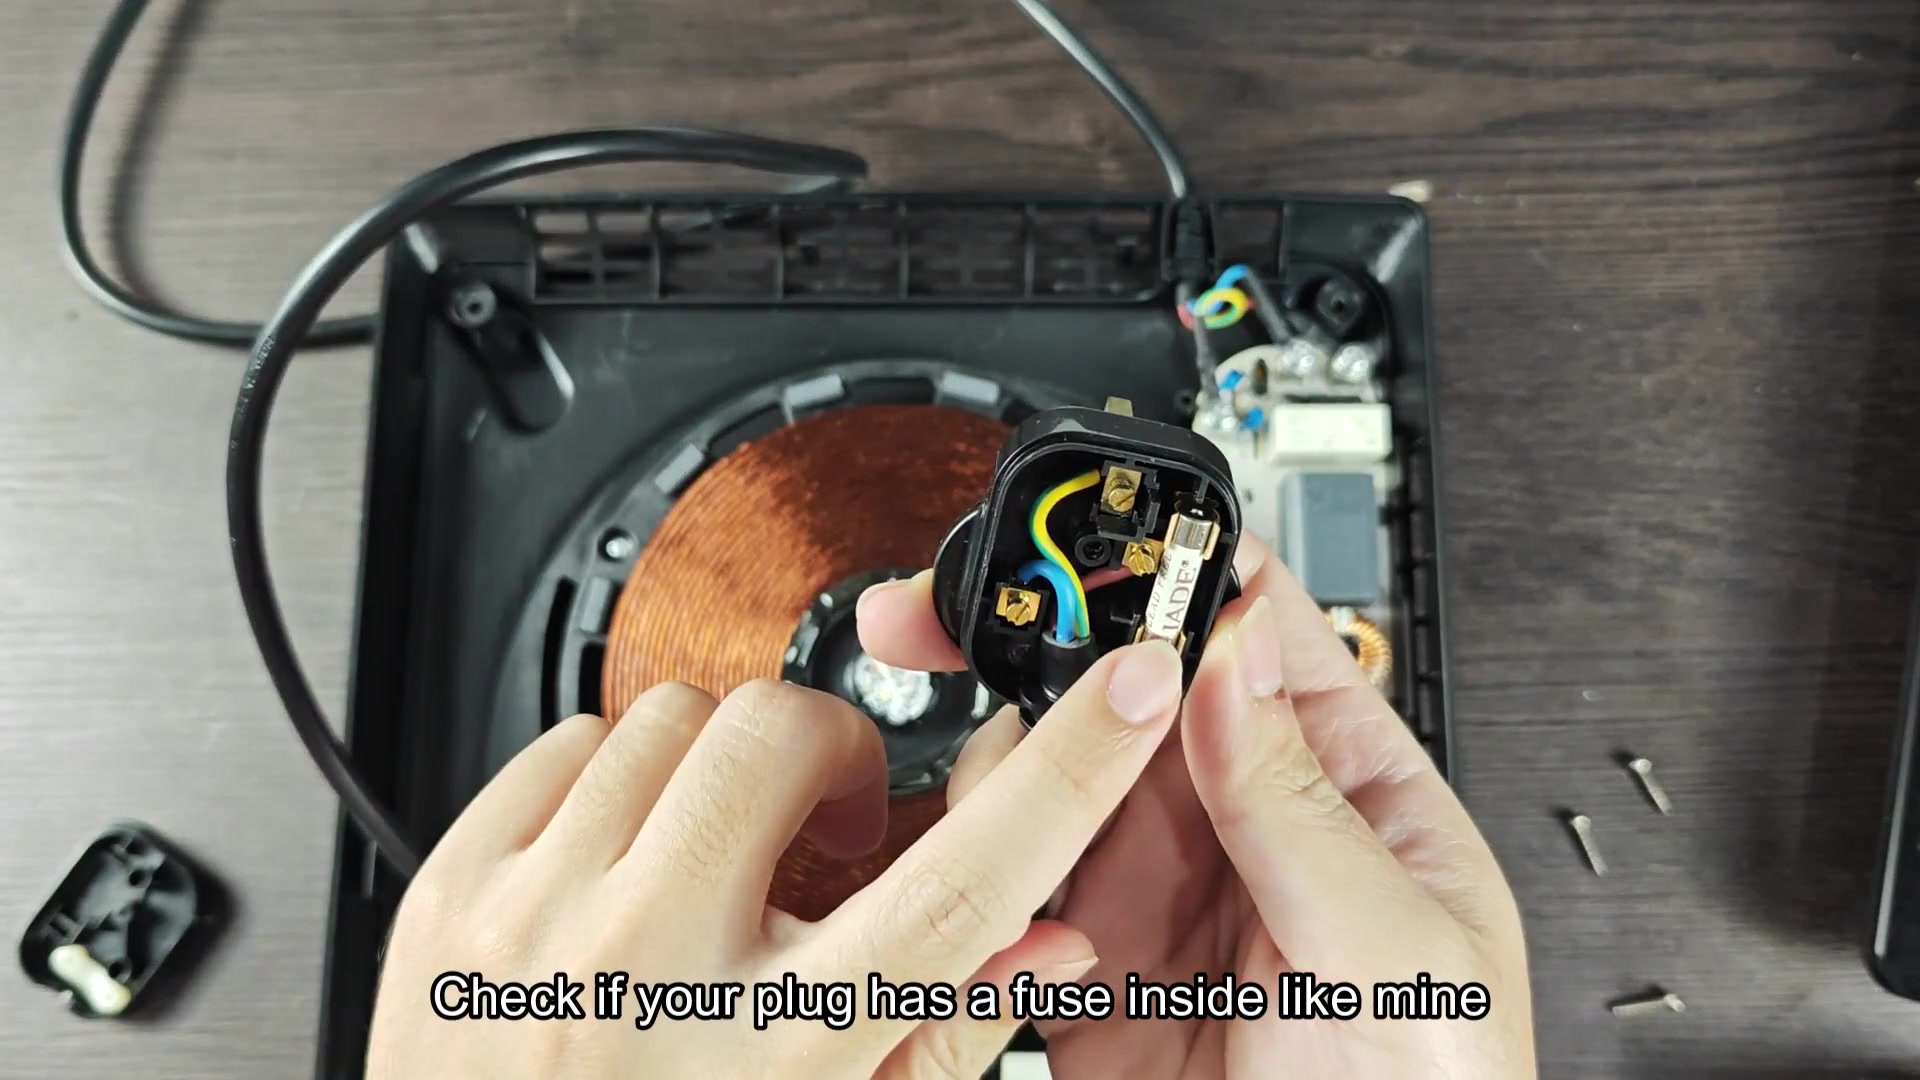
Because most electrical problems start with the plug, you decide that’s where you should of troubleshoot first. In many plugs, there is a tiny fuse which blows out if there is power surge. The fuse is inside the particular plug you use for your Tefal cooker.

Opening up the plastic part of the plug revealed it. It was easy to access and would make a good initial test instead of taking everything apart.
So you decided to check if that fuse was still good? Time to test that. For this you took out your multi-meter and set it to continuity mode. In this mode, device sounds a loud beep when it senses an uninterrupted electrical flow.
You touched the metal probes to both ends of the fuse element inside the plug. The meter didn’t make a sound, so the line wasn’t passing through. Looking at the display proved that this was indeed an open circuit. The fuse had burnt right through. That made sense: the cooker was plugged in but refused to switch on. You jotted down that this component required changing first then looked elsewhere.
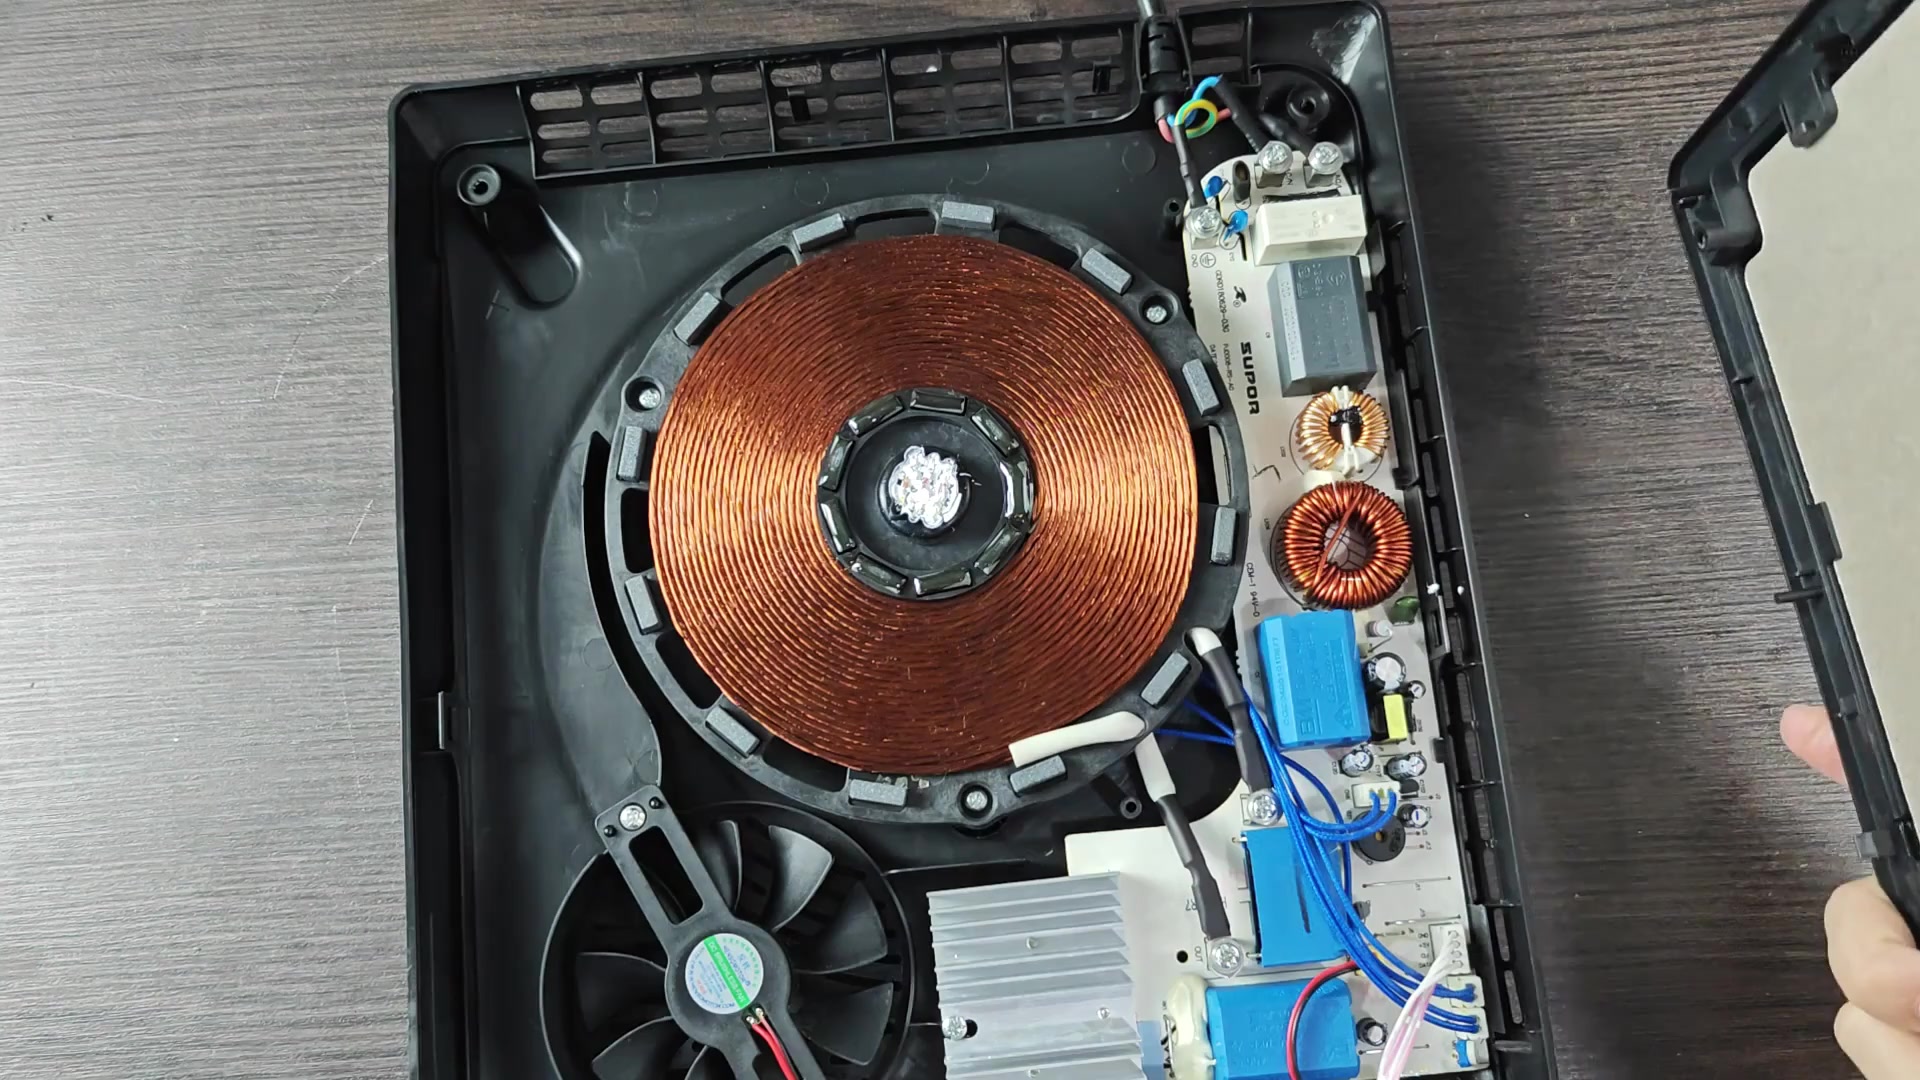
However, as you’ve learned, induction cookers don’t just have a single safety point. So, you didn’t stop there. Next, you removed the back cover of the appliance and looks inside. After popping off the back cover, you saw what’s inside. Below is the circuitry in the cooker.
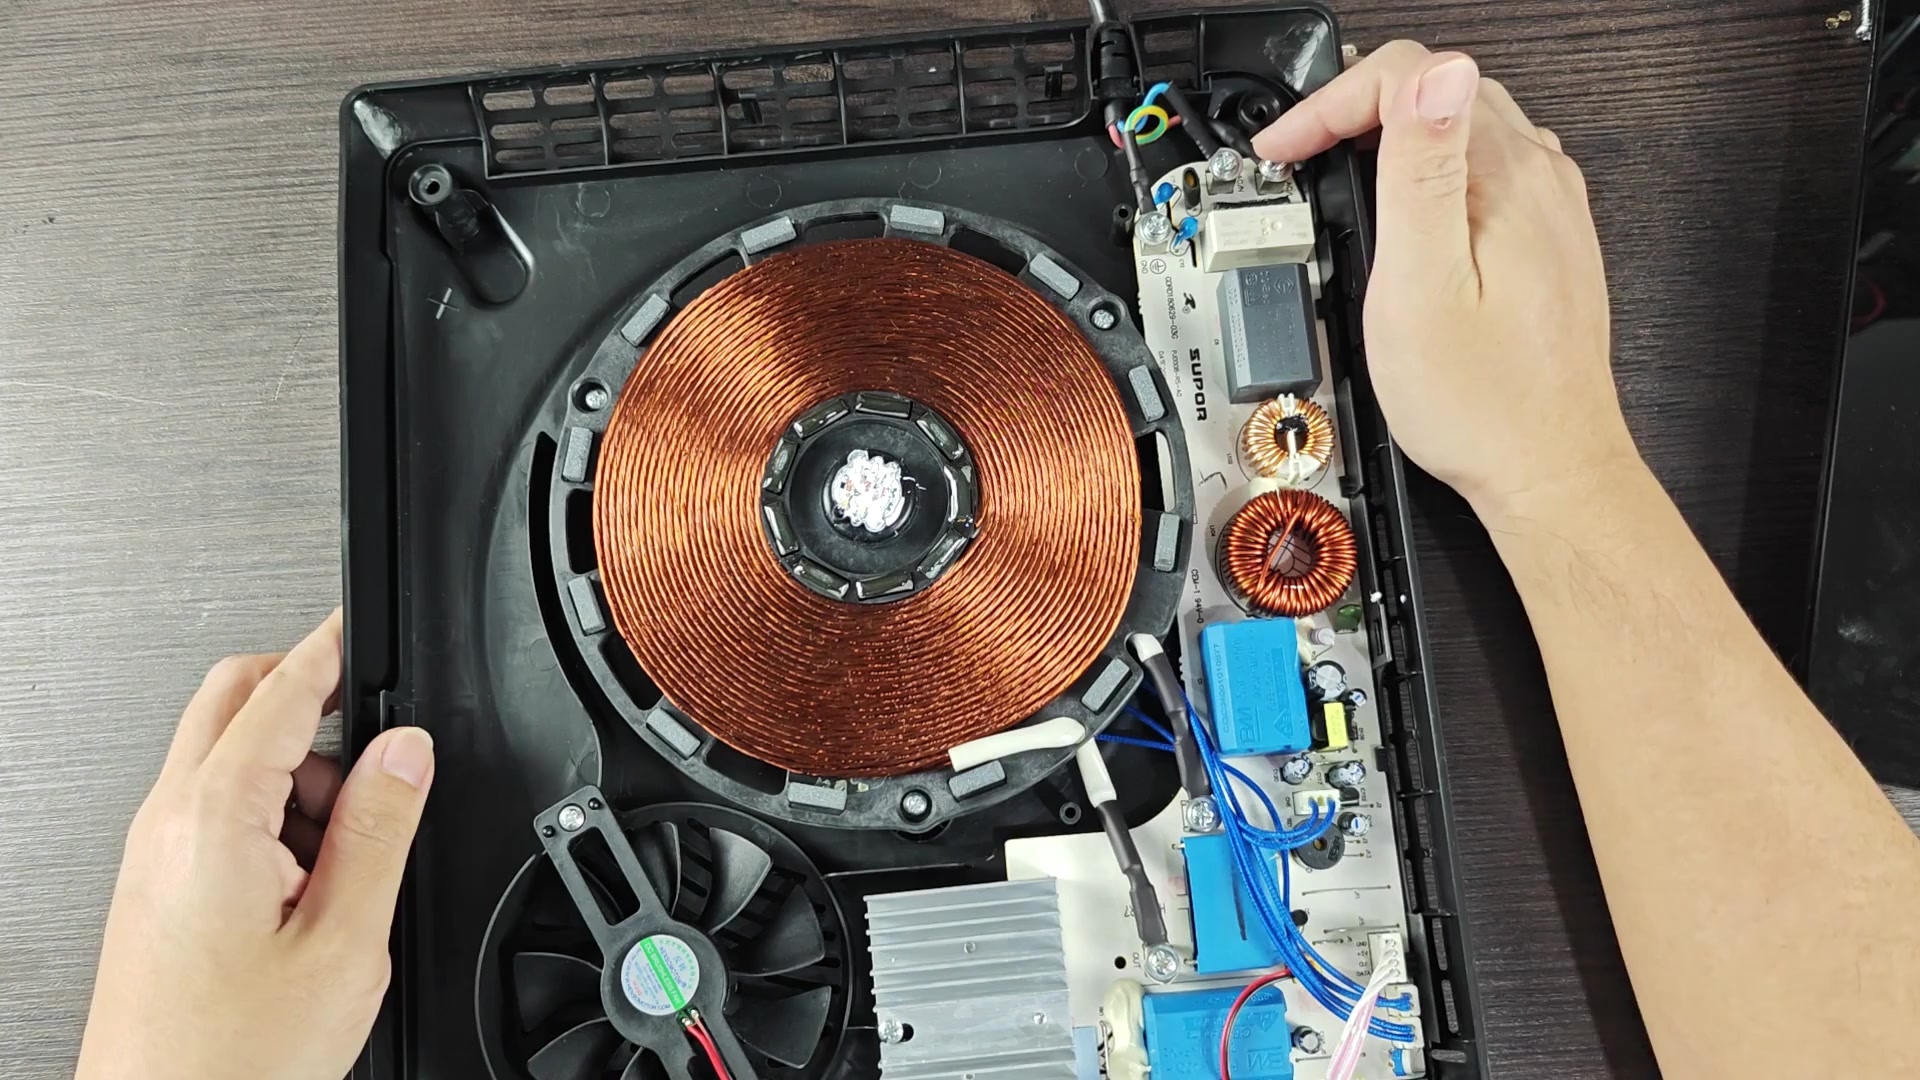
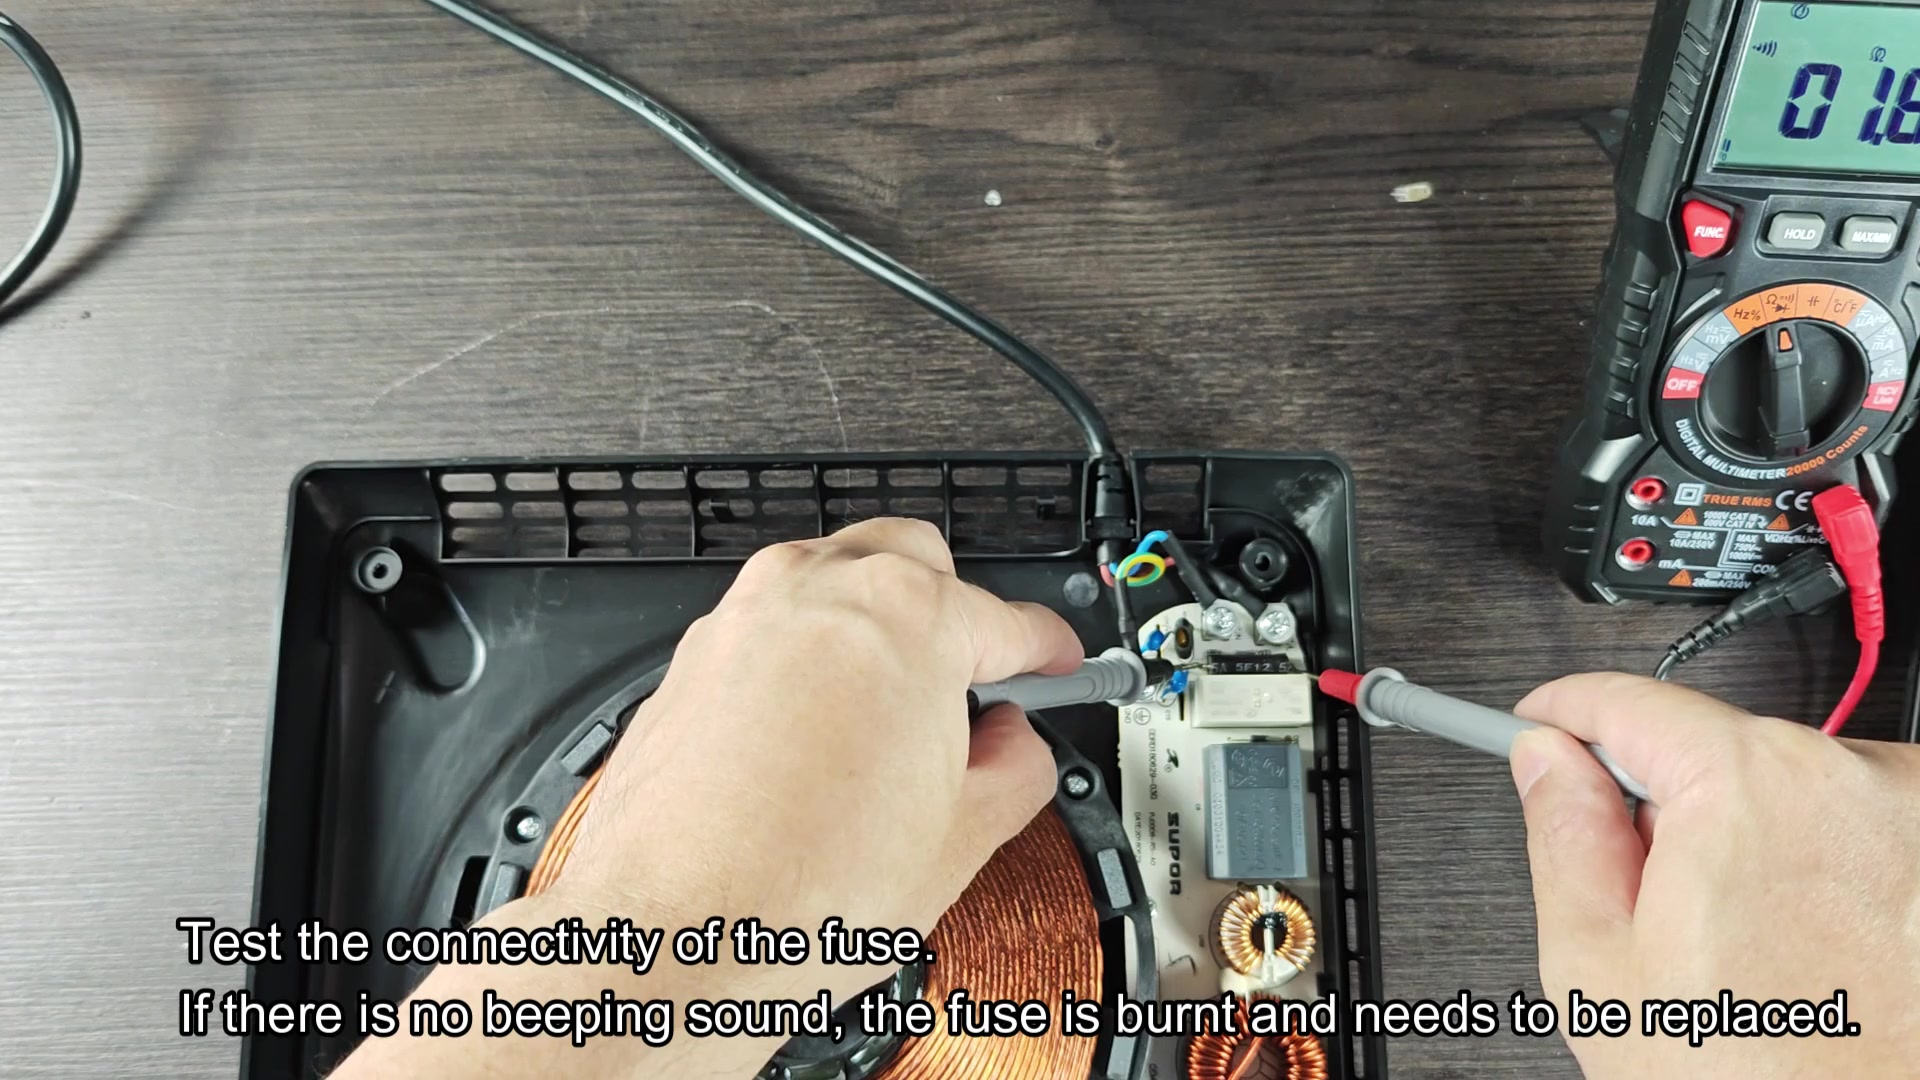
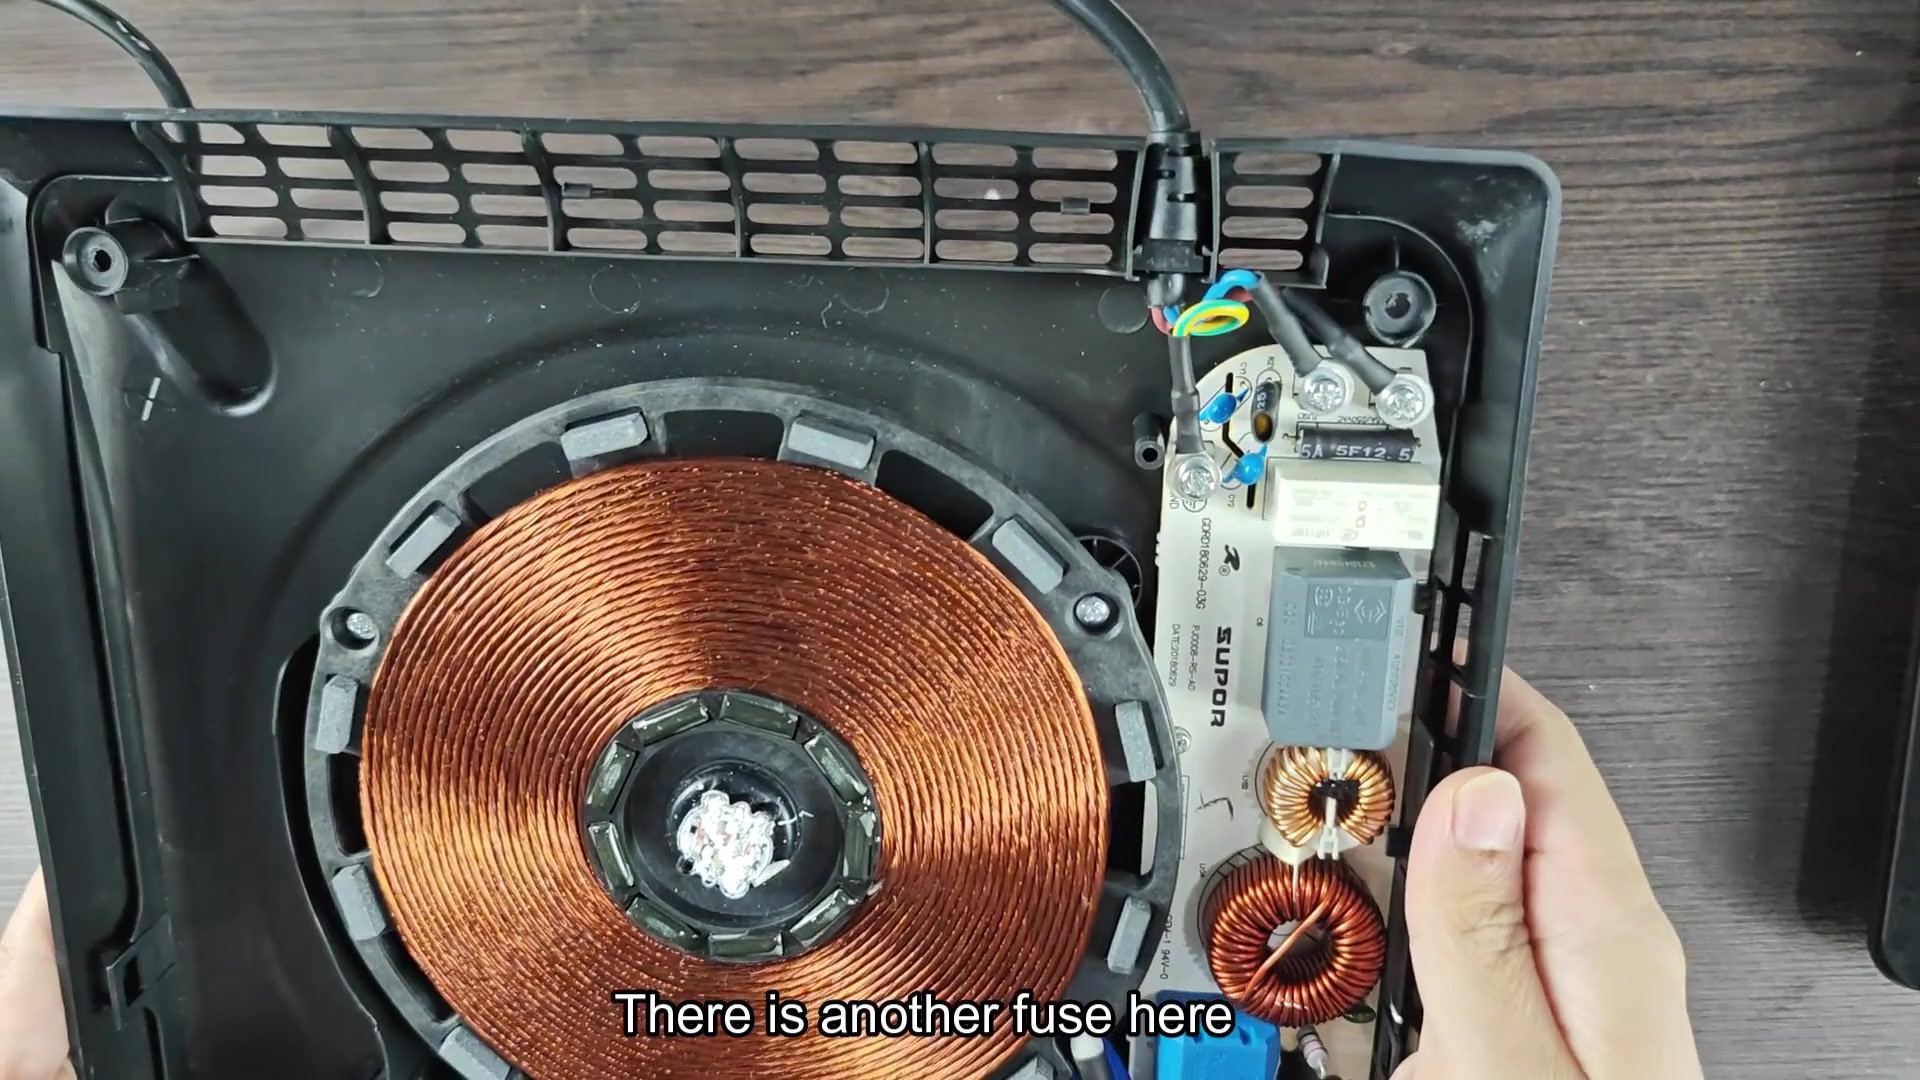
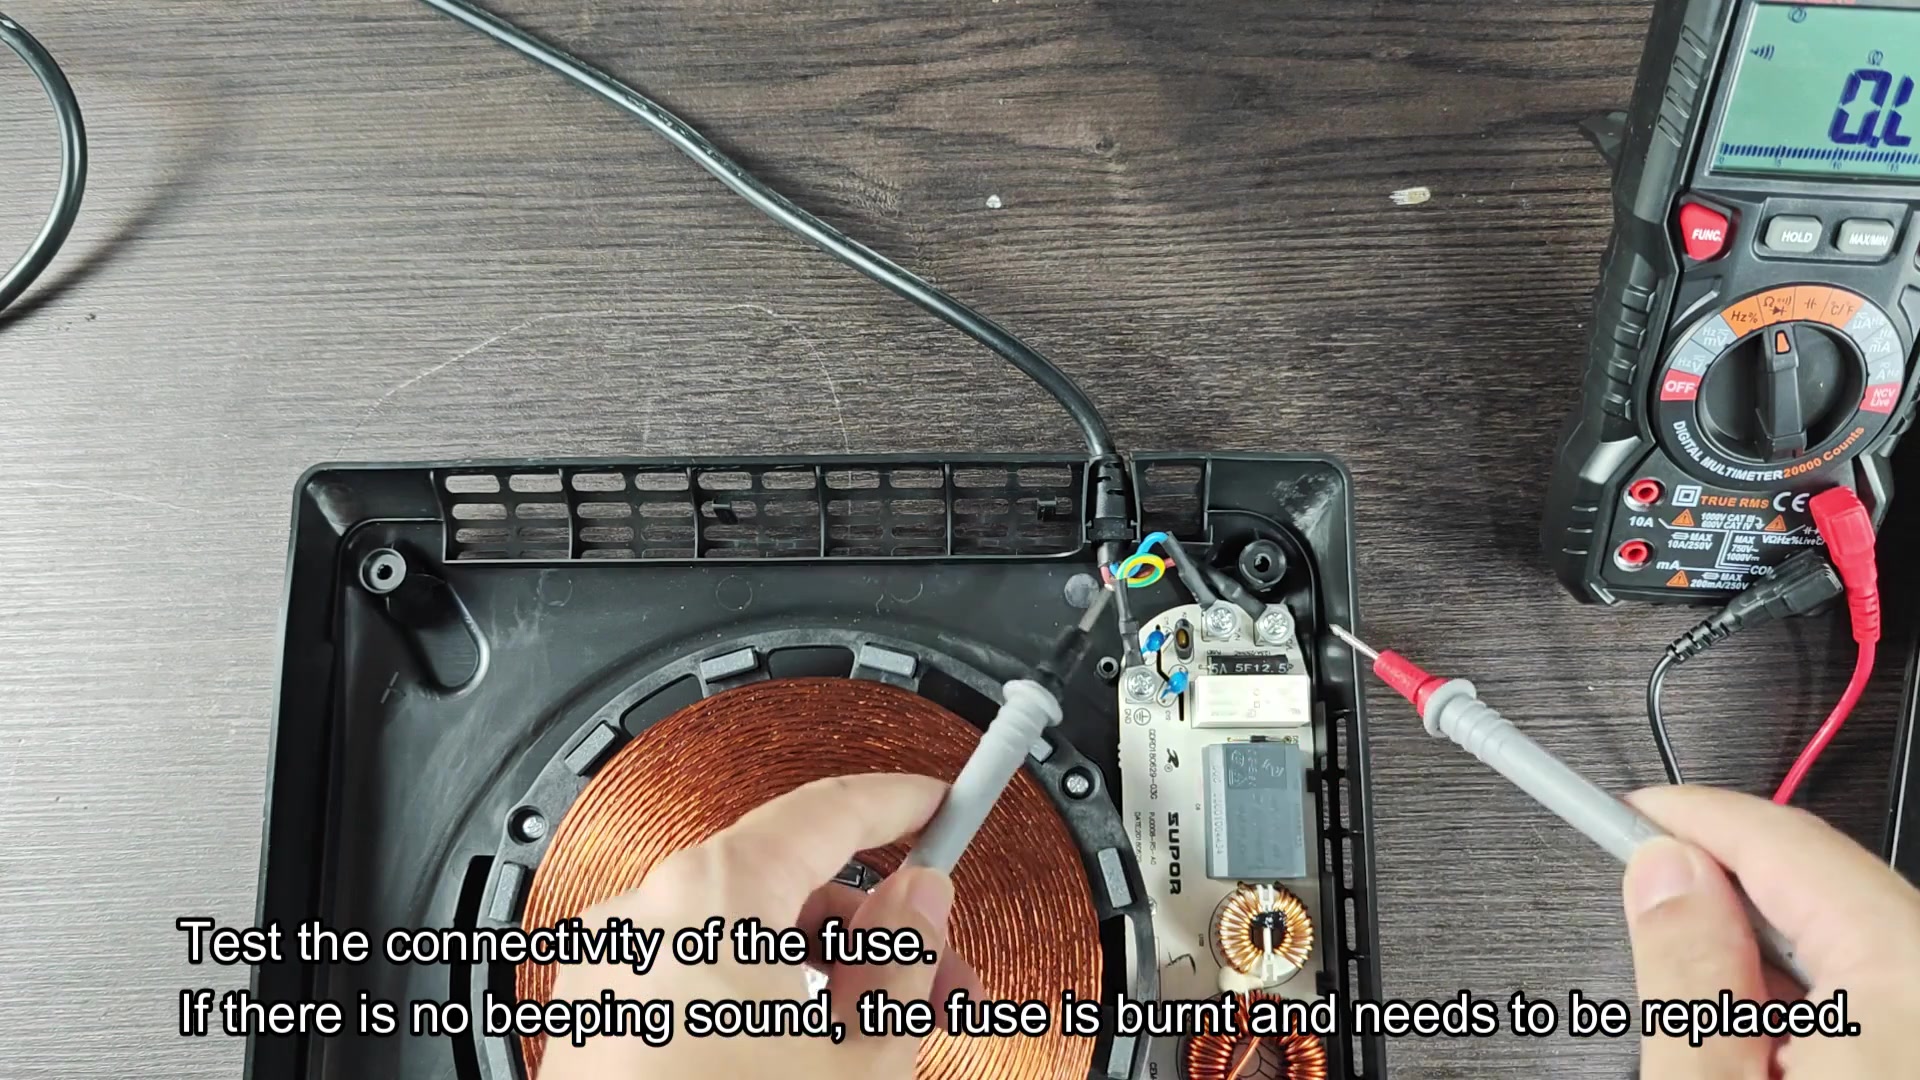
Just below where the power cable plugs into the appliance, you noticed another fuse. This one prevents current spikes reaching the coil by protecting the electronic parts within the cooker itself.
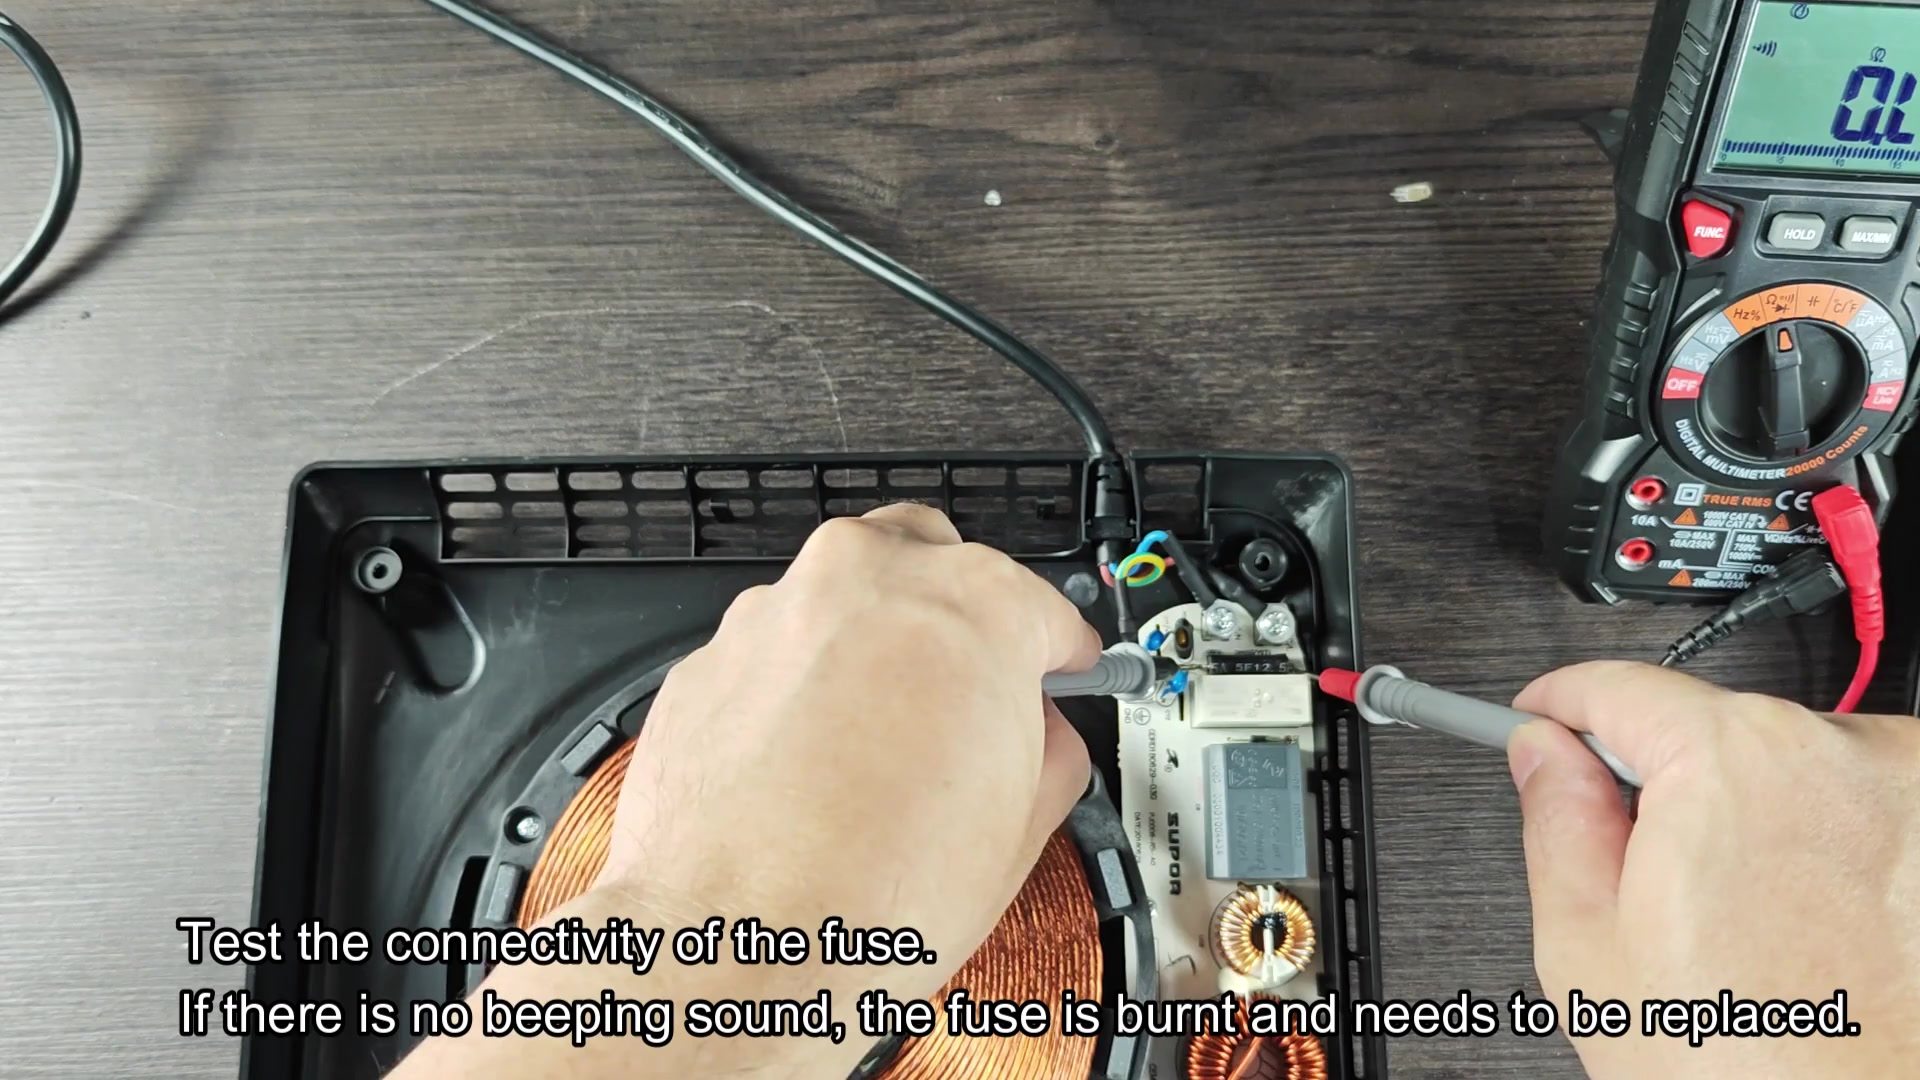
Again, you removed your trusty multimeter and checked this internal fuse too. You tested this fuse for continuity just like you did with the previous external fuse, gently placing the probes across the contact points around the second fuse component. The meter showed the dreaded open loop result: Another burnt-out fuse!
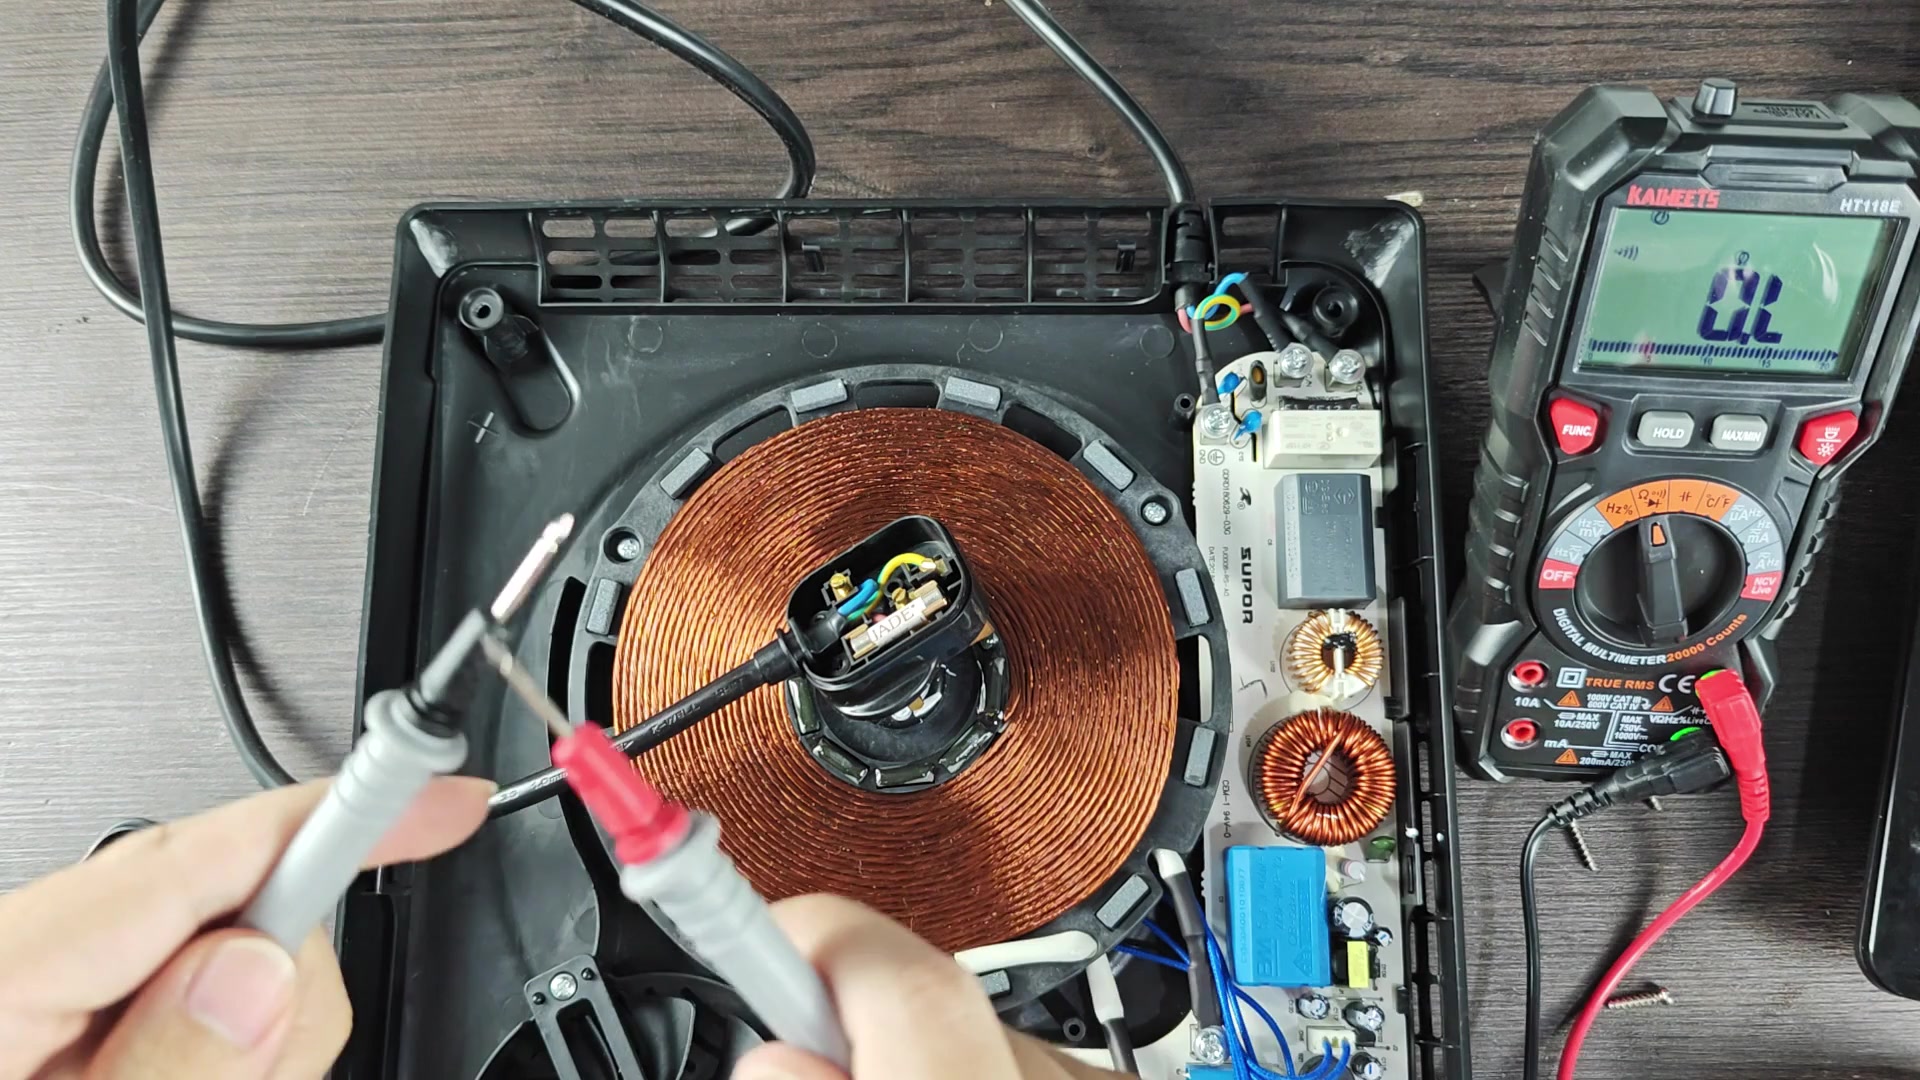
Okay, so now you double-checked continuity one last time to make certain you didn’t put it on wrong. You changed your hand position and measured through the same spots yet again. There was nothing. There was no continuity whatsoever on the display.
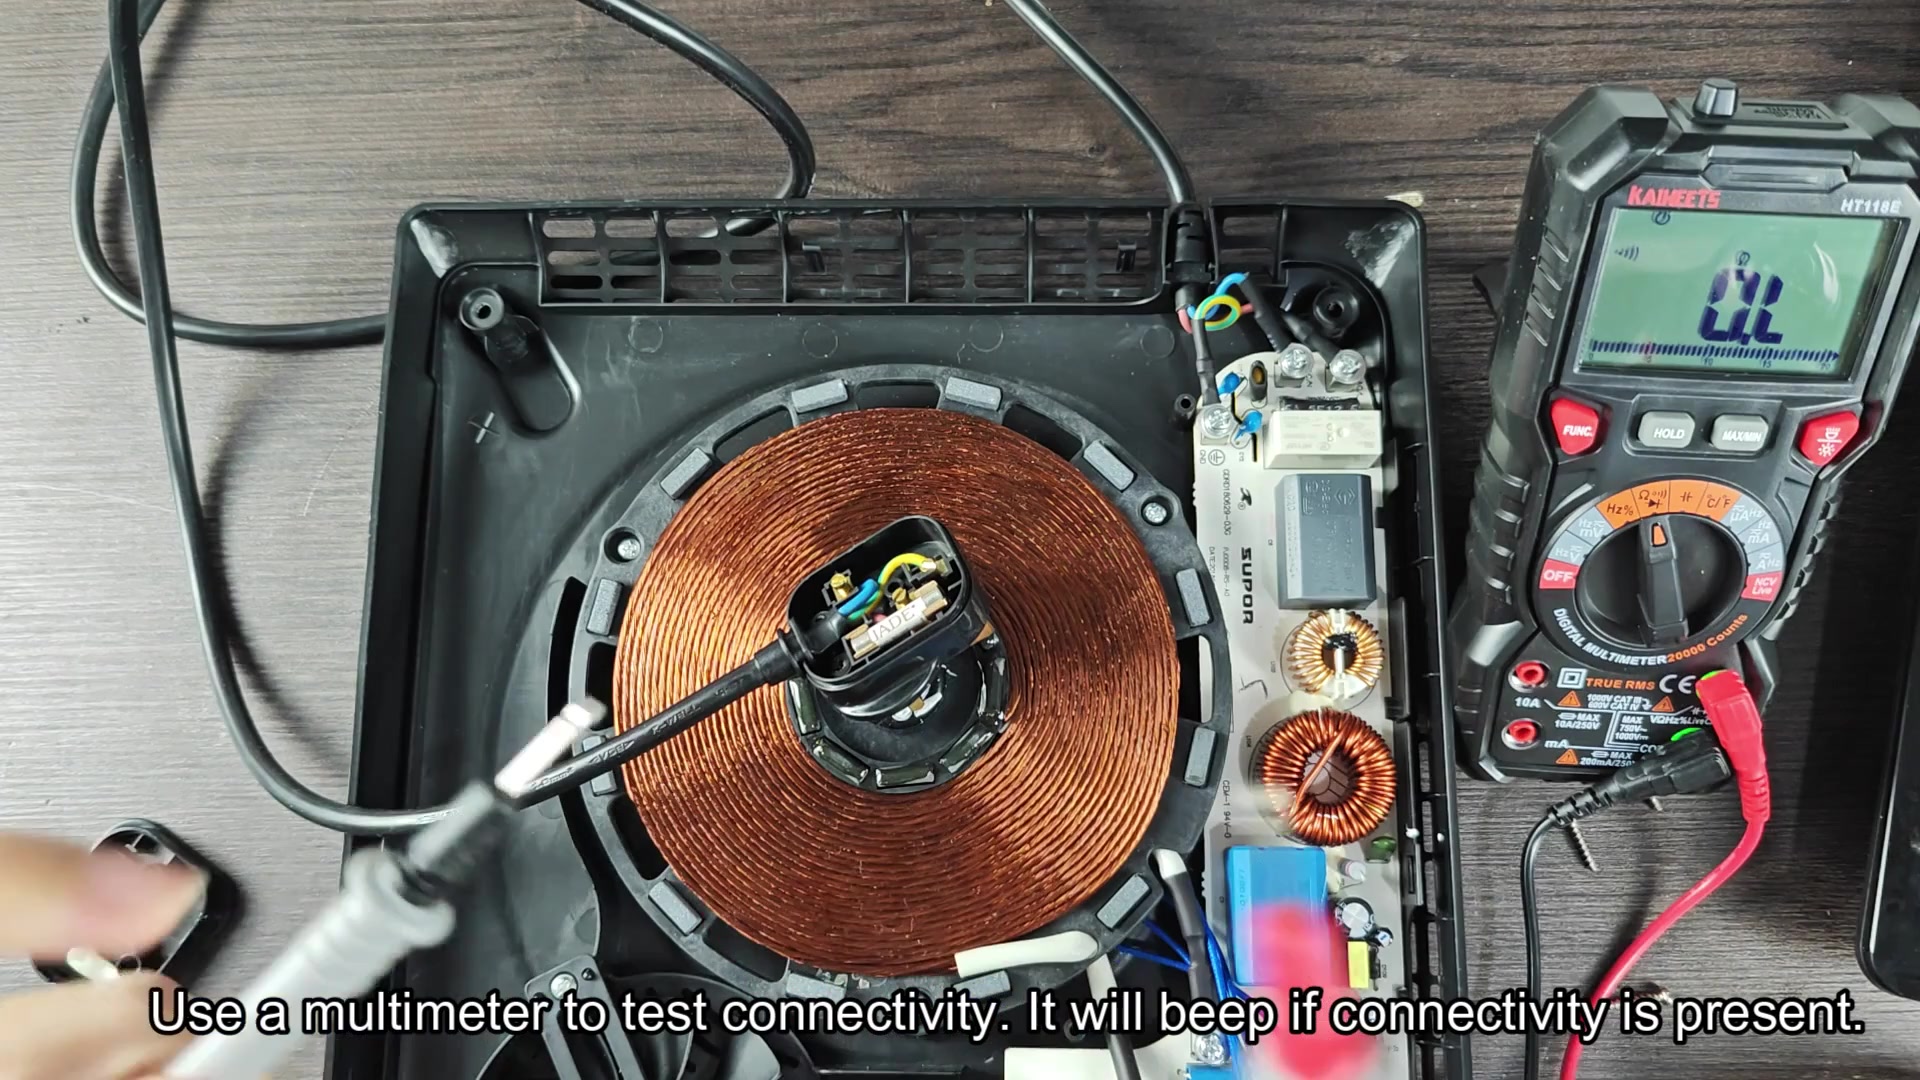
So apparently both fuses had blown either both blew at once or fairly close together. At least now we know where the power problem comes from. So now that you knew which two bad fuse were to blame, the next move was obvious.
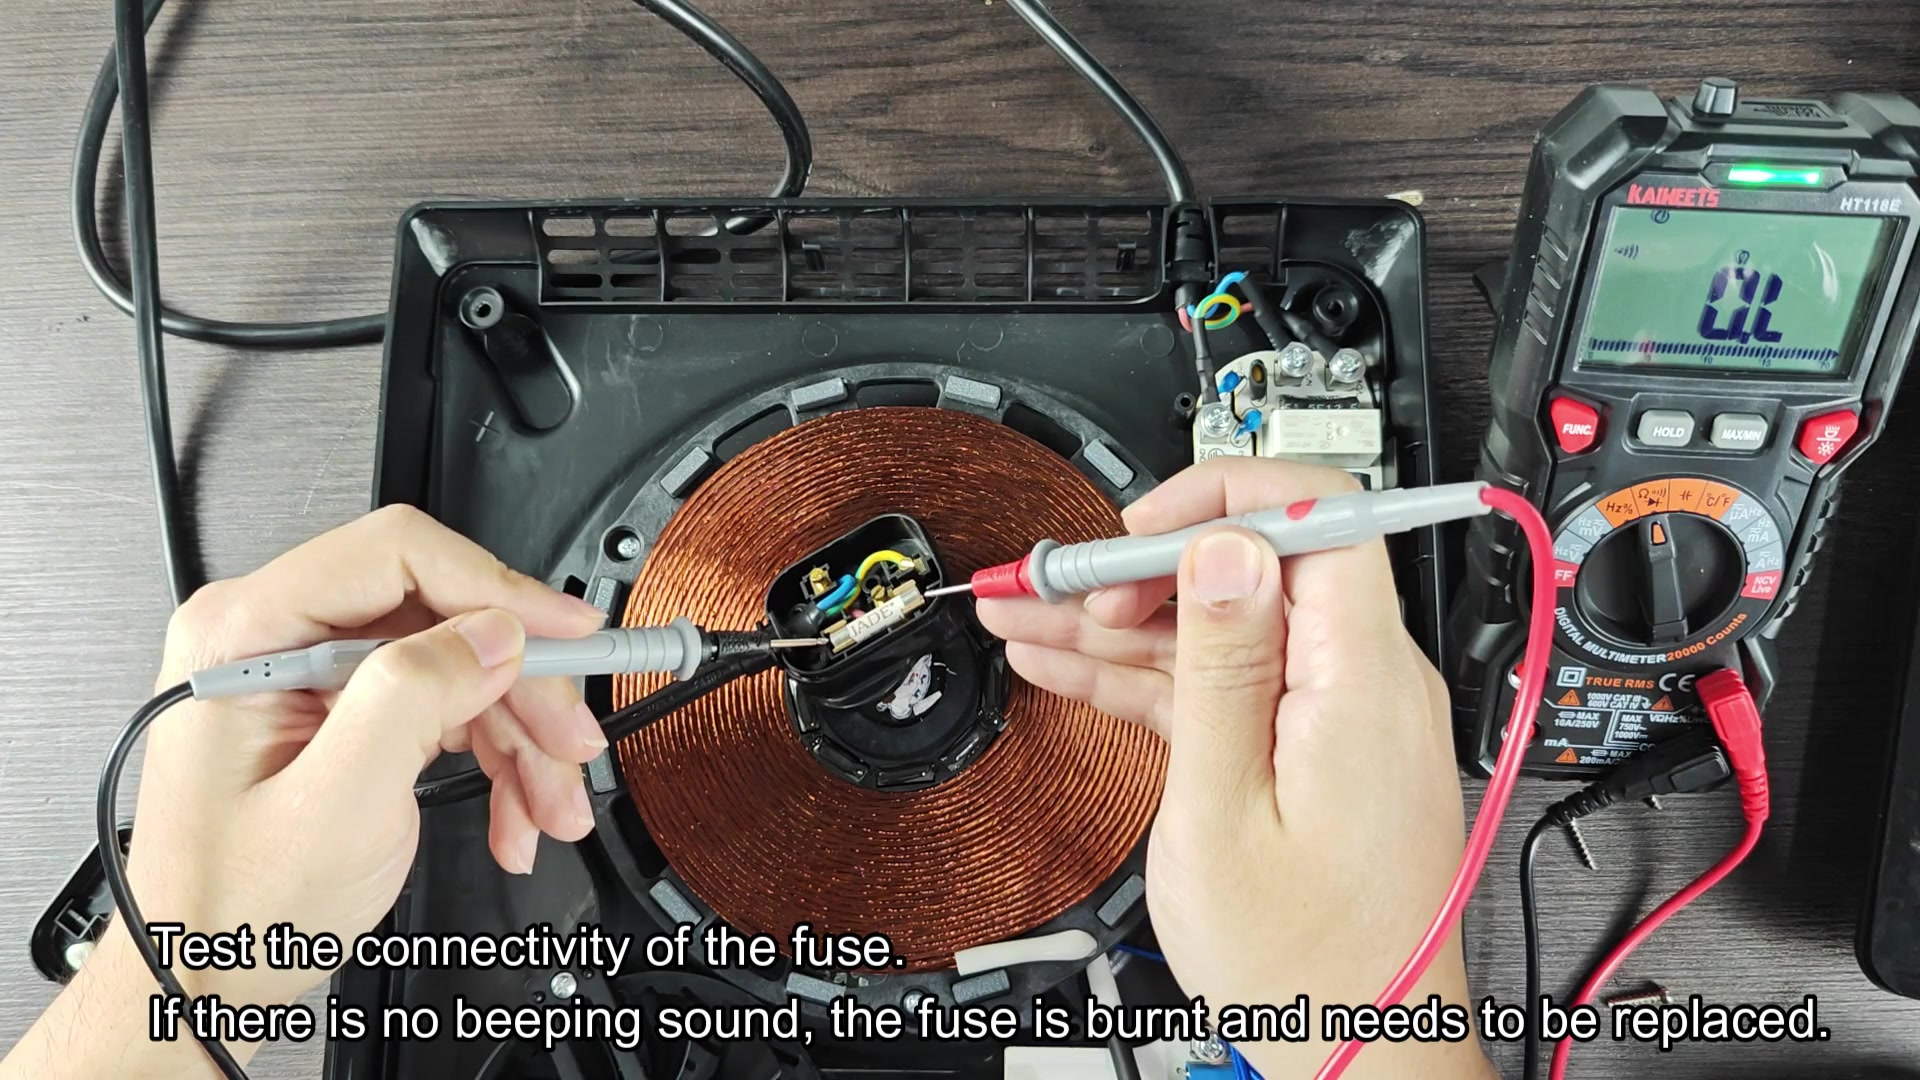
Out they came and in went their identical twins. You weren’t taking chances by swapping in a fuse with a different amperage rating. Instead, you sought an identical replacement for the ones that had burned out. First up was the fuse for the plug because it was the most accessible spot. Next trip was back inside to the fuse inside the boat next to the cable entry.
With great care, you reassembled the unit and ensured every screw was nice and tight. You plugged it back in the wall outlet, turned it around so that the appliance sat upright again, then pushed the power button once more.
Immediately, the screen lit up with the logo of the brand name. Slow cook, stir fry and other presets displayed on the screen. After swapping out just two small but important parts, the cooker instantly responded to your touch.
You selected a temperature setting and heard the fan spin up inside its chassis. As expected, the induction coil started heating up in order to cook. After replacing these two key parts, everything worked perfectly.