If your coffee is cold, then there’s more to it than just inconvenience. Sure, the exterior of the De’Longhi machine seemed fine; but when I went to brew some espresso, it wasn’t hot, it was lukewarm. Is it possible that something’s wrong with heating element?
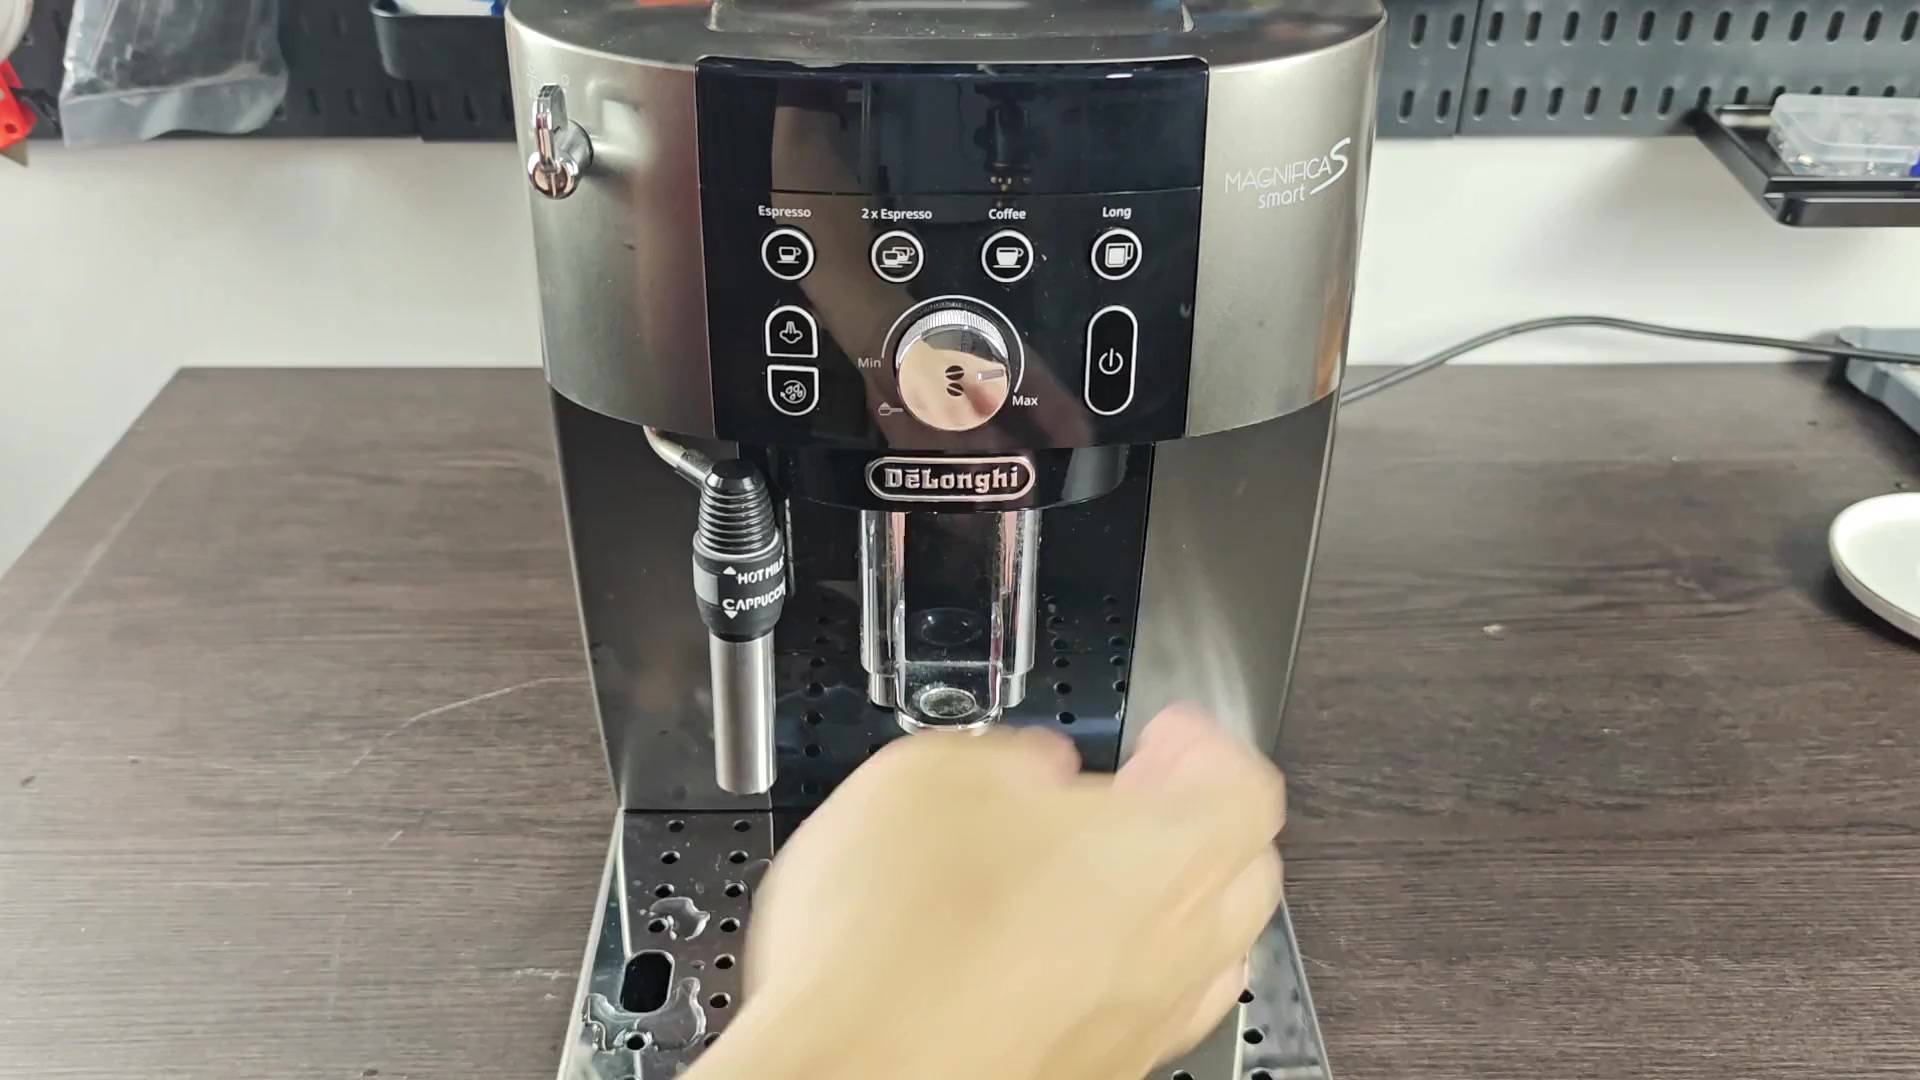
Before proceeding to disassemble this thing I would definitely suggest unplugging it from the wall outlet. You don’t want to be electrocuted, just common sense here.
Diagnosing The Heating Issue
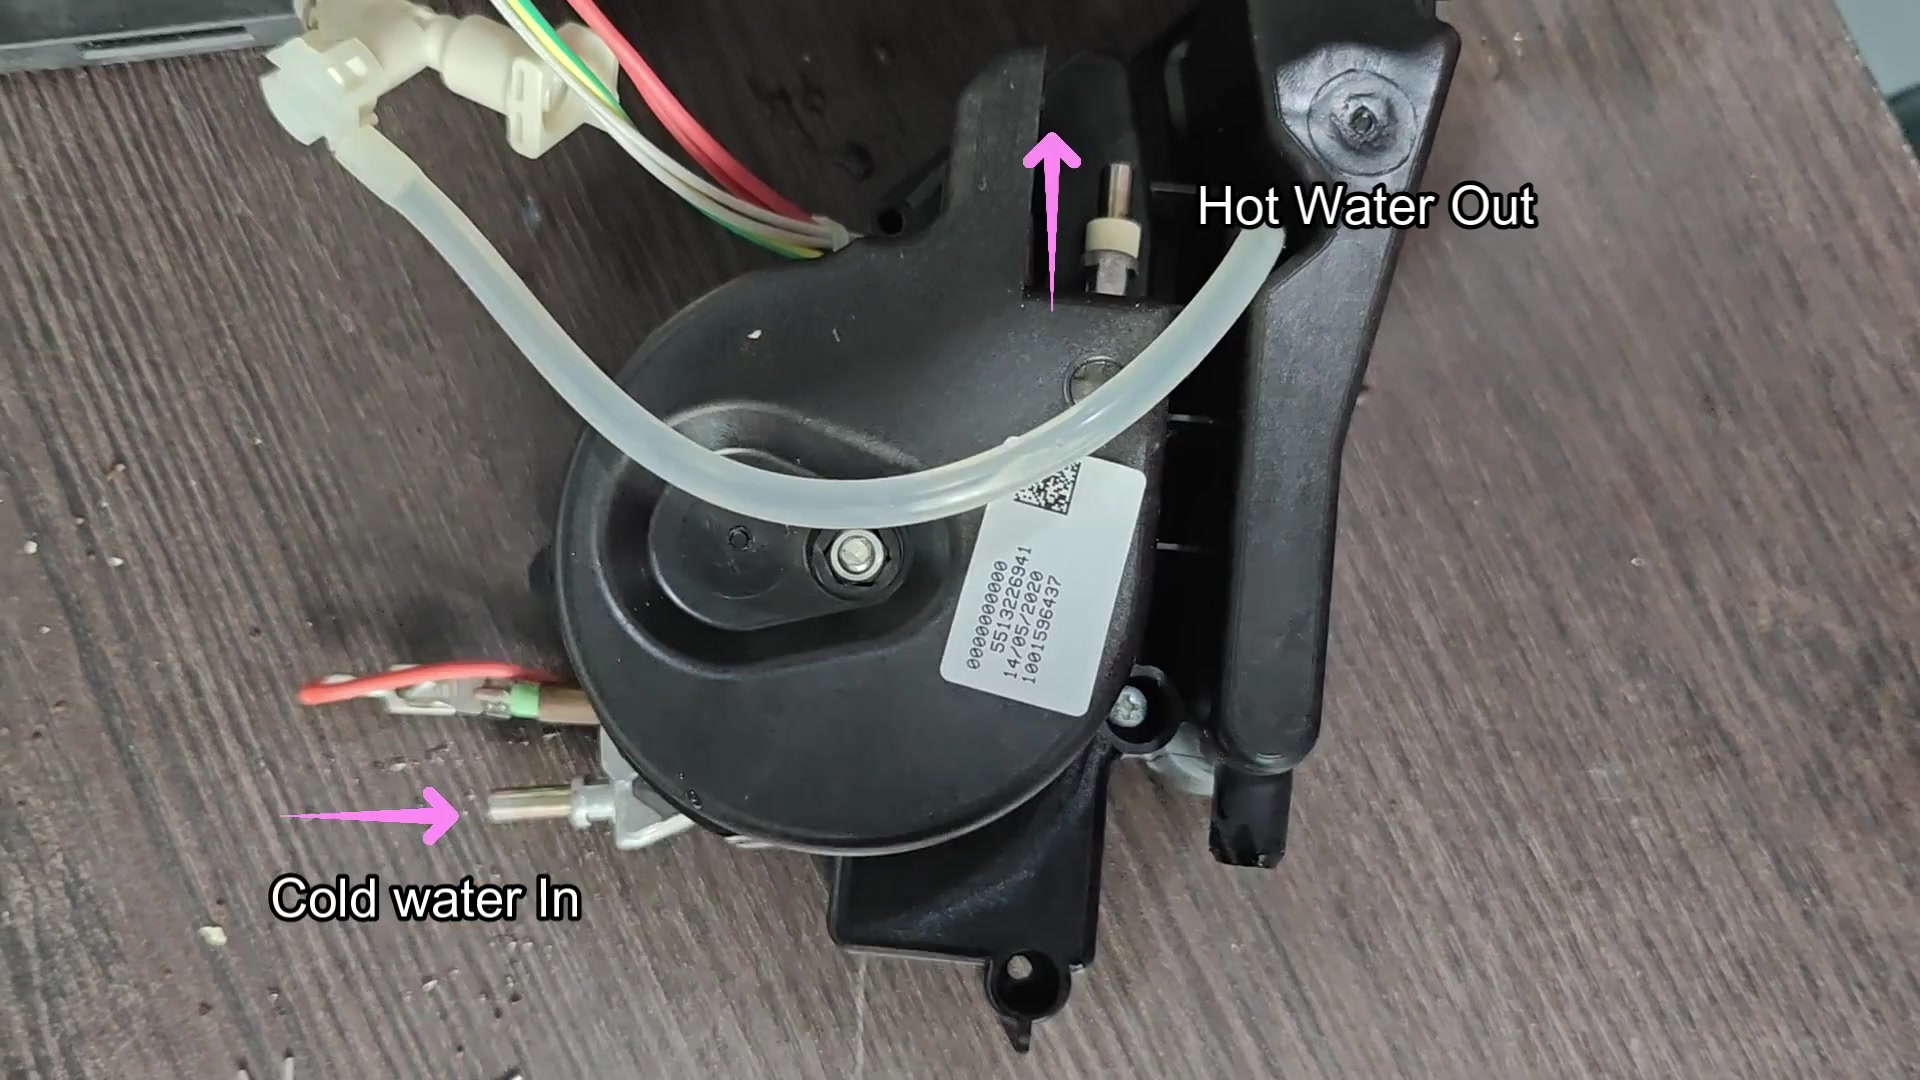
Use a screwdriver and go at it until all exterior covers are removed. After doing that you’ll see how everything inside is set up. The heater are located on the side of the main body.
Now you’ll have to look beyond tubing and wiring to find the part in question. Head towards the lower right side of the inside, where the heater is located.
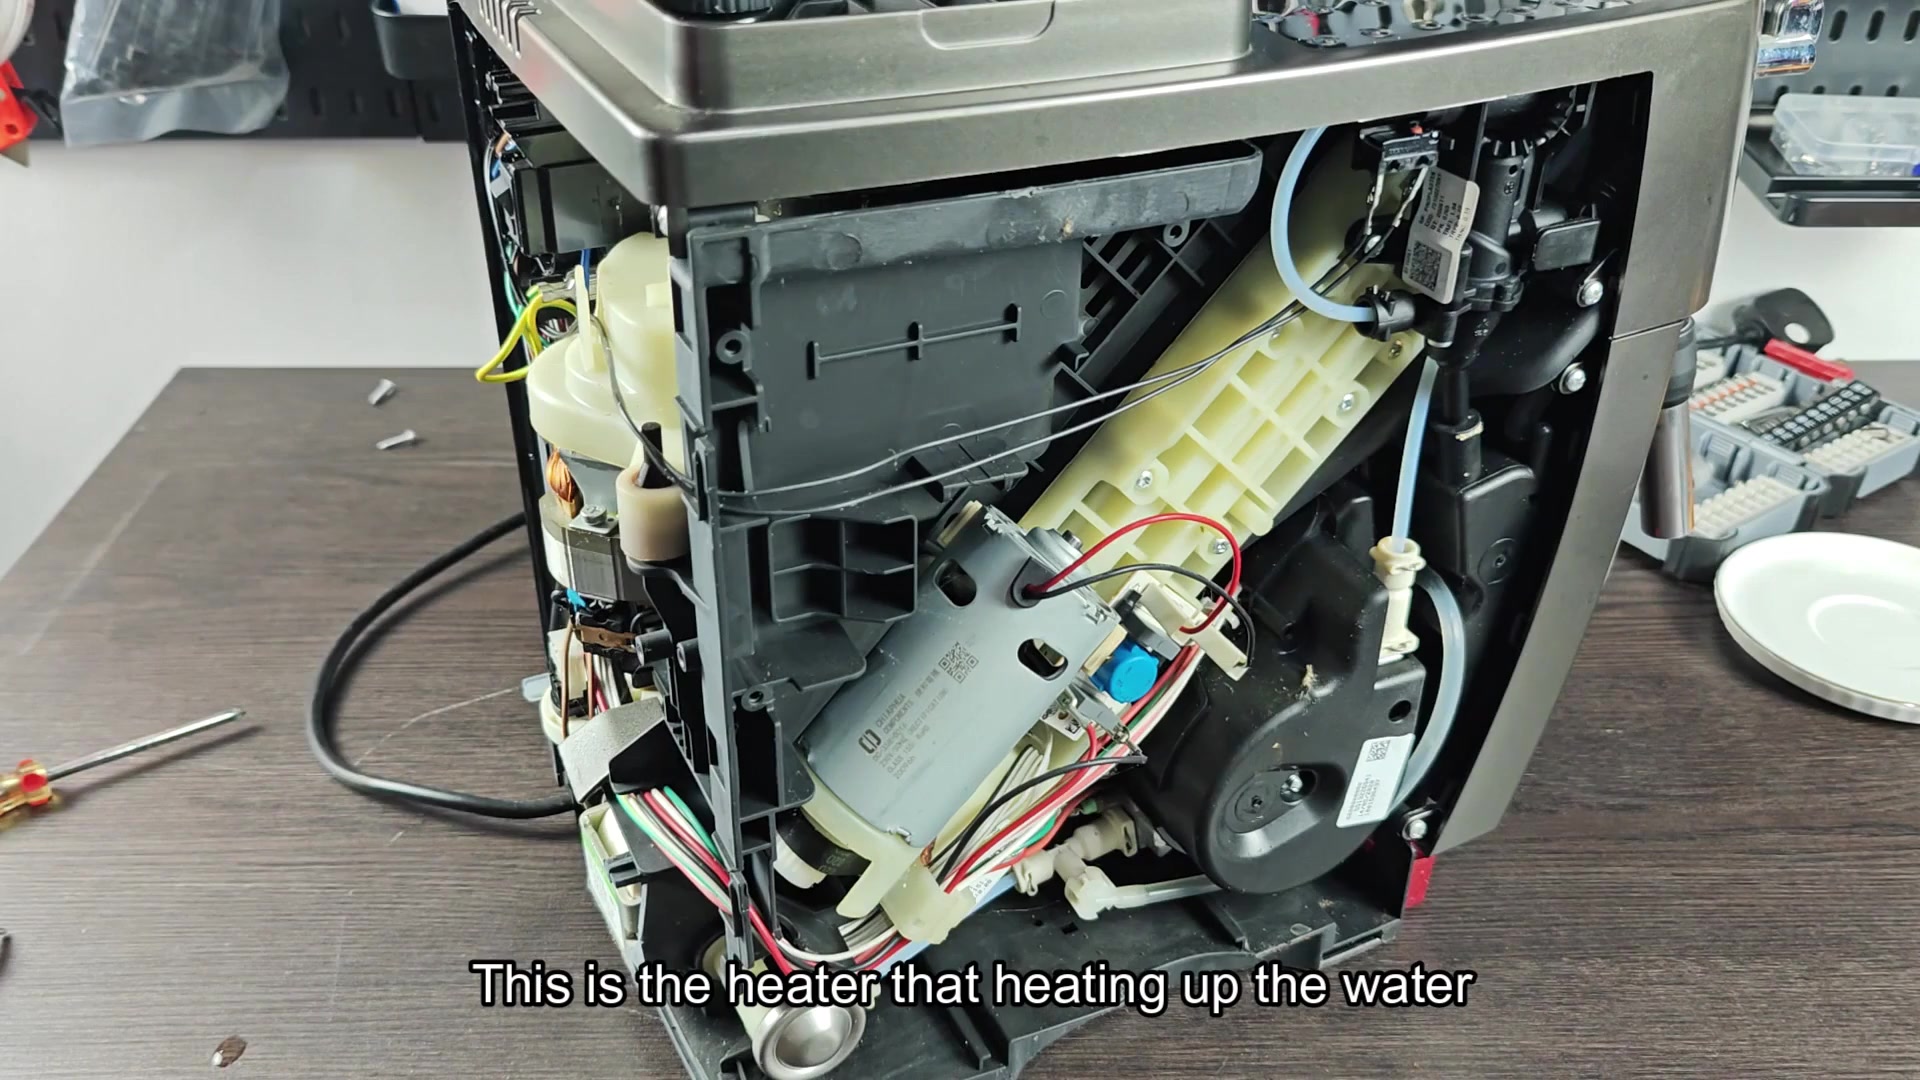
The heater itself appear as a small metallic box that has some wires sticking off of it, this is the thing that heats up your water before it’s extracted. This is the first true clue.
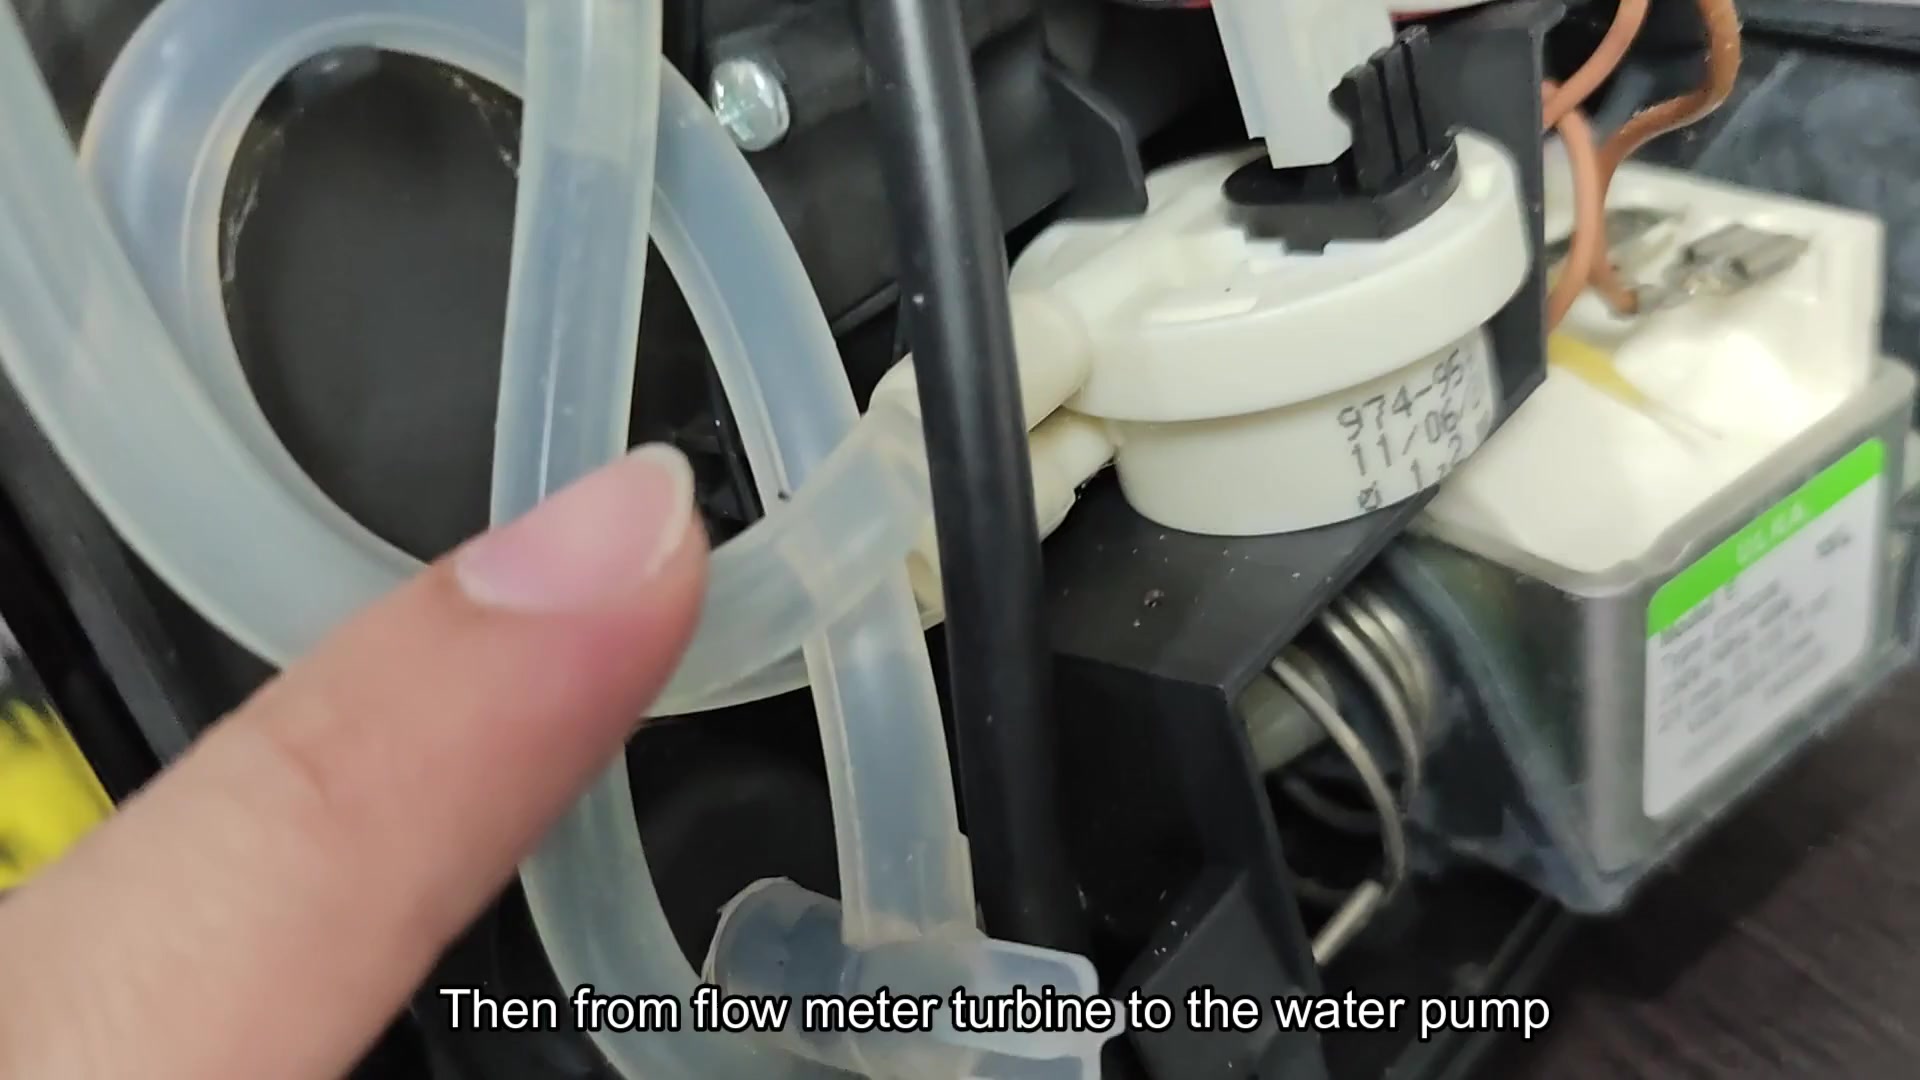
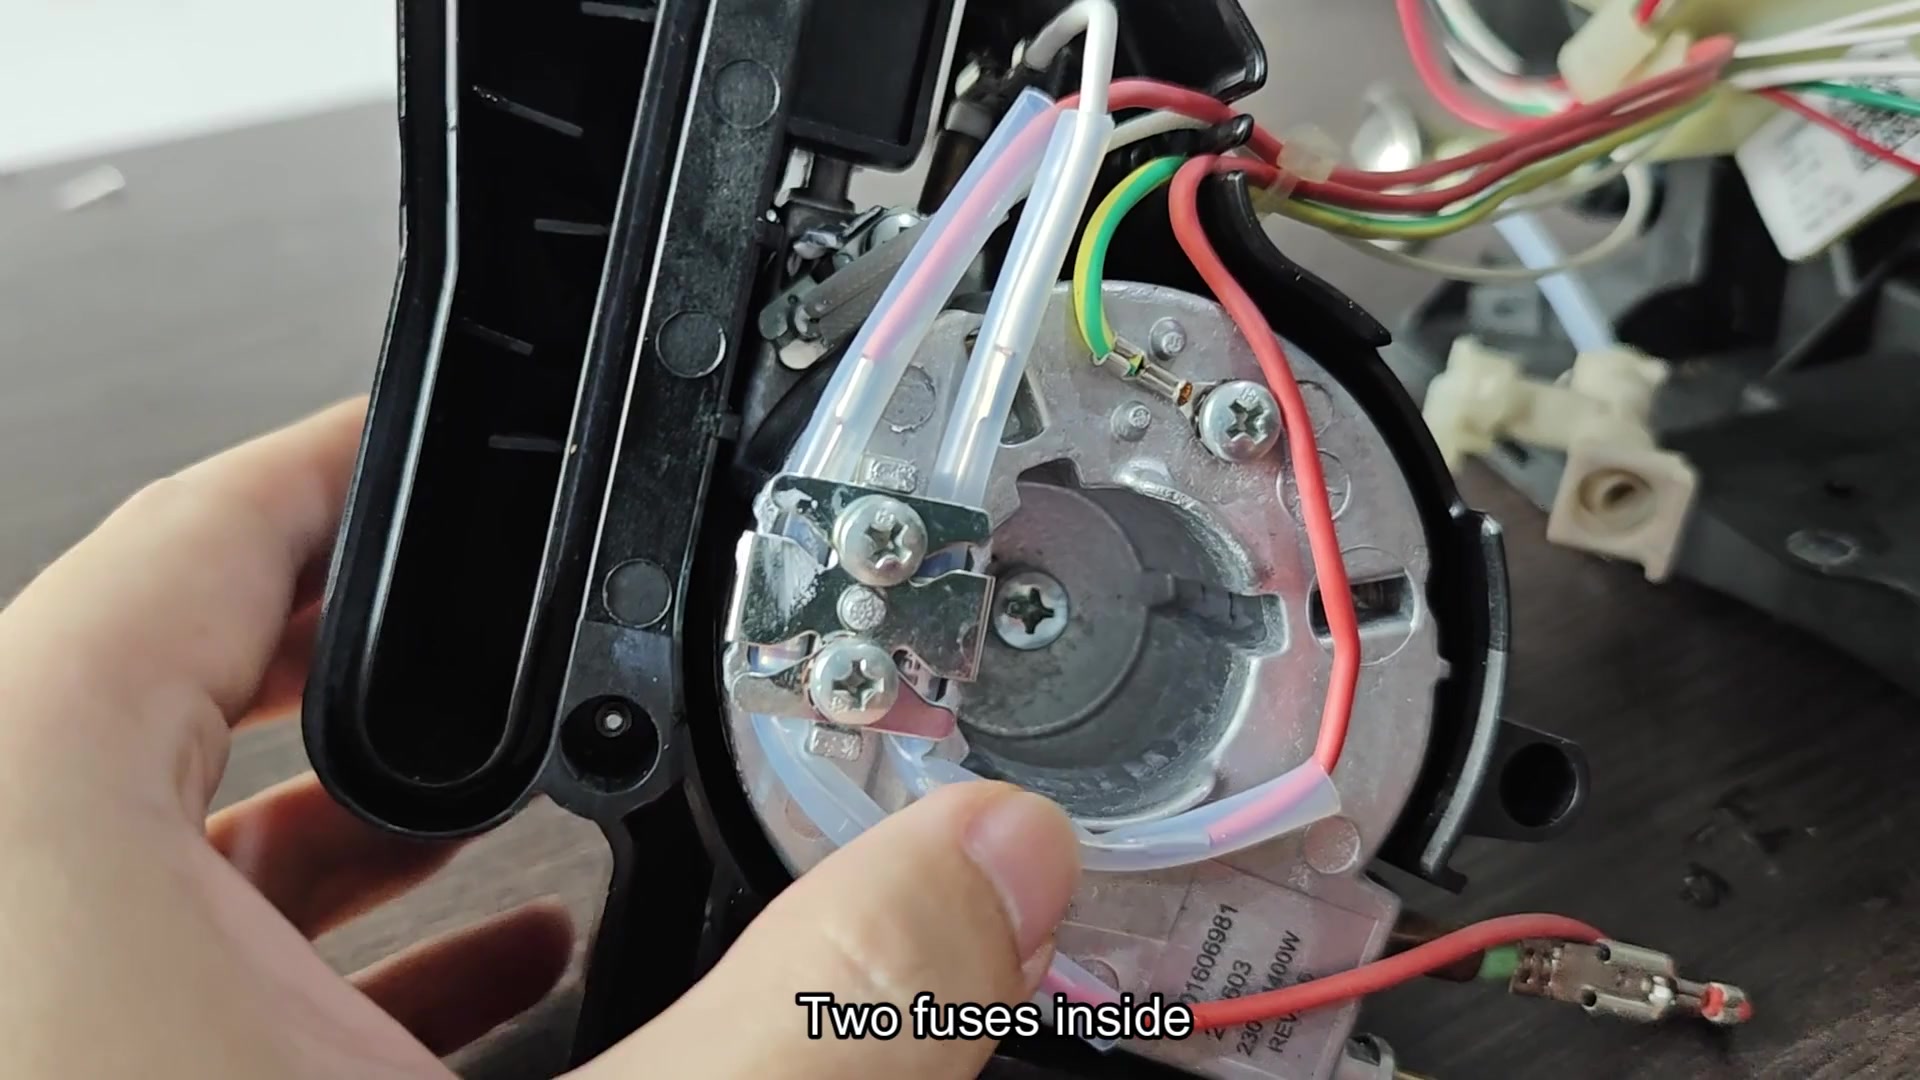
To do that right now, unplug the unit from the wall outlet! You’ll need to unscrew a couple of tiny screws holding the heater assembly together. Part it just a little bit so that you can realy take a look at what’s happening on the connection side.
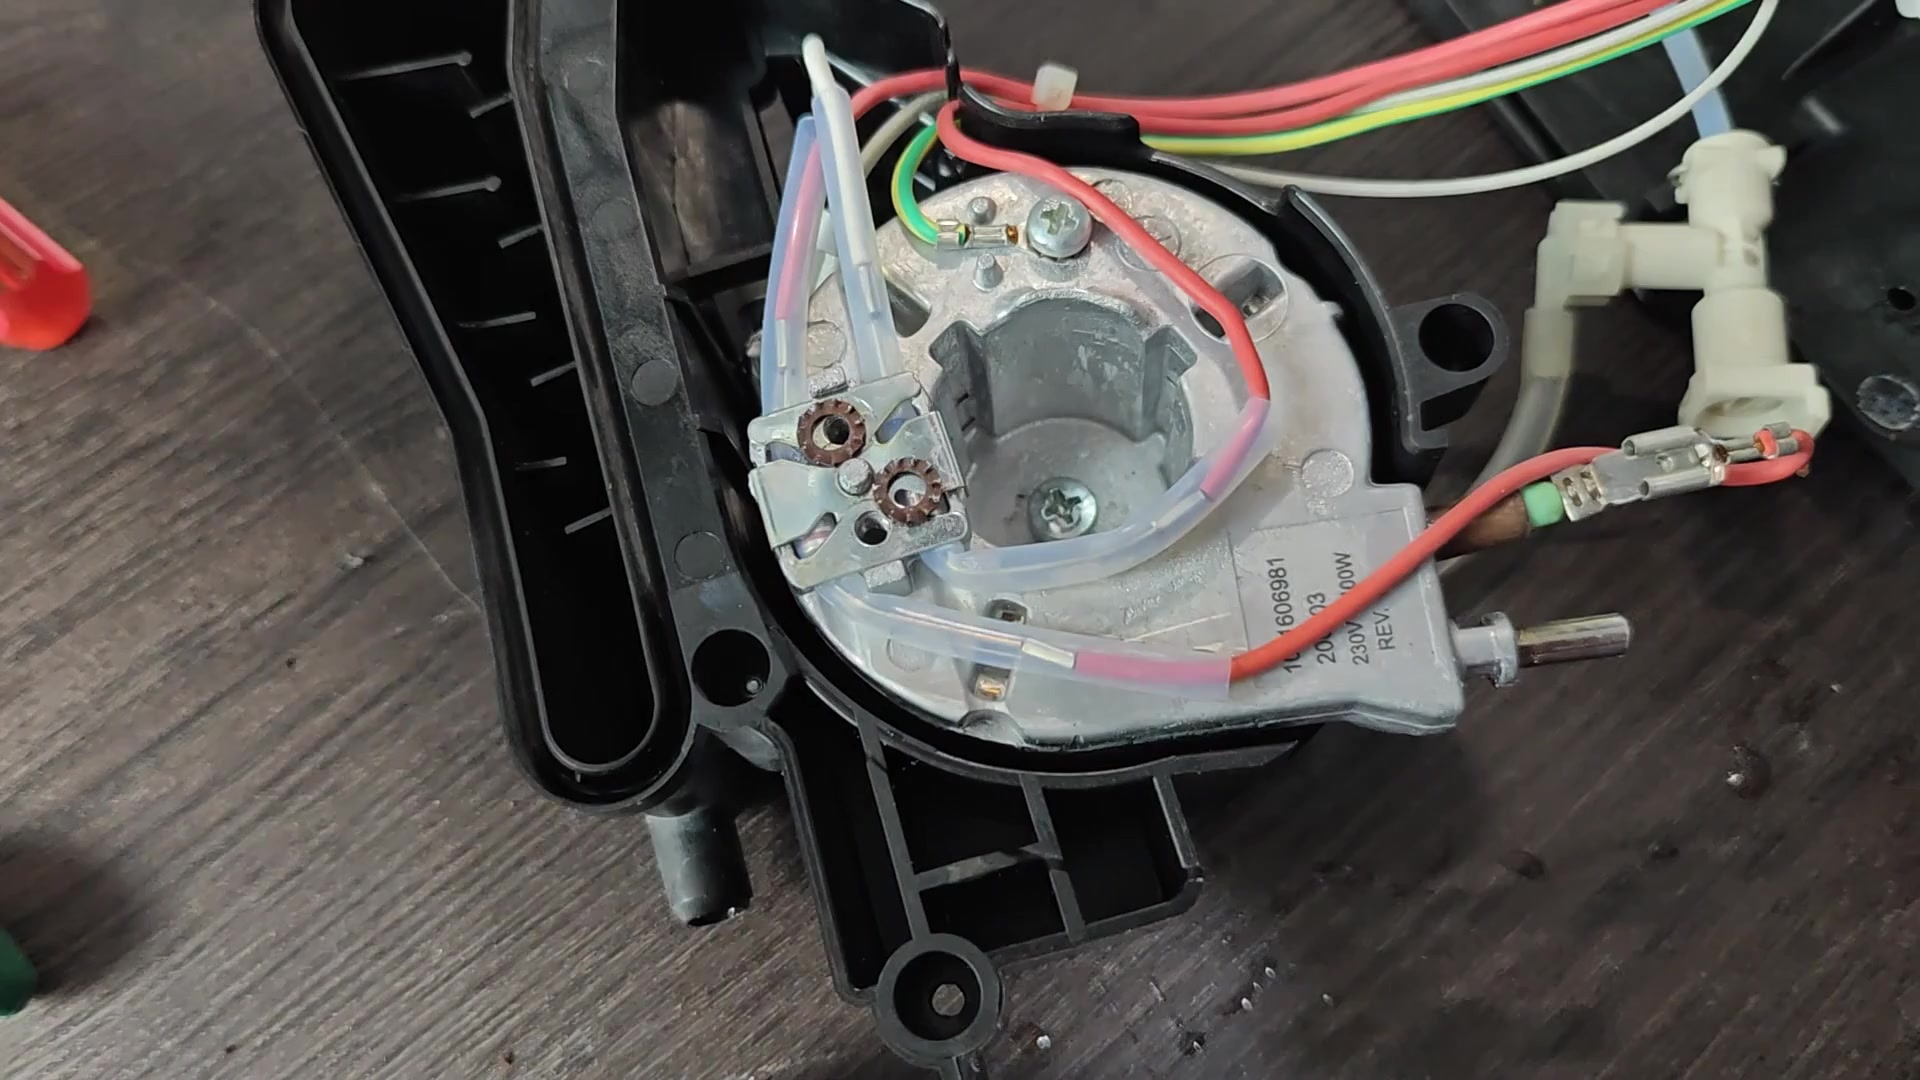
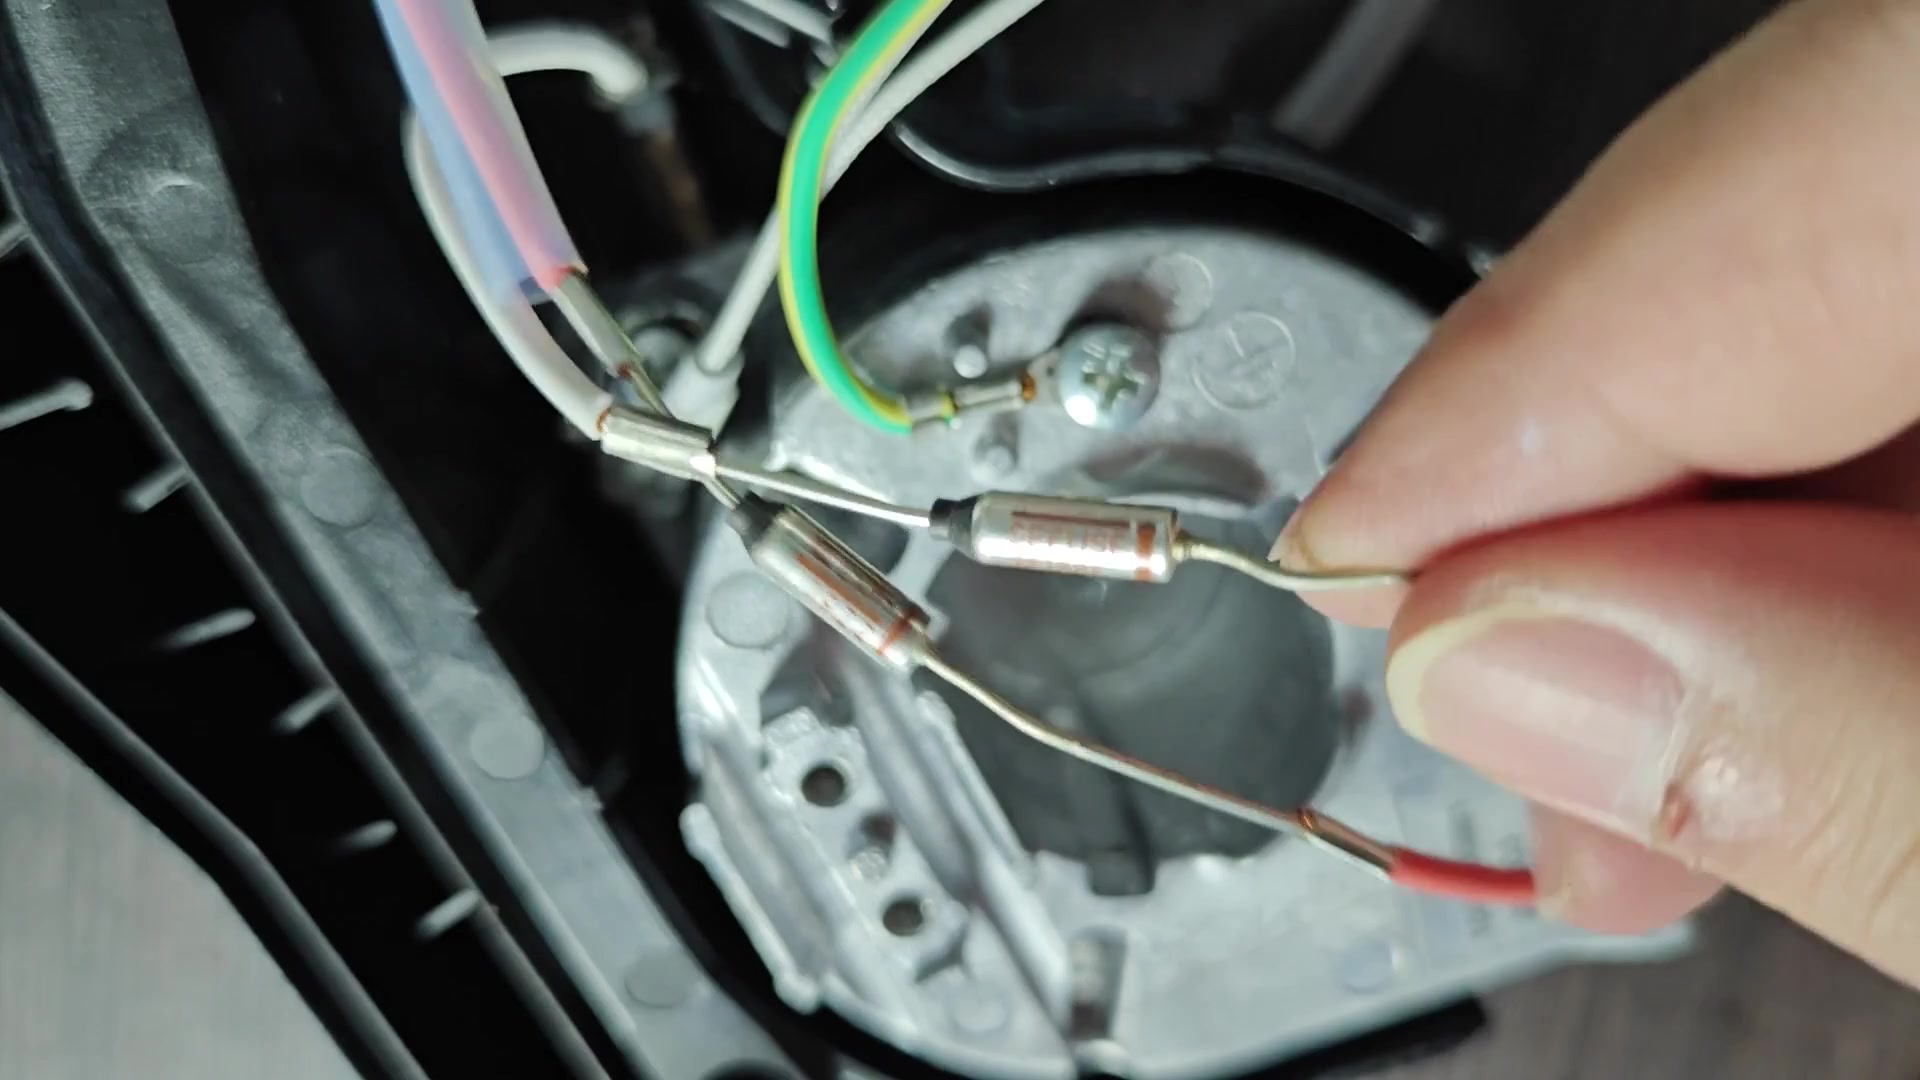
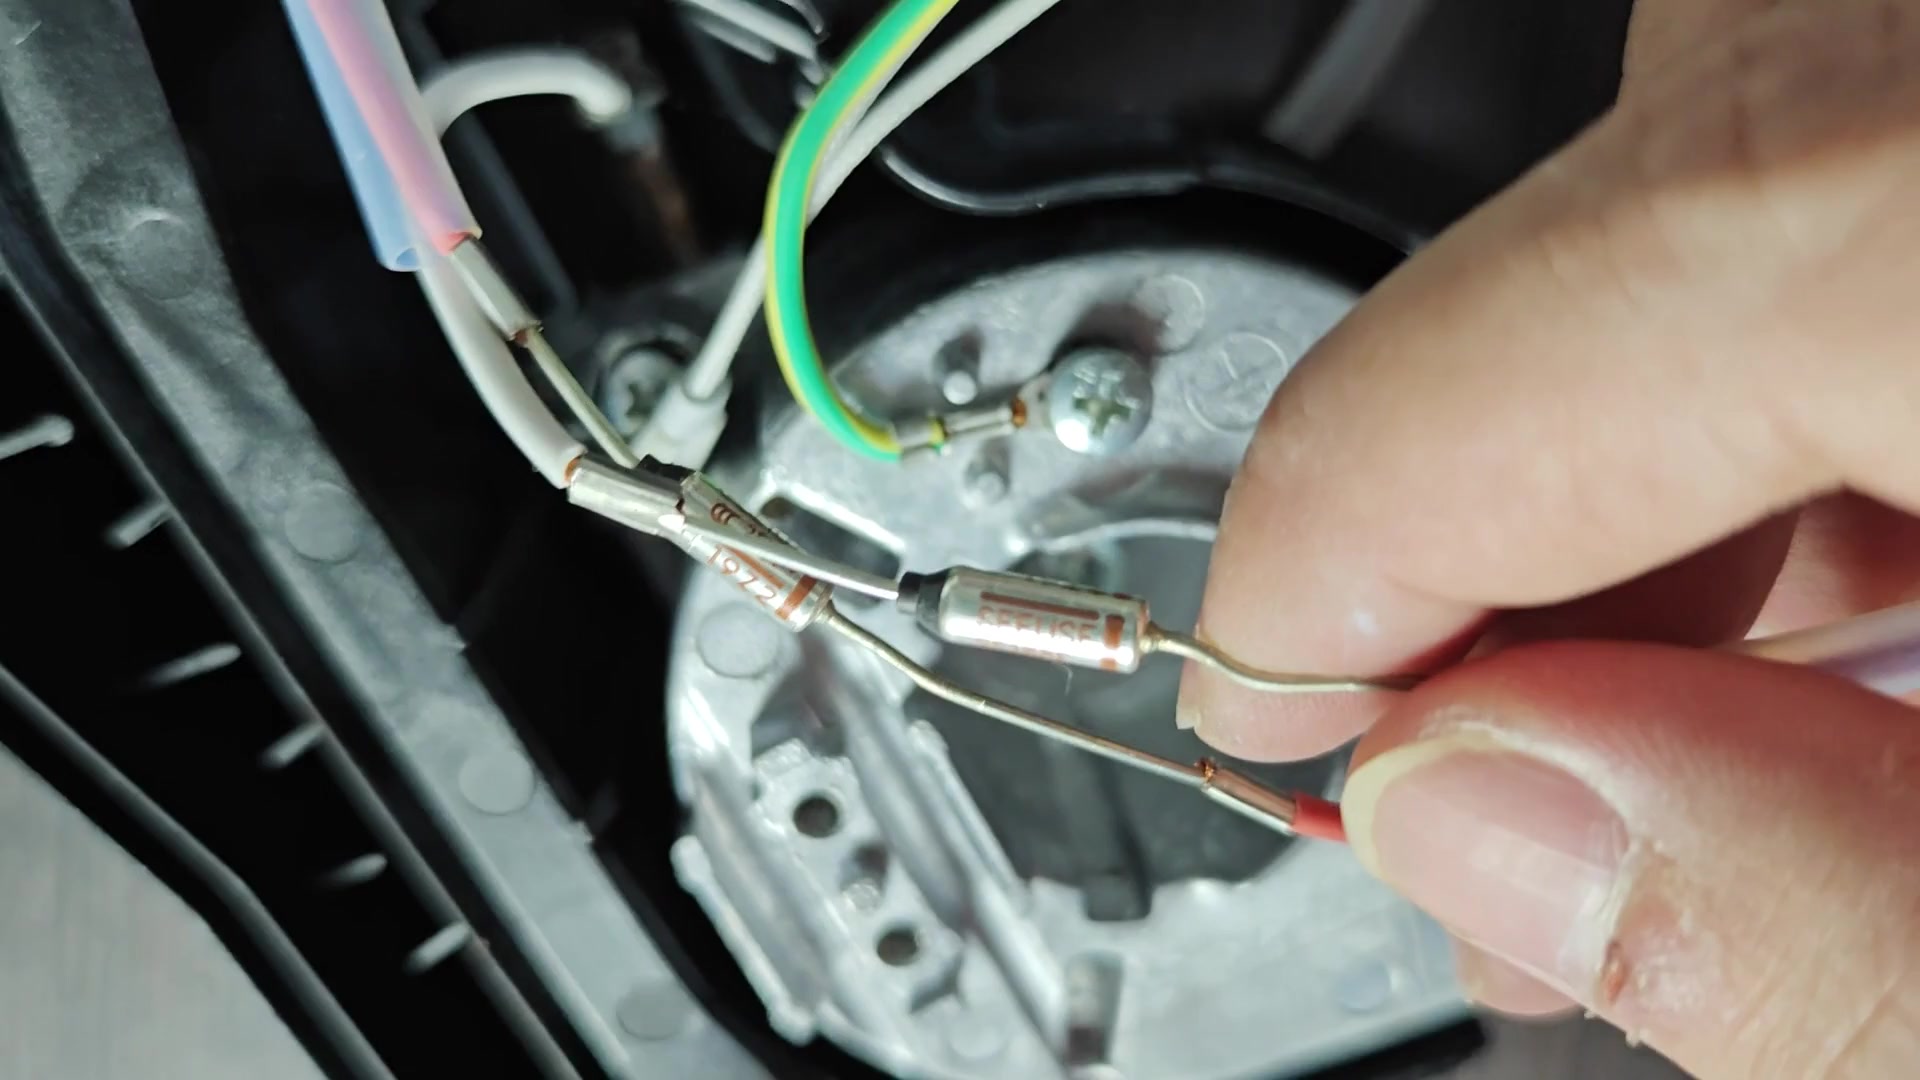
Two fuses is held directly to the heater terminals. They are critical for both circuit function and safety. Pull them loose enough so you can clearly see how they looks.
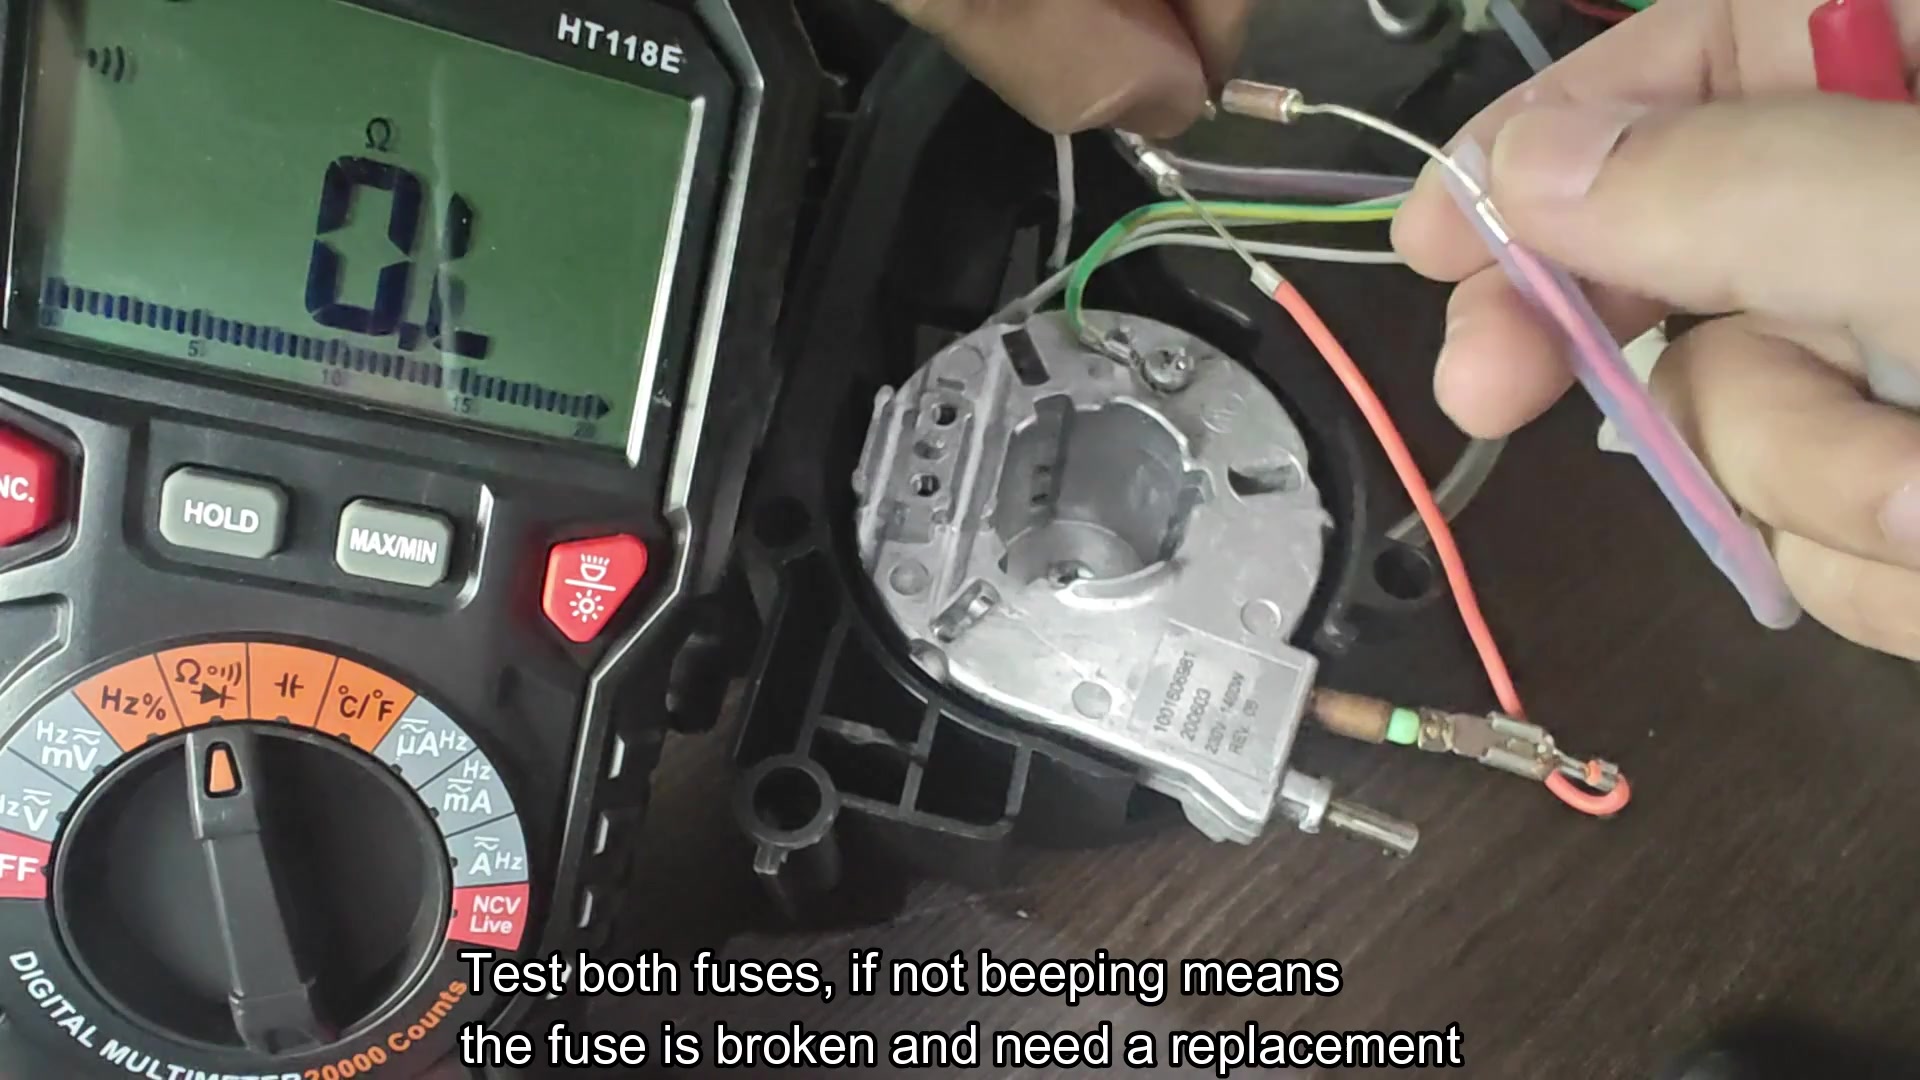
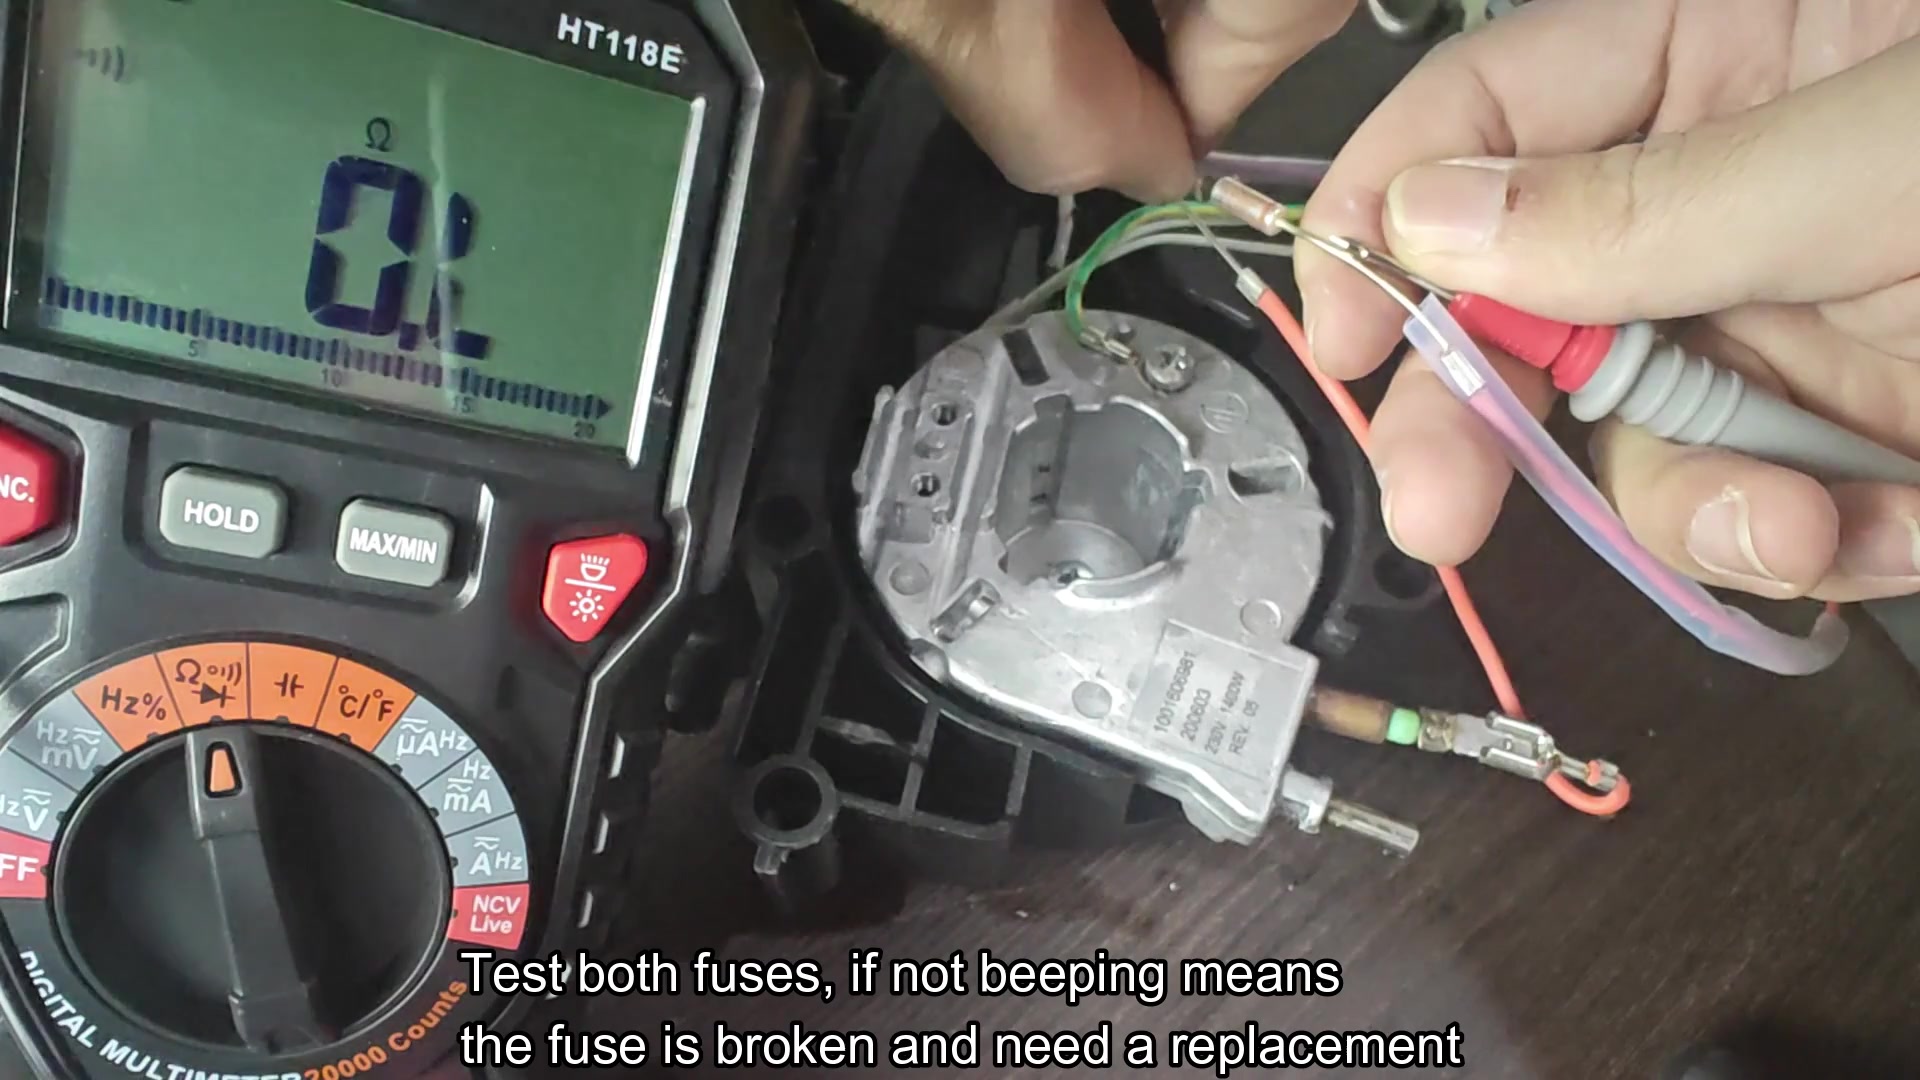
To help diagnose any electric problem, visual inspection has its limits. Next, I suggest picking up a multimeter and testing for continuity on your fuses. Make sure it’s set in the proper mode (you’ll want to touch the probes to each end of respective fuse) before making contact. My reading on the first fuse was very near zero ohms.
If the reading is low, then that’s a good sign, the circuit is intact and it’s conducting electricity. But just because one fuse checks out doesn’t mean you’re home free. Sometimes only one will fail while the other remains perfectly fine. Check both fuses to ensure you don’t skip over a broken link.
No need to complicate things. The entire story happens in front of your eyes on the multimeter’s display. A readout of no beep and/or an open loop mean a dead component.
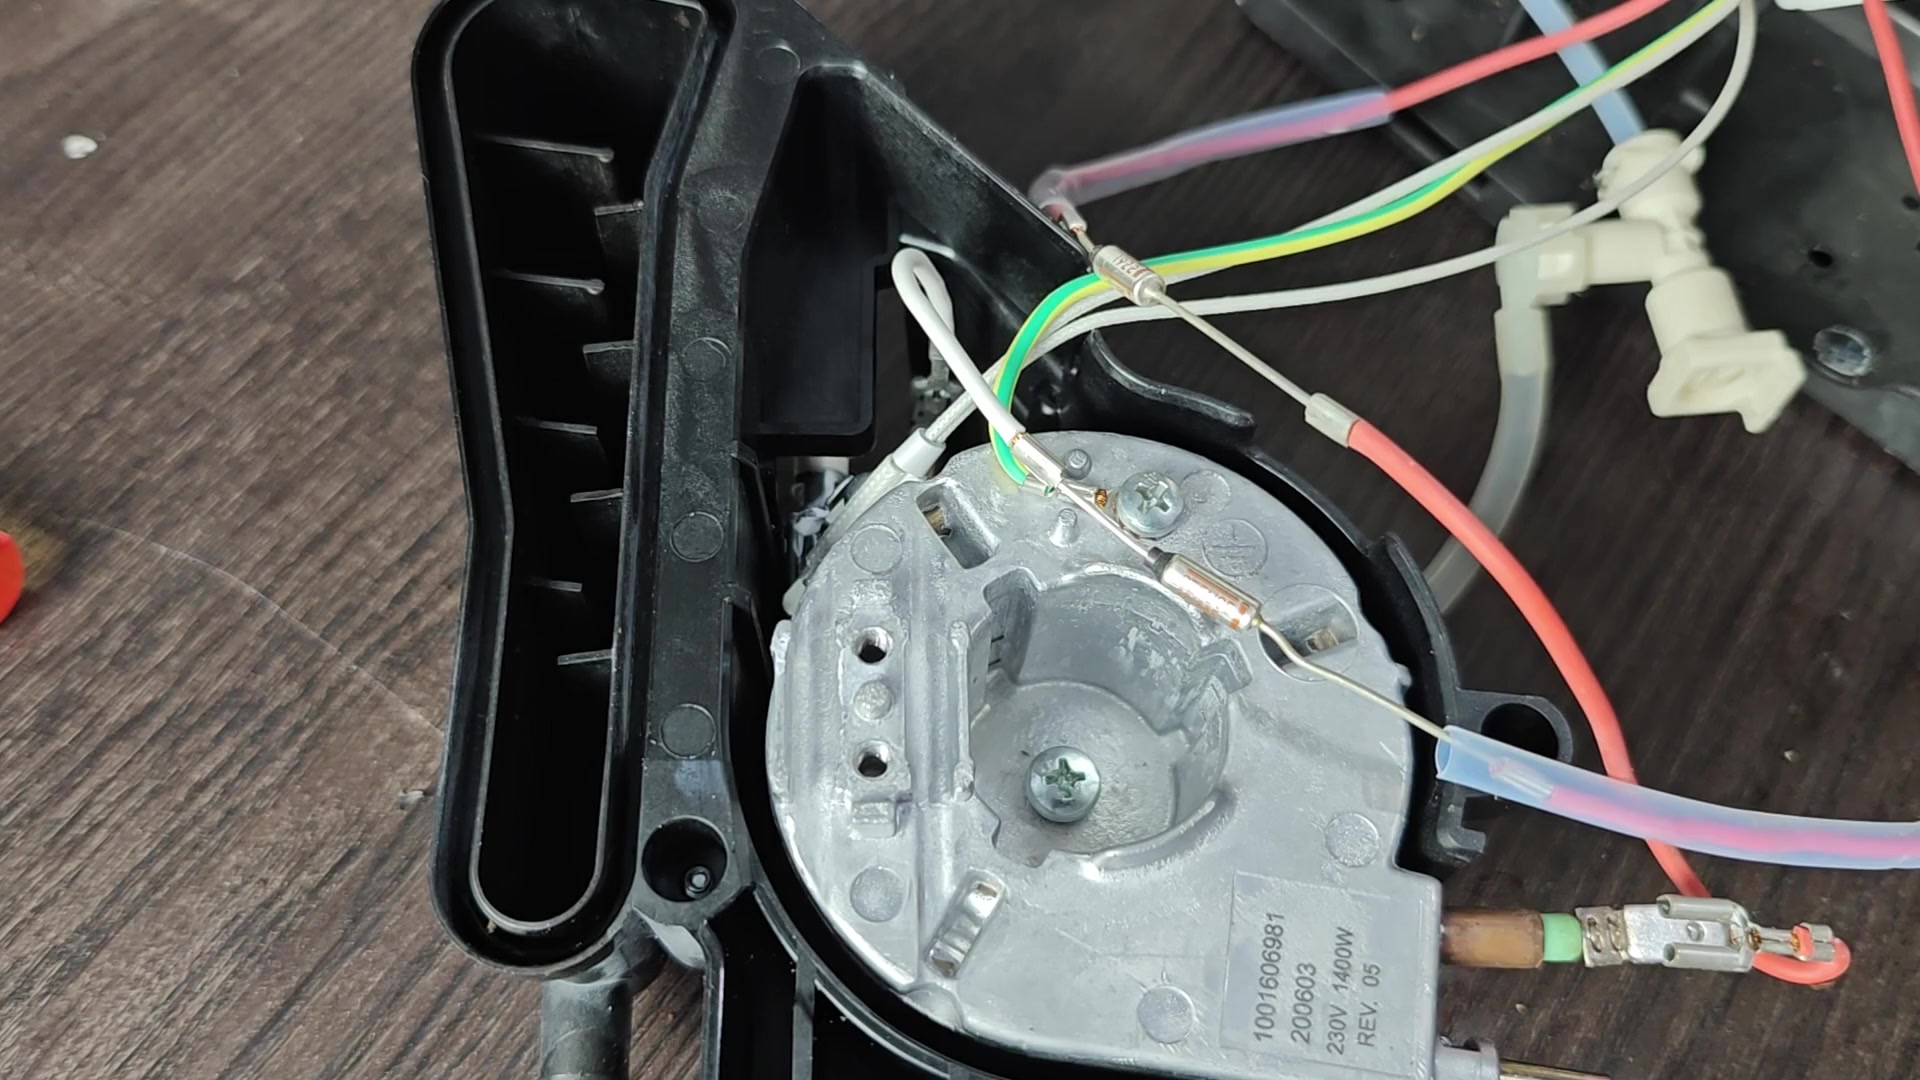
Here it was: One of the fuses was totally open circuit. This is why the machine quit heating altogether. An open fuse prevents current flow to the heating element.
A blown fuse is typically a simple and inexpensive repair. Just order a direct replacement to match details on your specific fuse. Swapping them out take less than five minutes total, and it’s important to make sure you snugly reattach the wires properly. Right away I can feel that the new one is secure.
After installing the new fuse, check for continuity one last time. And this time, both of the fuses passed current along the circuit and your multimeter beeped steadily at every test point. Now that we know there is a clear path, it’s safe to move forward and let the power flow where it’s needed.
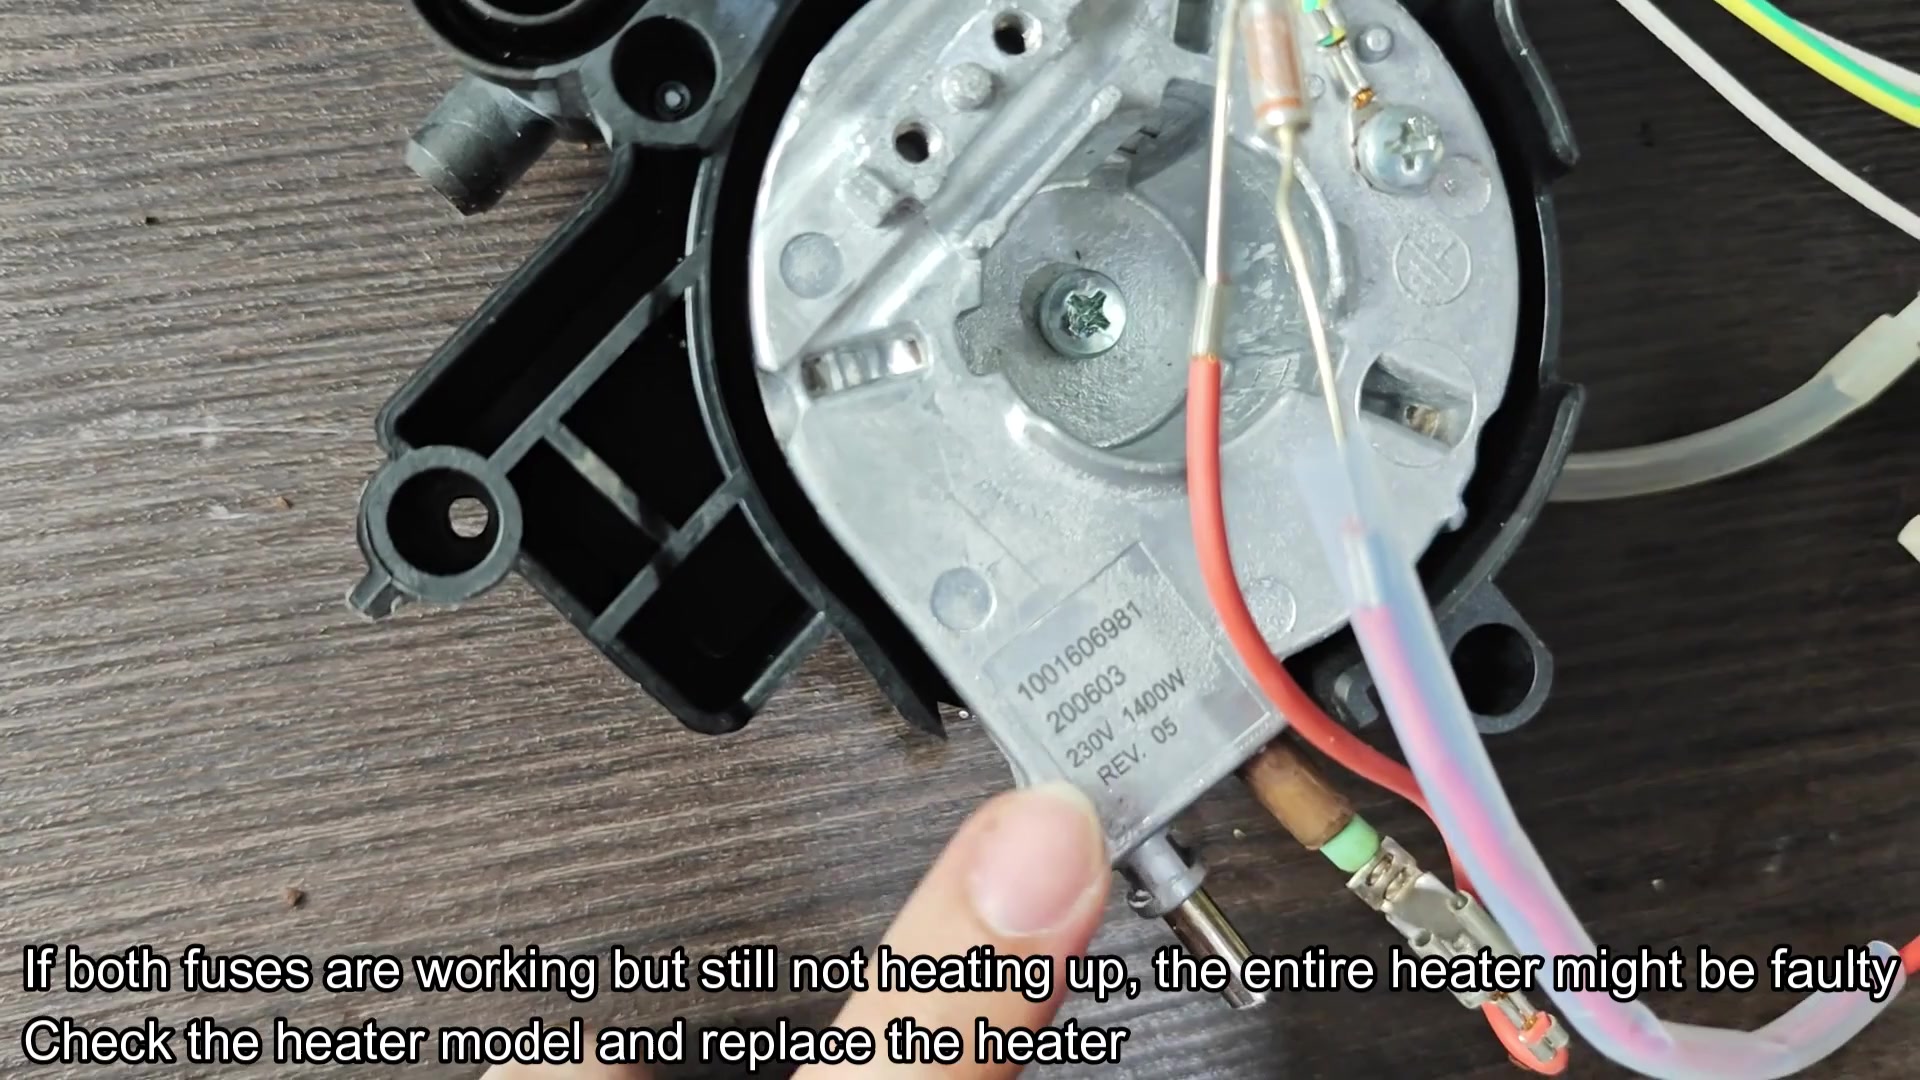
That being said, changing out the fuses doesn’t necessarily cure all your heating woes. If you’ve changed the fuses and it’s hot, but the water is still cold, the problem goes beyond the fuses. The heater element may have actualy gone bad internally over time. That’s more common in older units than folks think, and a blown fuse isn’t the only way such a unit could go bad.
The heater unit has specs, including the wattage, and it’s all clearly marked on the unit in metal print so you can look at label. This also identifies the voltage requirement for that particular unit.
The part number needs to be identified when ordering as well, since generic may not fit or work properly with the system. In this case precision is key to ensure compatibility.
Sometimes, however, your heater coil goes bad. Swapping out a fuse won’t do anything for that problem. You’ll need to remove the whole thing. Even then, you have to carefully disconnect all the electrical connections and remove tubing before you can replace it. It is more complicated than replacing a little fuse, but when you’ve done it right, it gets your heater working again.
When the right part is addressed, the machine spring to life. The following test brew runs with a supply of hot water, and the difference between cold and hot coffee is massive.
Time spent diagnosing correctly will result in less wasted repair dollars, so by all means, you’ll be happy with the final outcome.