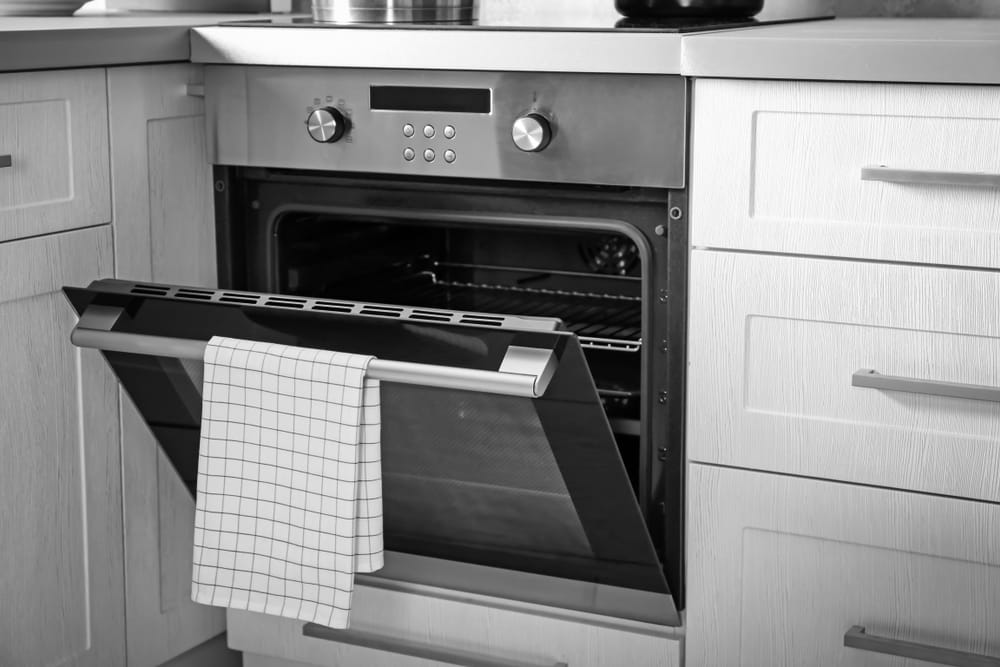
Thermador is one of the best brand names when it comes down to home and kitchen appliances. That’s because the company has high-end and reliable ovens along with other appliances. The best thing about Thermador is that they have professional ovens available, which are perfect for people who want to create their own food business. So, if you want to purchase Thermador professional oven but don’t know how to use it, we have some information that can help!
How To Use Thermador Professional Oven?
The professional ovens are designed to ensure top-notch performance and are perfect for heavy-duty use. To ensure seamless usage, you can check out the following points;
1. Settings The Oven Racks
The rack position in the oven depends on the cooking mode and recipe. There are five rack positions in the professional oven, but the third is the most used one. Keep in mind that racks have to be installed properly before you turn on the oven. To install the racks, you can try these steps;
- Hold the oven rack at a slight angle to put the safety hooks under the rack guide’s front.
- Push the racks into the unit and lift them at the front of the guides.
- Hold your rack straight.
- Now, push it in until it comes even to the front hooks.
- Lift up the rack.
- Then, push it in complete and engage the front hooks to the guides.
Keep in mind that the oven racks should be taken out of the oven before you turn on the self-cleaning feature. That’s because the cleaning agents can cause rusting of the racks.
2. Burners
The professional ovens are designed with surface burners. You need to ensure that the burner caps of the oven are properly seated on the cooktop’s burner base. To use the burners, you have to press the knob and rotate it in the counterclockwise direction to the HI label. As a result, the igniter will click and create a spark. Also, you can rotate the burner knobs between SIM and HI, depending on the flame setting you want.
3. Control Knobs
The control knobs on the professional oven are designed for the gas burners – one knob is on the front while the other one is on the back. Every burner has a designated control knob, and they are labeled for your ease.
4. General Operations
Before you start broiling or baking, the broiler and oven must be turned on to ensure the manufacturing oils are removed. For this purpose, you have to enable the ventilation and set your oven at 260 degrees Celsius. Once the temperature is set, let it work for two hours and then clean it. On the other hand, you can also turn on the self-cleaning feature but don’t forget to take out the racks.
5. Preheat
If you want to bake something in the oven compartment, such as cookies and cakes, it’s recommended that you preheat the oven. For this purpose, you have to select the cooking mode, set the temperature according to the recipe (the recipes state the recommended preheating time and temperature), and hit the preheat button on the display panel!