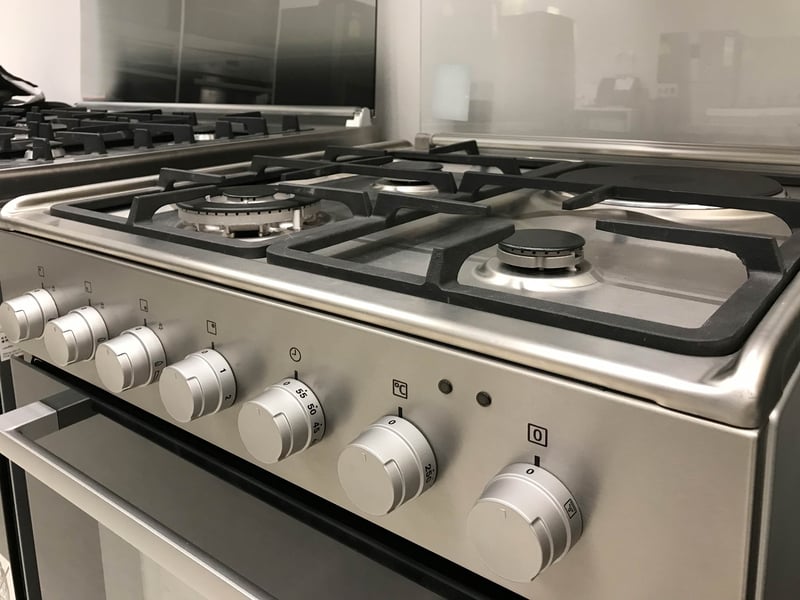
A gas regulator is an important part of the oven because that’s how you control the gas supply to the oven. It wouldn’t be wrong to say that it impacts how your food will turn out. This means that if the gas regulator is not working, it can result in the evenness of cooked food. So, let’s see how you can fix the gas regulator and optimize the cooking experience.
How To Fix The Gas Regulator?
The gas regulator is known to increase or decrease the gas pressure in the line before it reaches the oven or cooktop. It is integrated with three components that increase and reduce pressure. If you turn the knob for decreasing the pressure, it tends to compress the spring, which works as a loading mechanism. As a result, the control element and sensing element determine the pressure and adjust the gas’s pressure through the line.
On the other hand, when the gas regulator doesn’t function well, the constant buildup of pressure can result in gas leaks. If you are confused if the gas regulator is the real problem, you can follow the below-mentioned instructions to determine if a regulator is damaged or not;
- To begin with, switch off the shutoff valve of the gas that’s placed around the cooktop or oven by turning it in a clockwise direction
- Take off the regulator’s cap by taking off the screw with the help of a screwdriver
- Use your nanometer and press the off/on button to switch it on. Make sure that the display of the nanometers says 0, and if it doesn’t say 0, just press the store or zero button
- Then, connect the nanometer’s positive line on the hose to the inlet of the regulator that’s placed below the removed cap. Switch your shutoff valve in the anti-clockwise direction for switching on the gas and check the nanometer’s display. If the display says 0, it means that the gas regulator aren’t working and needs a replacement
It means that you need to replace the gas regulator. So, in the section below, we are sharing how you can replace the gas regulator. Keep in mind that the gas regulator is extremely affordable, so it’s best to replace them rather than fix them. Now, let’s follow the instructions;
Removing
- The first step is to close down the shutoff valve of the tank as well as the regulator
- Remove your tubing that’s connected to the regulator with the help of two 14mm wrenches. You need to hold the fitting and turn the wrenches in an anti-clockwise direction for loosening them up. Keep in mind that there will be some pressure in the line, but the pressure will start bleeding off as you loosen up
- Once the lines are loosened up, take out the tubing from the gas regulator
- Now, use the adjustable wrench and loosen the regulation from the D tank, and there will be some pressure, but it bleeds as well
- Then, just take off the regulator
Installation
Now that the gas regulator is taken off, you can start with the installation, and we are sharing those steps as well;
- Make sure that the shutoff valves are properly closed (both the A & B valves)
- Start threading the gas regulator on the gas by turning it in the clockwise direction, or you use could a ¼ turn with the help of an adjustable wrench
- Connect the tubing to another part of the regulator, and it can be turned in the clockwise direction, and you can use the 14mm wrenches for that
- Once the fittings are tight, set up your gas regulator to 5 PSI to 10 PSI
As a result, your gas regulator will start working fine, and there won’t be an issue. In the majority of cases, people have a hard time understanding the reasons behind faulty gas regulators. There are various reasons that can cause the gas regulator issues, such as;
- The gas regulators stop working when the bypass mechanism is broken down, which has a hard time regulating the gas flow. It is caused by a low-pressure issue, and if that’s the case, you must replace the regulator
- Gas leaks are usually common when the gas regulator is damaged, and the only solution will be to replace the regulator